1
55
We got a gas dryer mistakenly thinking we had a gas line.. we think this is it.. is it???
(sh.itjust.works)

For DIY - this is also a placeholder.
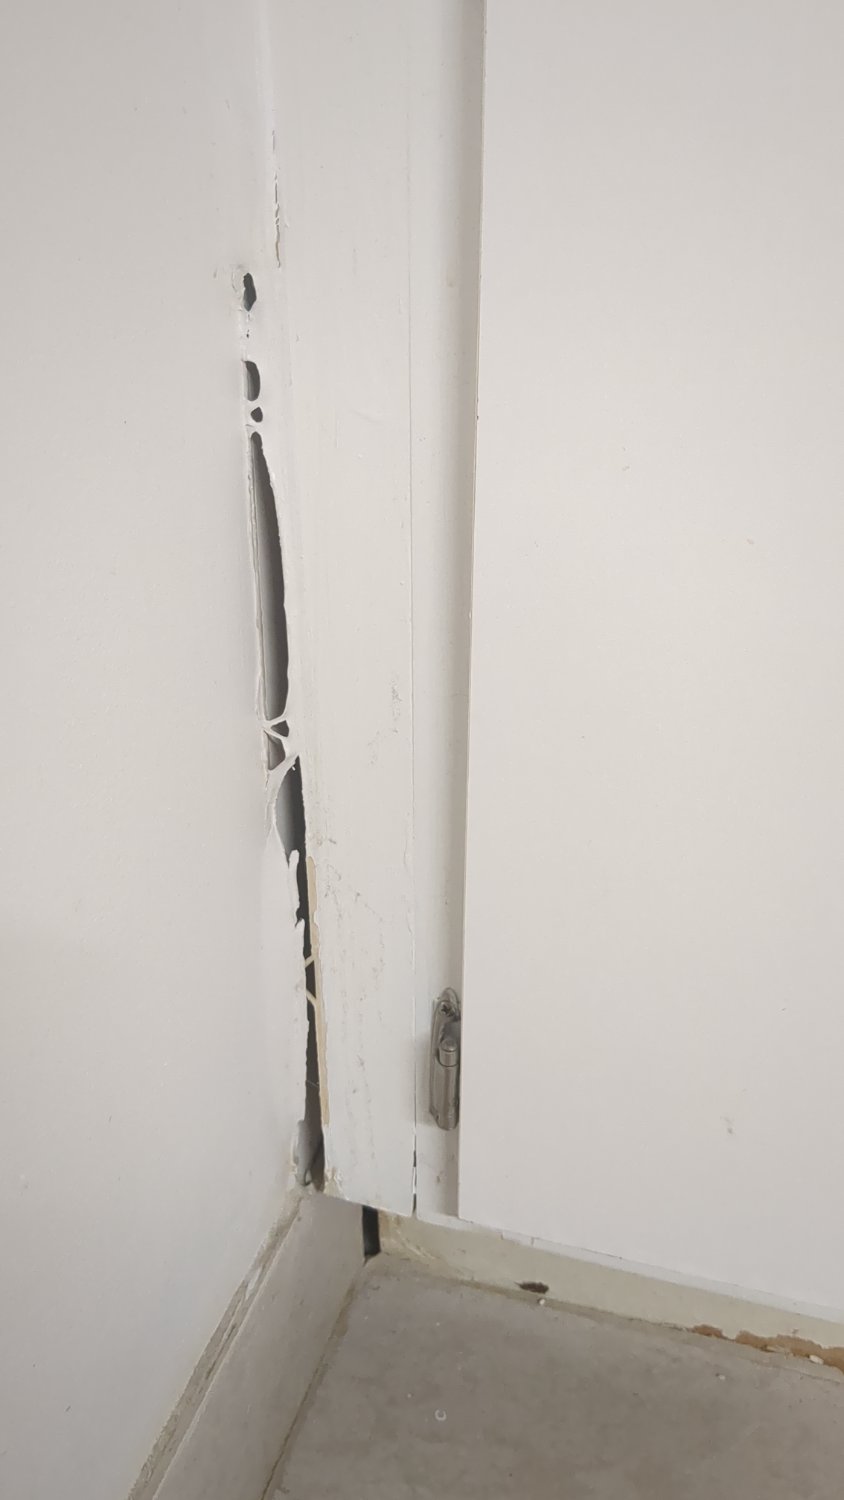
It's a bit of a long story but someone tried using spray foam to fill the hole around where my sink's plumbing goes through and it seems like it essentially expanded too much and causing the paint to tear.
I was thinking maybe I could get some rigid insulation cut it to size, stick it in there, and spackle over it followed by painting it. I would probably cut the rest of the paint to the top because it looks as if it is going to tear eventually and it's at an angle.
Any suggestions?
The gap is close to an inch in size.
I create an open source software modular synthesizer out of a Raspberry Pi Pico. You can see a video on it at https://www.youtube.com/watch?v=252Vte4tYh0

I'm trying to clear out my crafting supplies before moving in a few months.
Anyone know any cool patterns? I don't even know if they could all be in one jewelry piece; they're very heavy.

...when he will find himself standing in a hardware store confronted with a wall of bird feeding accessories. This is, I'm told, some kind of twisted coming of age thing. Up until now you've thought about two, maybe three birds in your entire life. Tops. But then, bang: Suddenly the topic of a bird feeder is vitally important. It's serious business.
There's a snag, though.
"What about this?" She'll ask. "It's so cute, like a little tiny house. And it's only $14.97!" It's not even sold yet and you can see it's already falling apart. The wood's split, and clearly nobody taught the children in that sweatshop how a square works. Or a clamp. There's a gold sticker on the bottom, half peeling off. It says 'Made In China.'
"Come on, I could make that in about 10 minutes with crap I have lying around my workshop."
"Yes, dear," your wife will say, while patting your arm.
This is what 300,000 years of evolution has brought us. Countless generations worth of genetic fine-tuning, passed down through mitochondrial DNA, veritably ensured the delivery of that precise response. The woman has watched you rebuild transmissions, heft Labrador sized rocks over your head, and replaster the entire house. But this, this thing consisting of no more than five ratty planks of wood, elicits a sarcastic "yes, dear."
This is it, isn't it? Men, Mars. Women, Venus. Every single one of those dumbass 1950's stand-up routines, distilled. It turns out it was all true. Well, part of it, anyway.
But some things are a matter of principle.

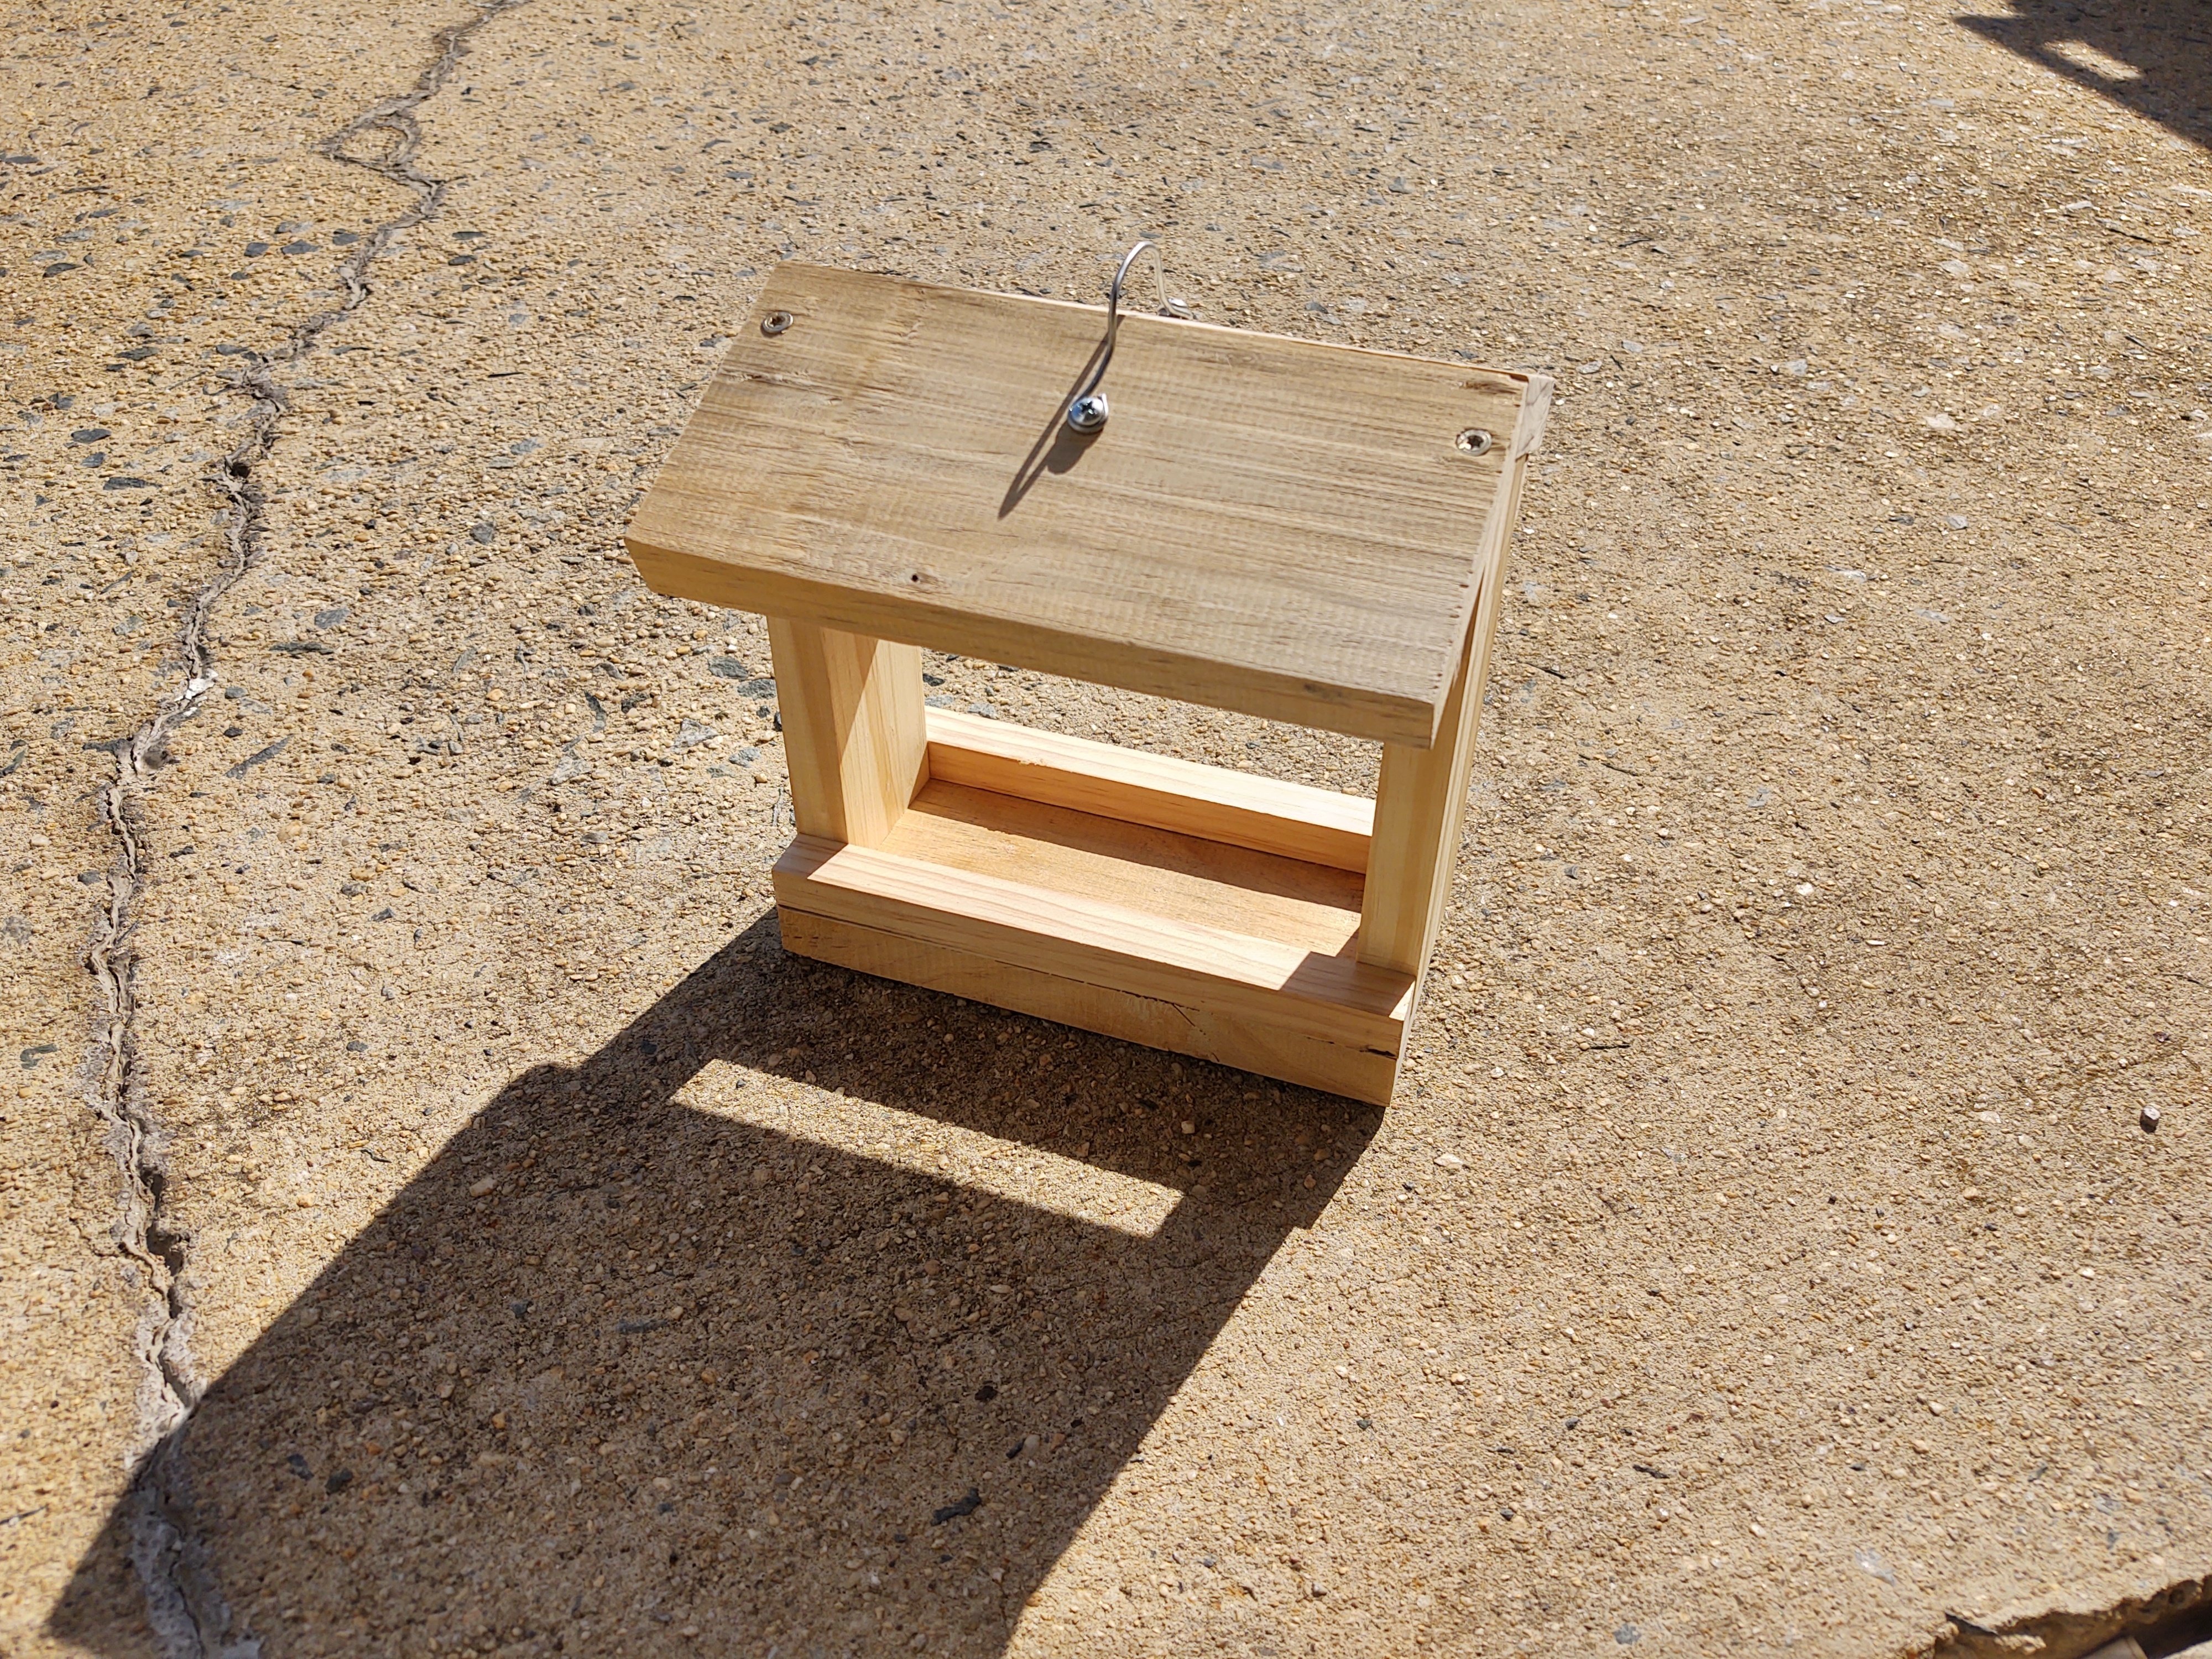
This is a bird feed suet cake holder I literally made out of offcuts and random crap I had lying around on my workbench, in ten minutes. Using nothing -- nothing, I say -- other than my compound miter saw and cordless drill. And a spot of wood filler, because there was a gnarly knot hole on the plank I wound up using on the top. It's held together with Spax screws and you could probably also use it as a jack stand for a bus.
Parameters drafted: Zero. Measurements made: Zero. Components purchased: Zero. And spending $14.97 on a ramshackle piece of shit? Studiously avoided.

Here is what it looked like when I got it home:


Fully stripped back:
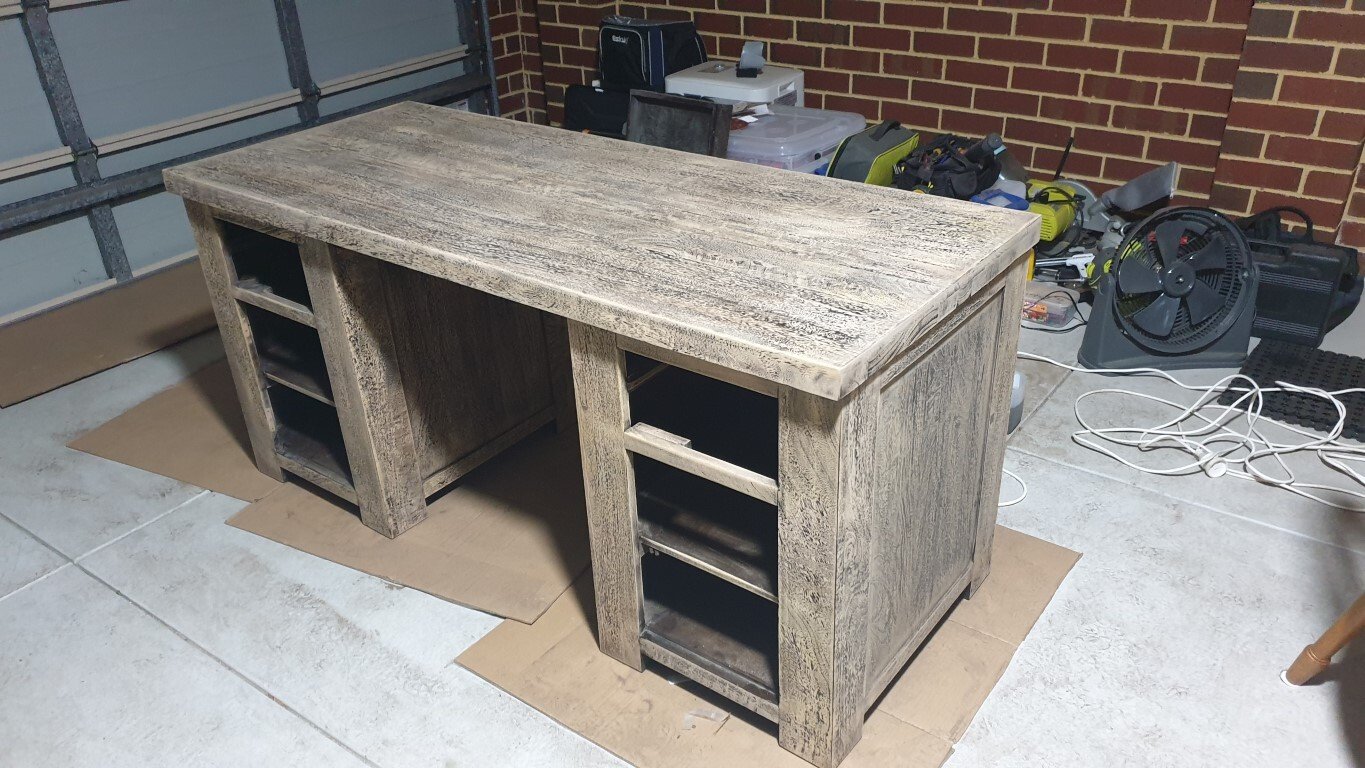
And restored to it's former glory:


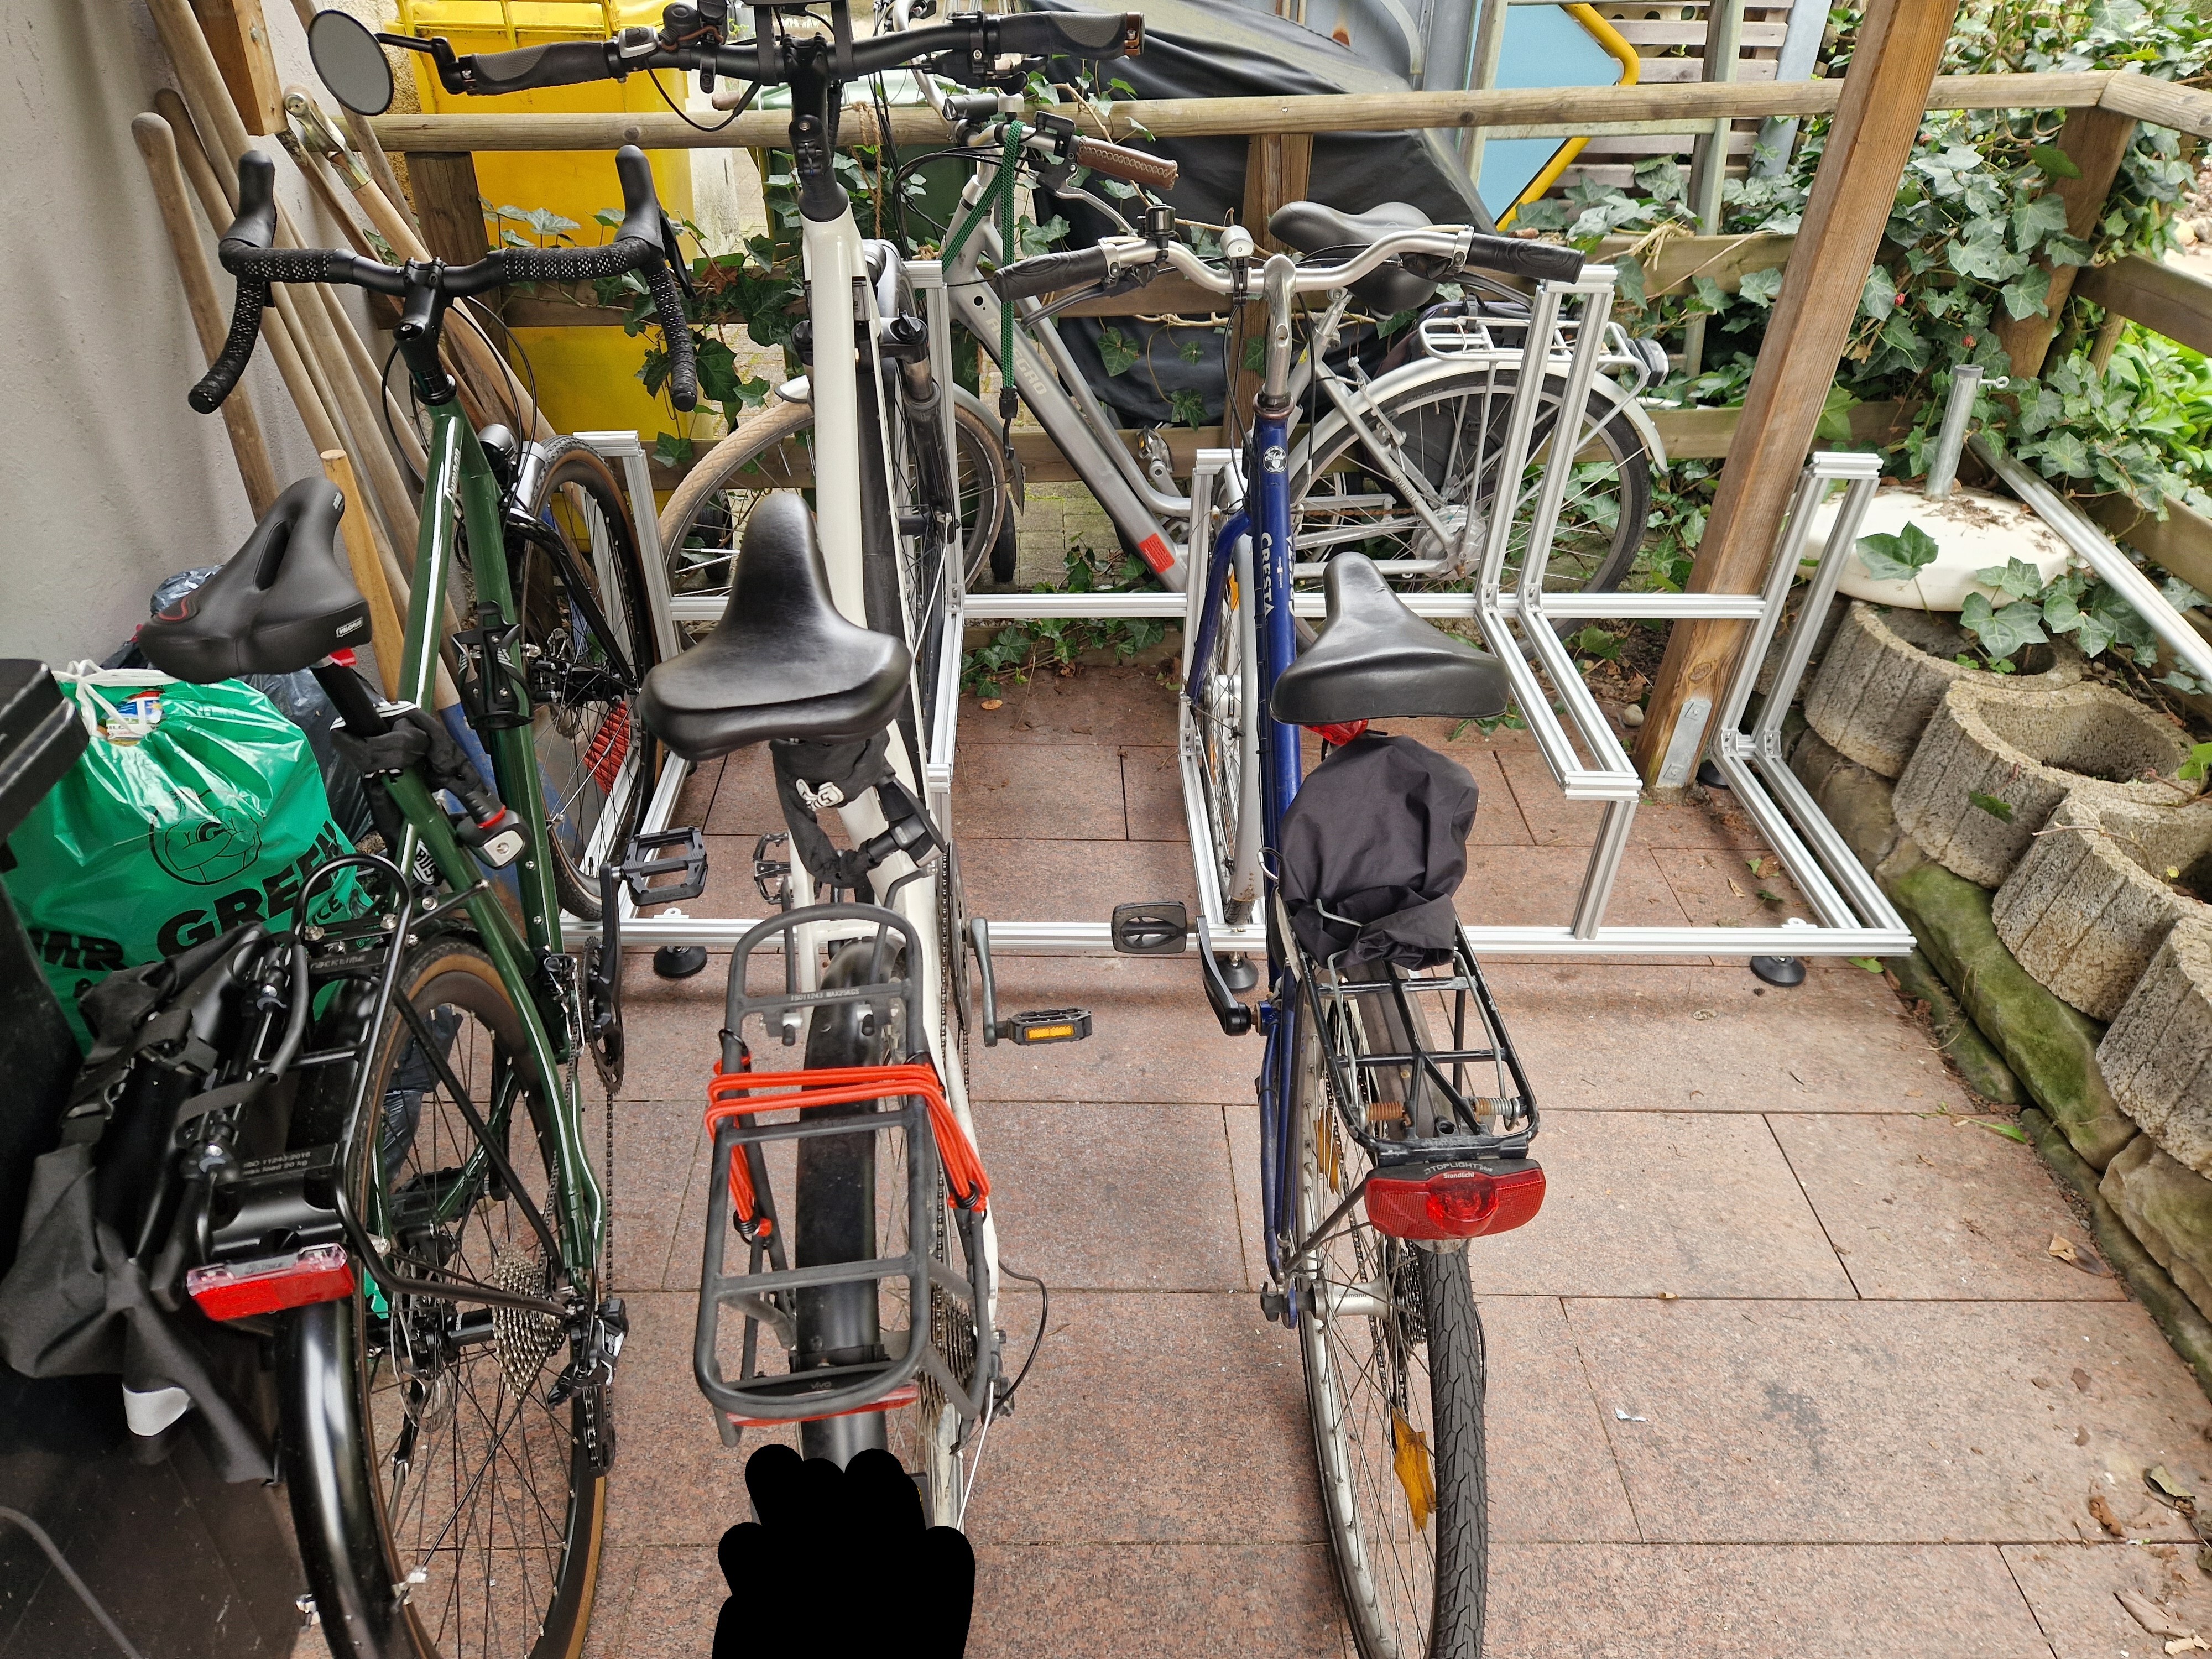
Due to lack of well designed buyable solutions, I built my own bicycle stand from scratch.
BOM:
Tools:
Guide:

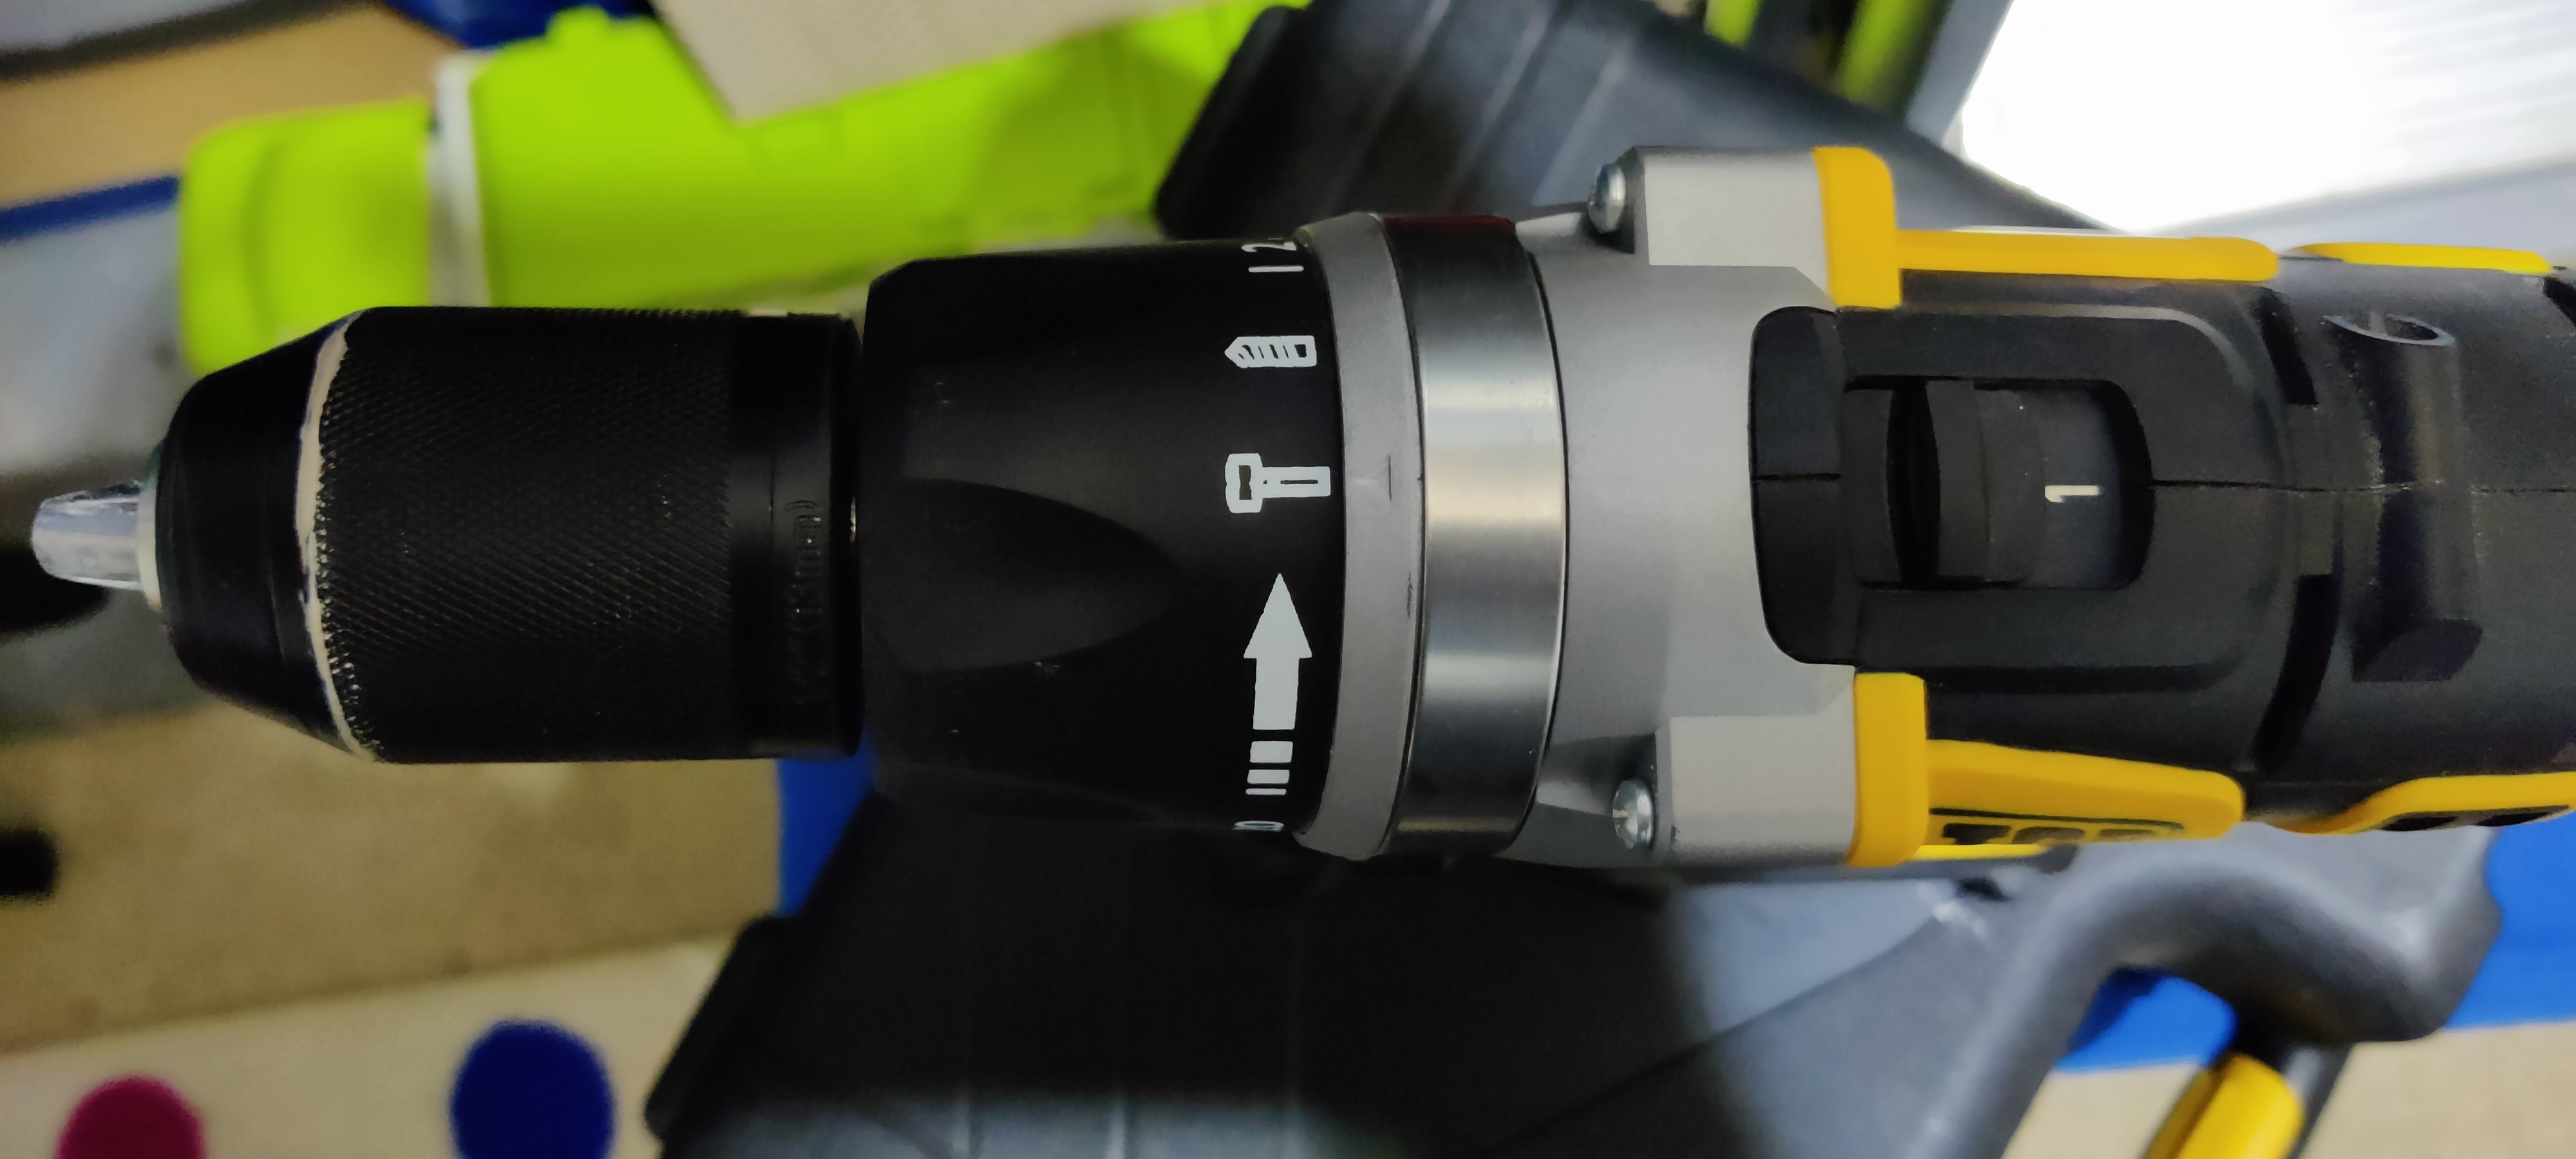
Thank you for the replies yesterday about my drill. I think I'm going to get a cheap corded SDS drill and some big bits. This is what I need to feed through the wall and there is no way to detach the cable from the camera and feed it the other way. I know it needs to be weather shielded, but this is a mad amount of connectors!
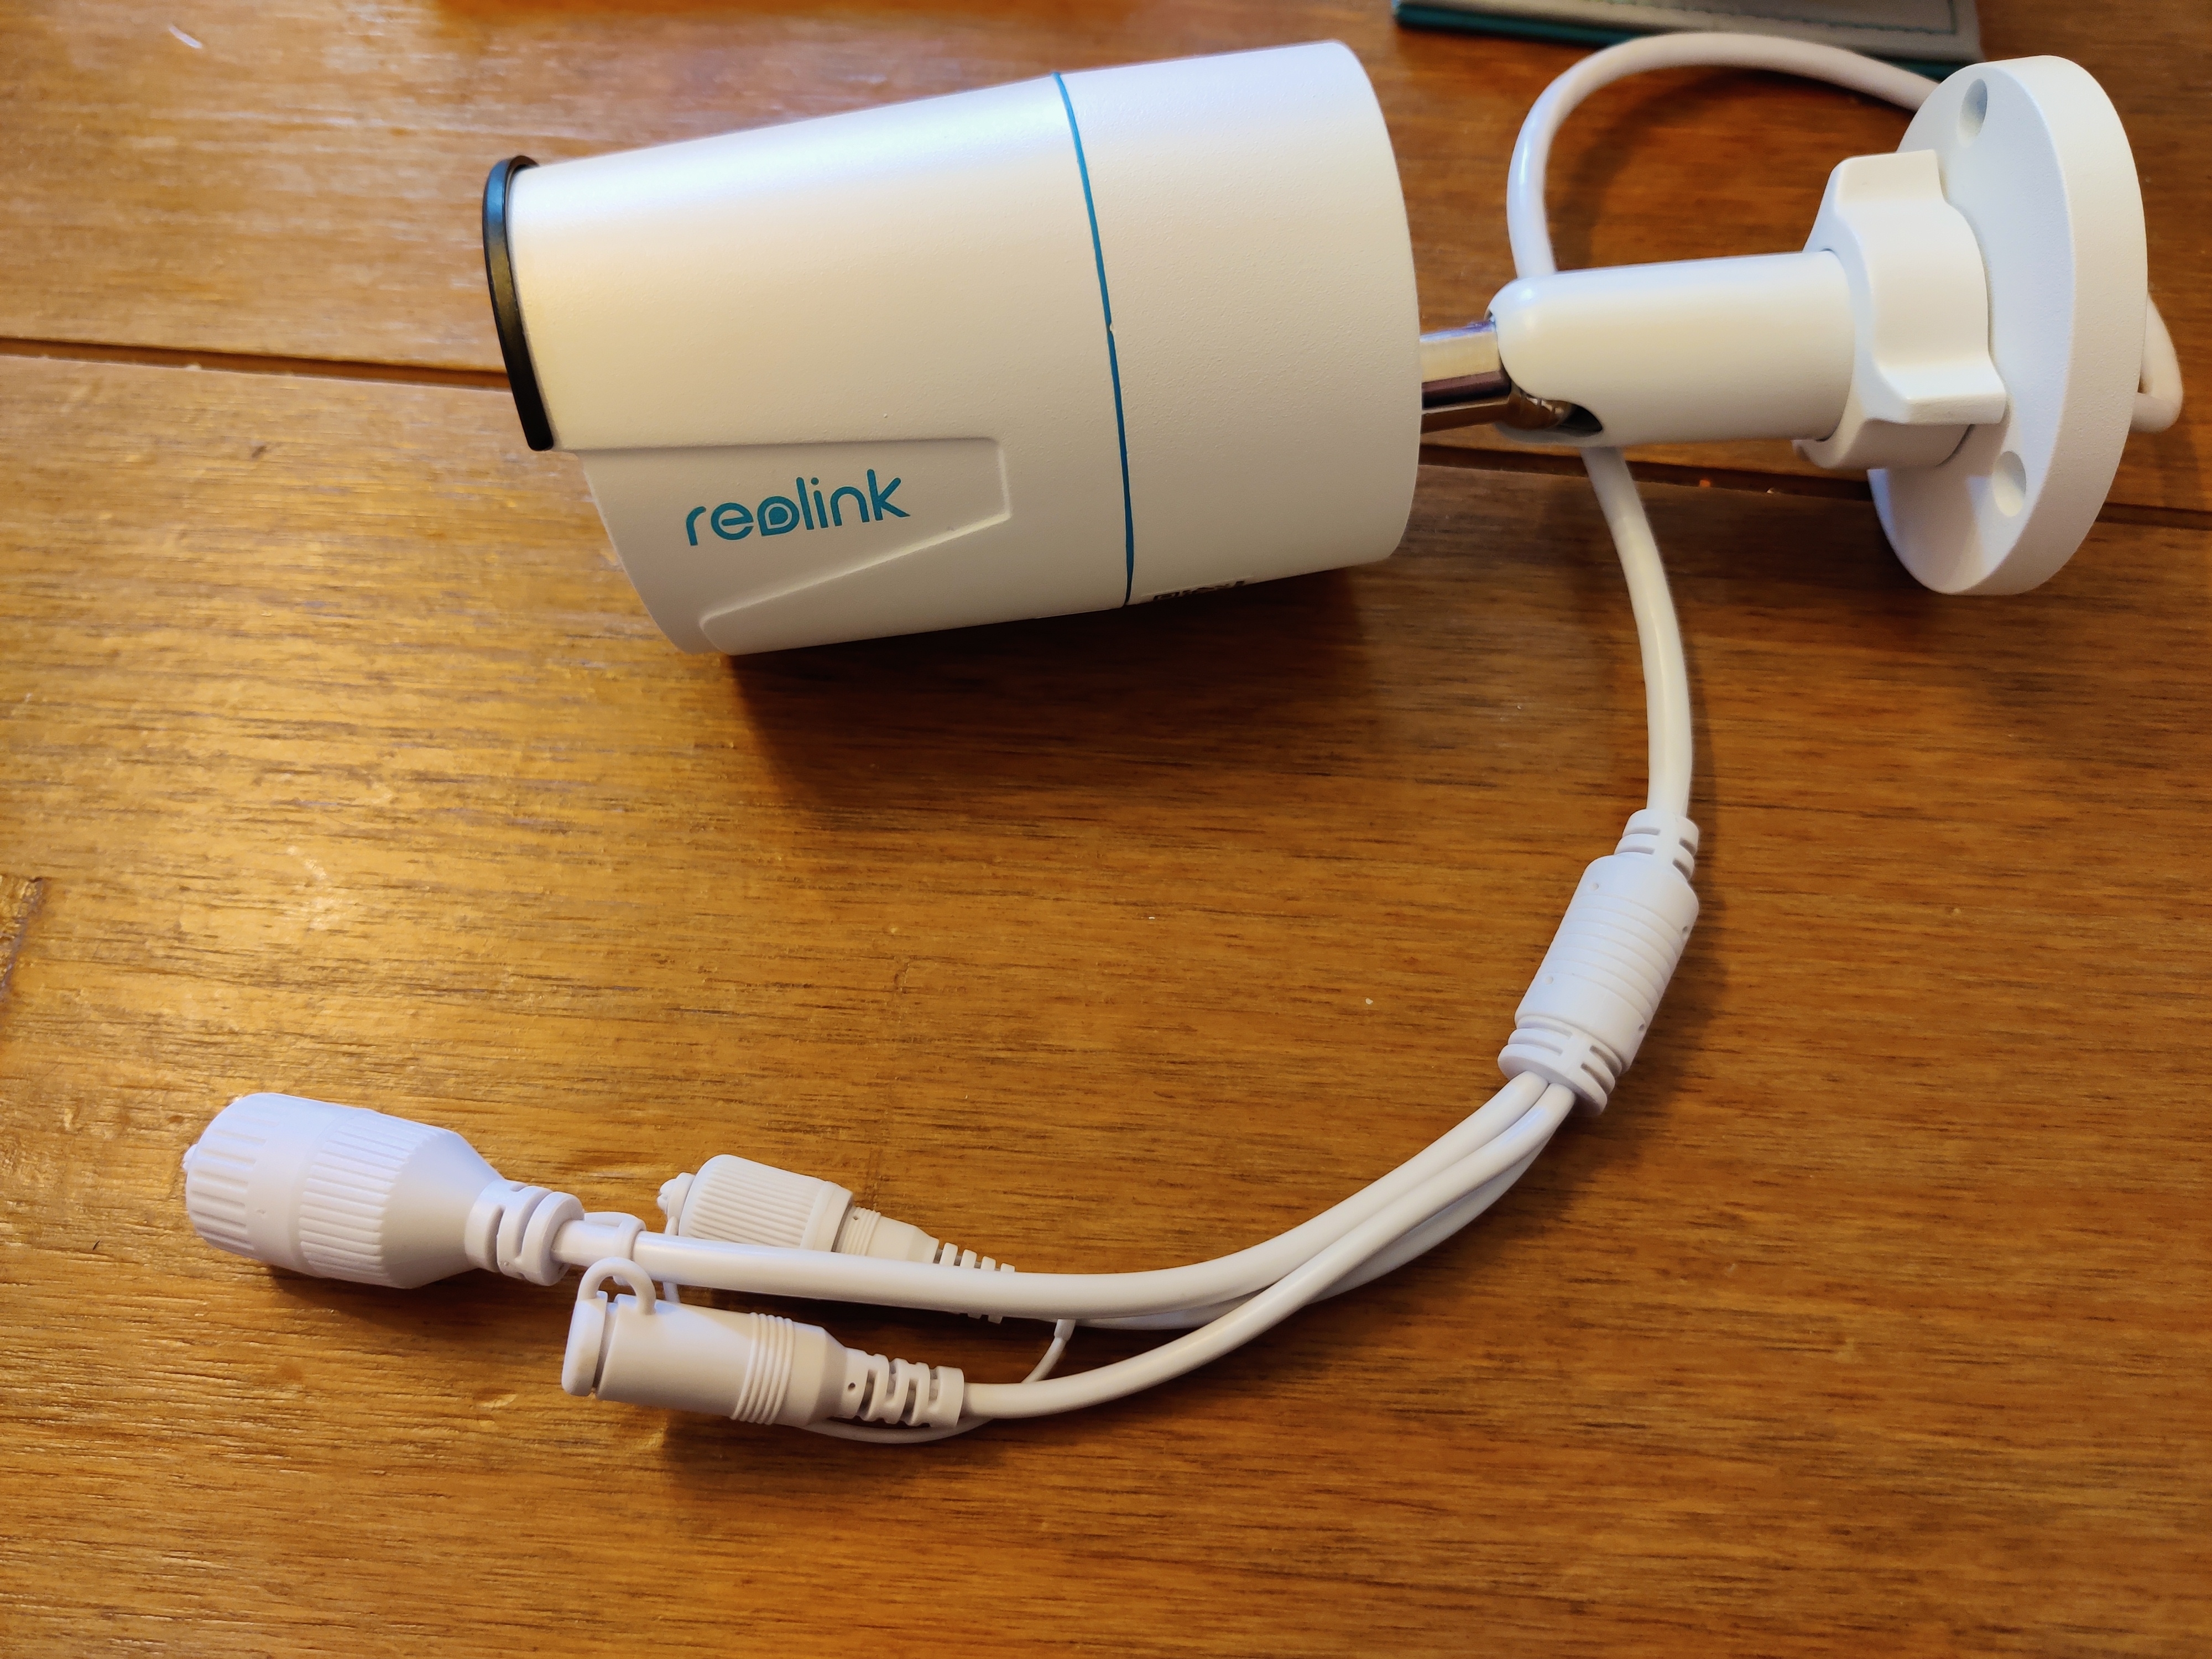
The icon is a little different to what I've seen on others and I don't know how to tell otherwise.
Thanks!
How are these usually attached to the wall? Can I just pry them off or would that damage the drywall?
And follow up questions: how can I reproduce that texture when painting the newly exposed areas of the wall?

Does anyone know the best way to make this ramp nonslip? We get a fair amount of ice and snow and there are a couple elderly folks using the ramp.
We tried a basic nonslip rubber mat, but the grooves just hold ice and snow so don't really help.
Our current ideas are maybe adding rubber stair treads every board or two, or maybe tacking little strips of wood to every board.

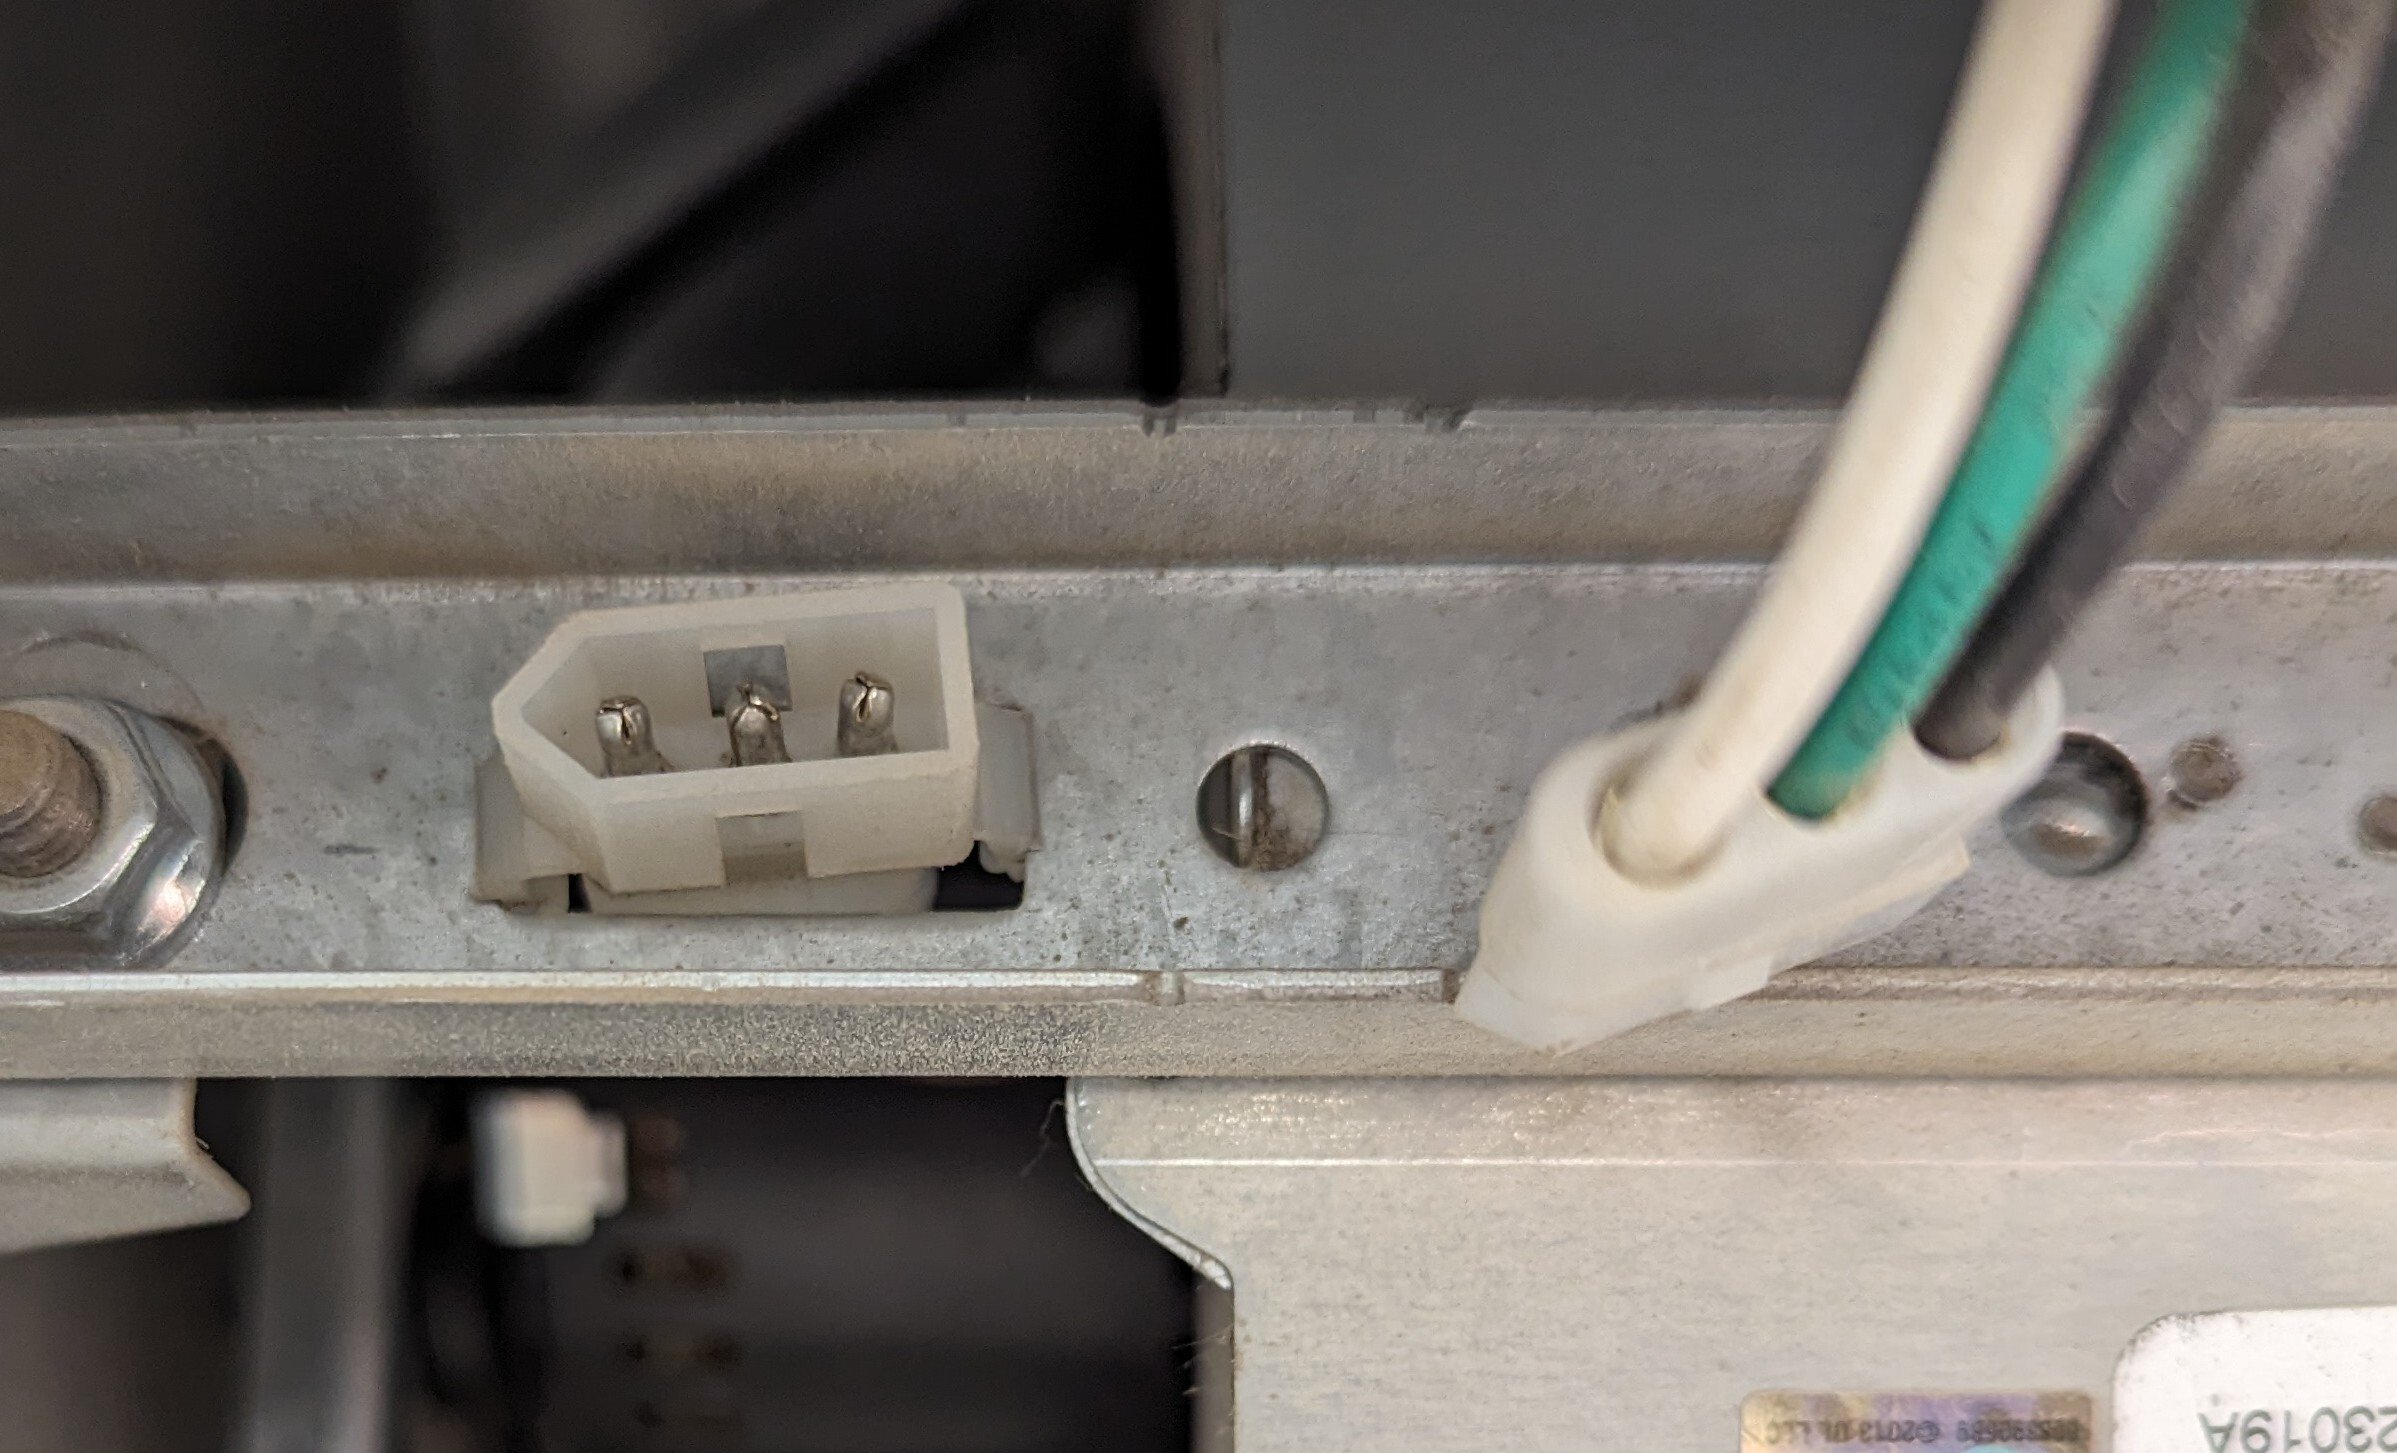
I'm looking to install some cutoff switch on this 3-pin connector. It almost looks like a PC 4-pin 12v connector, but it actually connects to a Broan CRV motor. Specific model is the L150L.
I originally wanted a ventilator with a timer, but they installed an inline CRV (intake only) with a crazy 150CFM for a tiny 480sqft suite. Massively overkill, and loud. I'd prefer to put this on a timer, or even better would be a smart switch control. But at the very least a manual switch would be great.
For now, and for the last two years, I just have this unplugged, as shown in the image. The passive ventilation on the connected ducting has been more than enough to turn the air around. But sometimes it'd prefer to enable the intake for a time. I just can't have it on all the time because the air turnaround is nutty, not to mention the blast of cold air in the middle of winter.
Any ideas for a switch that fits this connector, or a DIY switch, and/or something to hook to a timer, OR smart switch somehow?
Not sure how it happened but my inclination is dry Rot. I don't see much of any mold or mildew around and the room does not feel damp or smells moldy so I'm really not sure if fungus is the cause. I'm trying to finish the space and frame a wall under this joist but I'm afraid that I won't be able to nail into it since it looks like shredded paper. I looked up some techniques to strengthen floor joists so my main ask is:
What is this? How does it happen? And how can I repair it DIY? (Some people online recommend consulting a structural engineer, but I'd rather not if possible) I was thinking of sistering the joists, but with it being a pocket joist I'm not sure if that's ideal.
Added a second picture for what I think is the dry Rot, but it looks small and not dangerous?

Any great ideas on how to pull the outlet forward without pulling the panel off? I’m thinking I might be able to cut the board enough to get the outlet tabs out but still hide the hole behind the plate.

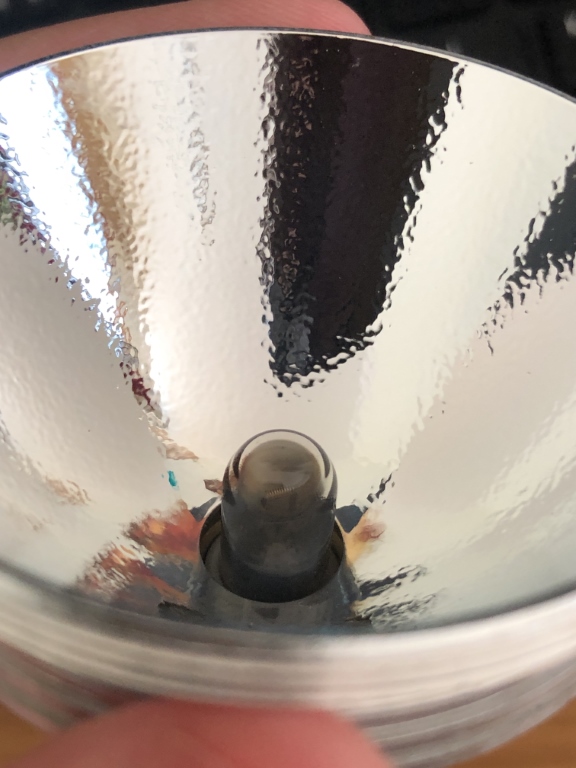
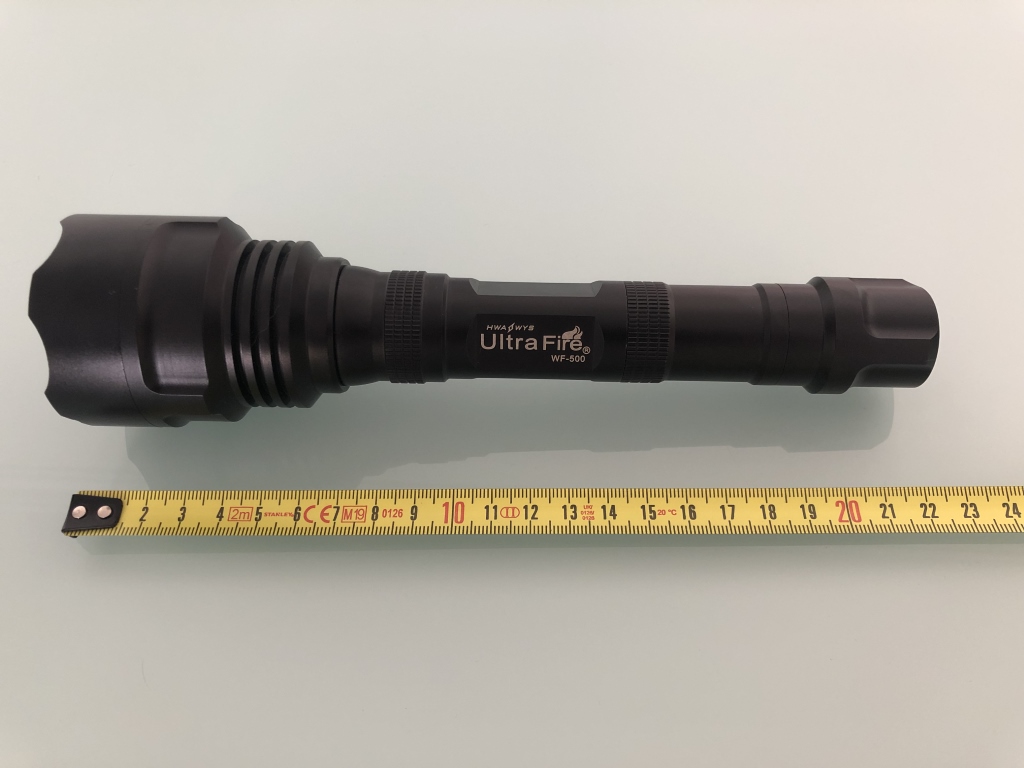
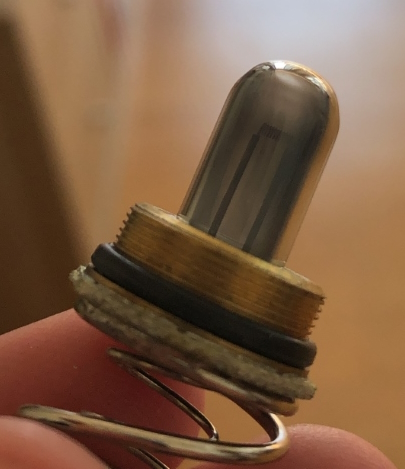
Some years ago, before LEDs were a thing, I bought an Ultrafire WF-500 Flashlight that features a Xeon light bulb. As you might imagine the bulb reached its lifetime and burned away.
Now a replacement bulb is available here https://www.ebay.com/itm/321916301663 the thing is that it will cost me 35€ and for that price I could just buy a new LED flashlight.
Now I was considering trying to adapt a generic LED bulb like this one here https://www.aliexpress.com/item/1005002419159094.html?mp=1.
Anyone else with this model of flashlight succeed at a similar mod? Any LED bulb recommendations? Or... is there any other source for the original bulb at a lower cost?
Some photos:
- https://cdn.tcb13.com/2023/wf500-bulb.jpg
- https://cdn.tcb13.com/2023/wf500-bulb2.jpg
- https://cdn.tcb13.com/2023/wf500-bulb3.jpg
Thank you.
Not sure how to link or crosspost yet, im a Rexxitor, but I built this from scratch, including the the wall framing, drywall, cusom mortar shower pan, and the hardwood floor insert. It was 98% complete here.
