this post was submitted on 06 Aug 2024
24 points (100.0% liked)

chat

8124 readers
260 users here now

Chat is a text only community for casual conversation, please keep shitposting to the absolute minimum. This is intended to be a separate space from c/chapotraphouse or the daily megathread. Chat does this by being a long-form community where topics will remain from day to day unlike the megathread, and it is distinct from c/chapotraphouse in that we ask you to engage in this community in a genuine way. Please keep shitposting, bits, and irony to a minimum.

As with all communities posts need to abide by the code of conduct, additionally moderators will remove any posts or comments deemed to be inappropriate.

Thank you and happy chatting!

founded 3 years ago
MODERATORS
 

Seems like an interesting hobby I literally know fuck all about.

Talk me into it. Or talk me out of it. I'm good with either.

top 11 comments
sorted by: hot top controversial new old
[–] [email protected] 10 points 1 month ago* (last edited 1 month ago) (2 children)

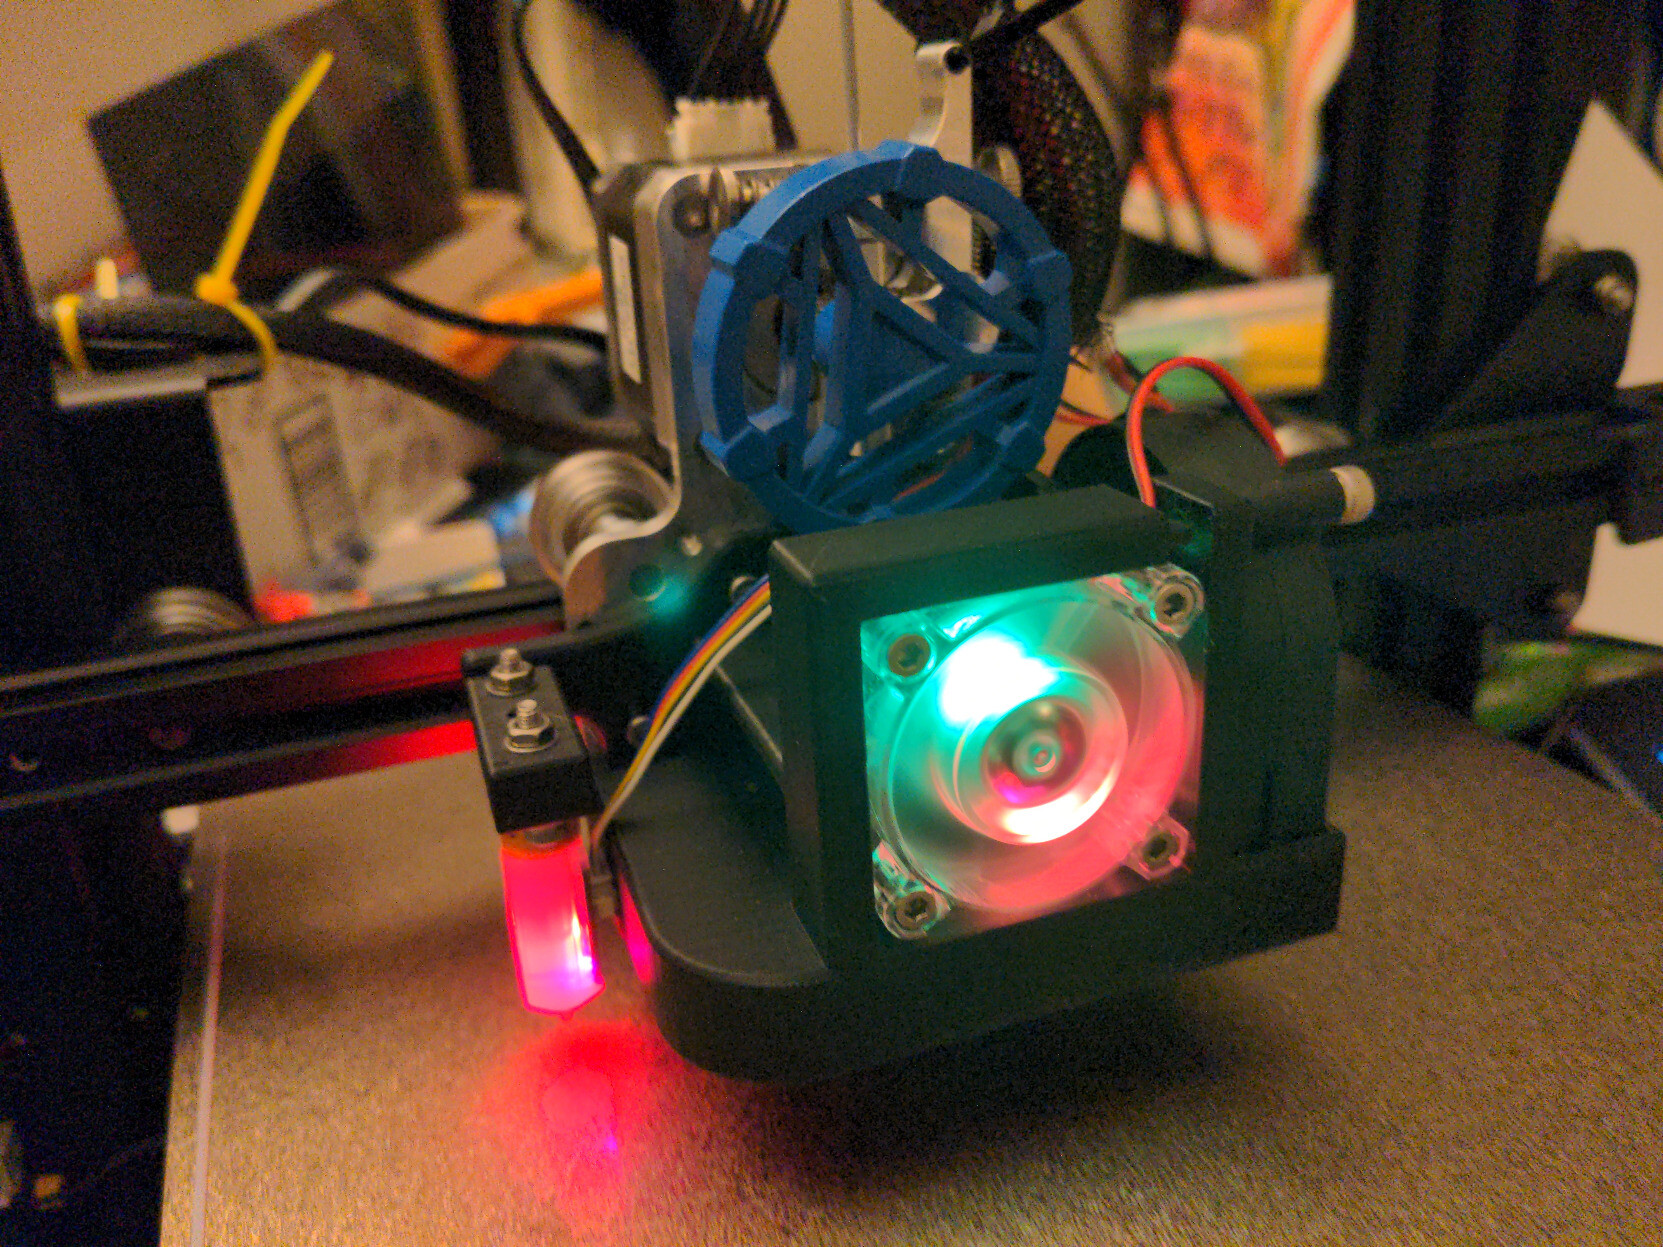
The cost to get started is rather low. I bought an Ender 3 v2 for $200, and PLA filament is fairly cheap. These entry-level machines are very basic though, very much a "minimum viable product." If you enjoy using it, you will likely end up replacing a lot of the components to make the thing more reliable as time goes on. In my case, I have completely overhauled my machine. Completely replacing the toolhead (hot end, extruder, cooling fans), build surface, springs, leveling knobs, wheels, and controller firmware, as well as installing a Z-probe. A lot of components were printed on the machine itself, but a lot needed to be ordered (there is a pretty healthy after-market, especially if you buy a popular model).

If you enjoy tinkering with mechanical systems, it is a good hobby. If you enjoy mechanical engineering or 3D modeling, it is a good hobby. I am a CNC machinist by day and am used to producing G-Code, either by hand or via CAD/CAM software depending on the job, so a lot of it came naturally to me. Having a 3D printer improved my CAD skills and engineering competency a great amount. I must reiterate though, what you get out of the box will be very basic unless you buy something fancy. These things are essentially starter-kits. Also, I bought my machine several years ago, so there are probably better options at the entry level.

[–] [email protected] 5 points 1 month ago* (last edited 1 month ago)

I second this. I also bought an Ender 2 for $200 that came completely flat-packed. I had 'fun' assembling it and had several months of 'fun' printing parts for the printer and buying upgrades. Most of which I managed to install before I got tired of every other print still failing and requiring hours of fiddily tweaks to print nicely. It is collecting dust now as I obtained a slightly nicer Monoprice Duplicator i3 secondhand which still fails pretty frequently unless I run it at 20% speed.

If it is within your price range I would highly suggest a printer with Auto-Bed-Leveling, will hopefully mitigate some frustration.

[–] [email protected] 5 points 1 month ago (1 children)

Can you send me some of those aftermarket resources? I have an Ender 3 S1 pro

[–] [email protected] 6 points 1 month ago* (last edited 1 month ago) (1 children)

The biggest changes I made to my machine were

  • MicroSwiss direct-drive conversion + hot end - this is tagged for the Ender3 but is compatible with the V2 if you also replace the cooling block (which I did)

  • Cut all the wires leading to the tool-head and solder in JST/Deans connectors

  • Self-printed 5015 Satsana cooling block with BLTouch bracket (This is not the exact model I printed, I have the STL file on an old hard drive though). Mainly upgrades the part-cooling fan to a 5015 turbine style fan with two nozzles. I ran a cooling block with TWO 5015 fans for a while, but it was absolutely overkill. One is a big upgrade from the stock 4010 blower fan, and more than enough.

  • BLTouch Z-Probe (open box clearance rack item at MicroCenter)

  • MRiscoC "Professional Firmware" - Lets you do a lot of advanced bed leveling and calibration procedures which aren't available in the stock firmware. Allows you to tune speed/acceleration/jerk to much more extreme settings if you're willing to spend time tuning it. Allows you to tune "linear advance," which is especially useful for flexible materials like TPU. It adds a PID temperature control algorithm for the hot end and bed. It also adds support for some more advanced G-Codes, so certain motions like "Z-hops" can be adjusted on the machine without being baked into the G-Code.

  • Magnetic textured (not smooth) PEI build surface (absolutely fucking fantastic). Sticks reliably while warm and completely releases by itself when cool, without needing to chisel and pry your prints off the plate (thus, preserving your bed leveling). Stick can be restored periodically by washing with dish soap. Allegedly TPU will permanently fuse to PEI, but in my experience, the textured surface allows it to release. The same sheet works for PLA, TPU, PET, and (kinda) ABS. Mine is Creality branded, but the brand isn't very important. If you get one of these soft/flexible build surfaces, you PROBABLY want a Z-probe, because these things are never as flat as the glass/steel plates.

  • Stiffer springs and fancy knobs - you can find a million listings for items like this on Amazon / AliExpress / wherever. The stiffer springs reduce drift in your bed leveling, and provide better support for large prints. The knobs were purely for vanity and not necessary.

A lot of wear and tear components have been replaced along the way (nozzles, wheels, pneumatic couplers). Before I deleted the bowden tube, I replaced the stock one with a Blue Capricorn tube (tigter tolerances, much stronger couplers - the stock couplers inevitably break, especially the one attached to the extruder). Also, the cooling fan now has pro gamer RGB lighting.

This isn't the order I installed these parts in. I generally replaced things as they broke. Switched firmware pretty early, got a really shitty flexible magnetic plate and started doing mesh leveling with a piece of paper very early by necessity. Eventually got the BLTouch, then I went trough a couple custom cooling blocks before doing the direct-drive conversion and soldering.

When I did the direct drive conversion and replaced all the wheels, I ended up taking enough of the machine apart that I basically gave it a full tune-up as I was putting it back together, and now it remains level for months at a time. I don't print nearly as often as I used to, but when I do I can just start it up, run the tramming procedure out of habit (automated by the custom firmware), and typically not have to make any adjustments before printing.

This thing still struggles with ABS (it has no enclosure), but prints PLA and TPU faster than any of the commercial 3D printers at my job, and does PETG... competently.

I also recommend playing around with different nozzles. If you don't need extreme detail, a 0.6mm nozzle can lay down thicker layers and infills than the standard 0.4mm nozzles, making prints quicker (and stronger). I even ran 0.8mm for a while to print several LARGE parts for a hydroponics system, though here you will begin to hit the limits of how quickly a stock/drop-in replacement hot end can melt the plastic.

[–] [email protected] 4 points 1 month ago
[–] [email protected] 8 points 1 month ago

Check your local library system and see if they have pinters the public can use. If they do it's a good way to play with things before committing to a purchase. I've been using onshape to make doodads for the house.

[–] [email protected] 8 points 1 month ago* (last edited 1 month ago)

I have a print farm making stuff for Etsy, so I've seen some stuff.

It's not plug and play, not even the Bambu labs stuff that claims to be. Just understand that you're getting into a hobby that will require that you at least some maintenance and repairs on electro-mechanical components. That's especially true if you buy cheaper stuff, which is more like a hobby kit than a reliable printer.

If you DO have the time and inclination to fix stuff, you can typically get something decent for sub $100 that is having some issue that the current owner can't be bothered to fix. There are tons of broken down Ender 3's out there who's owners would be happy for you to just get it off your hands.

The other half of the hobby is designing stuff, and it is worth learning how to do 3D modeling to make custom stuff. Honestly, just even very basic shapes can be useful. For parametric modeling, I would recommend trying out Onshape. For direct modeling, use Blender.

Then main thing with the 3D printing is: it's not magic, and you gotta use your brain. But if you do, you can manifest your imagination into real, physical objects.

[–] [email protected] 7 points 1 month ago

It's a whole ass hobby. I enjoy it greatly and print frequently. But unless you blow like a thousand bucks on a Bambu, you're gonna learn to set it up, calibrate it, adjust settings...it can be a lot.

But I love it.

[–] [email protected] 5 points 1 month ago* (last edited 1 month ago)

I have one. It's alright. I use it a fair amount because work with electronics so I do build things with it. It's not great for printing this large because it takes a long time (like 8-24 hours) and I don't want it to run when I'm not watching it. So I would say if you have a repeated use case you want it for, go ahead, it is a pretty nifty tool. If you only wanted for one thing, then it might be best to just order the part from a 3D printing service.

[–] [email protected] 4 points 1 month ago

Are you already into CAD or 3D modeling?

[–] [email protected] 4 points 1 month ago

They're definitely cool, I have an OG ender 5 and love it. But I need to echo the sentiments that it's important to know you're going to be tinkering with it.