ErgoMechKeyboards
Ergonomic, split and other weird keyboards
Rules
Keep it ergo
Posts must be of/about keyboards that have a clear delineation between the left and right halves of the keyboard, column stagger, or both. This includes one-handed (one half doesn't exist, what clearer delineation is that!?)
i.e. no regular non-split¹ row-stagger and no non-split¹ ortholinear²
¹ split meaning a separation of the halves, whether fixed in place or entirely separate, both are fine.
² ortholinear meaning keys layed out in a grid
No Spam
No excessive posting/"shilling" for commercial purposes. Vendors are permitted to promote their products/services but keep it to a minimum and use the [vendor] flair. Posts that appear to be marketing without being transparent about it will be removed.
No Buy/Sell/Trade
This subreddit is not a marketplace, please post on r/mechmarket or other relevant marketplace.
Some useful links
- EMK wiki
- Split keyboard compare tool
- Compare keycap profiles Looking for another set of keycaps - check this site to compare the different keycap profiles https://www.keycaps.info/
- Keymap database A database with all kinds of keymap layouts - some of them fits ergo keyboards - get inspired https://keymapdb.com/
view the rest of the comments
You don't need the batteries as long as you leave them plugged into the USB-C the whole time. Since you need one side plugged in the whole time, it doesn't really matter which side you install the one battery... which side would be least intrusive to have a wire running on your desk? The main side (usually defaults to the left side, but can be configured to whichever side you want) does consume more power, so the battery won't last as long on that side.
If you'd like to use the Bluetooth to connect to multiple devices, maybe put the battery on the main side. The USB cable on the peripheral side is only for charging and flashing and can't be used for connecting the keyboard to be used as a wired keyboard. By default, plugging in the main side to a computer will switch it to a wired connection to just that device, though, again, whether the wired connection or bluetooth connection should be prioritized can be configured.
Here is a battery guide for the ferris sweep. : https://docs.beekeeb.com/other-guides/installing-a-battery-to-the-ferris-sweep-v2
The battery was the last part that I soldered on my corne build, though if you have a case you'll have to unscrew the case to do more soldering later.
Thank you! It seems I might be able to just start the build process. Is it easy to install the battery later? I would assume I might need to remove the nice!nano and reinstall it? Would I then need to desolder?
@nan_1337 @Gumshoe do yourself a favor and socket the mcu. You’re going to hate nothing as much as desoldering an MCU again
I am super sorry for being such a noob, but can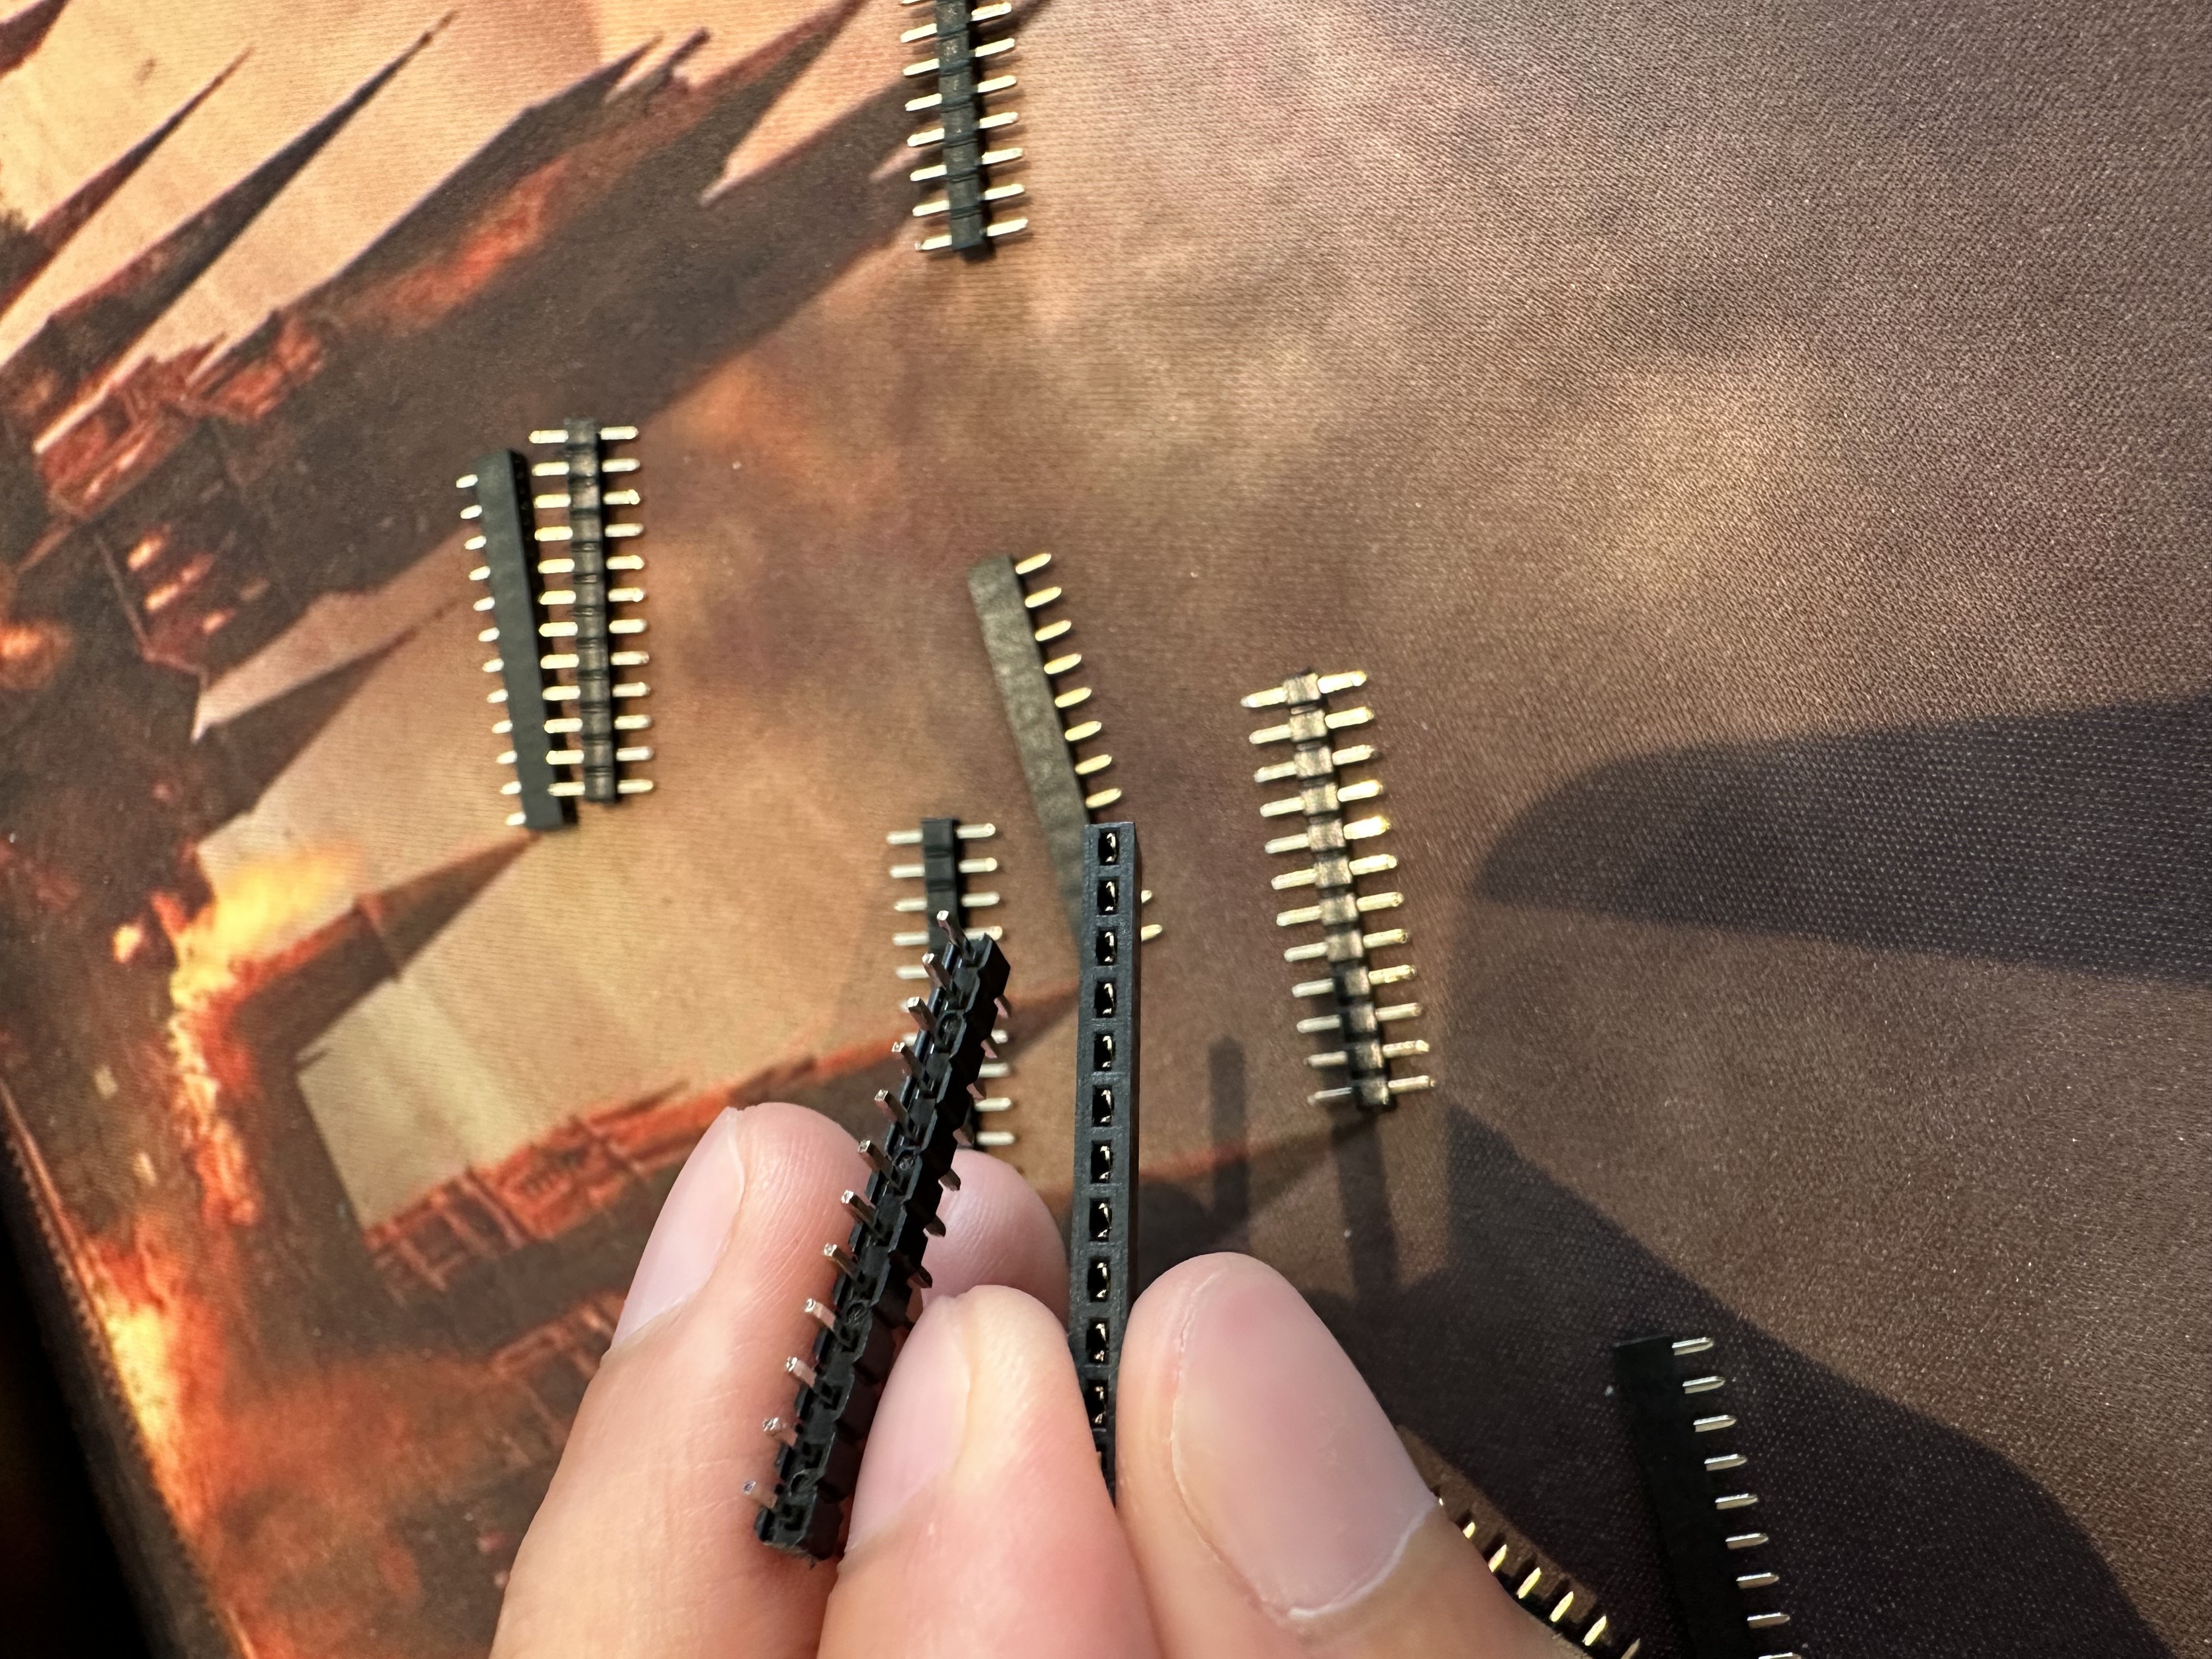 be used to socket the board? And if yes: Do I solder the ones with pins only on one side to the pcb and the other ones to stick into the holes and solder to the nice!nano?
@nan_1337 if they fit each other (and the PCB) the „standard“ would be to solder the sockets to the PCB and the headers to the MCU. And no worries, everyone sarted somewhere 😉