1
12
submitted 1 month ago by [email protected] to c/[email protected]

This may be the wrong place because it's for Blender art itself.. if so, please remove.

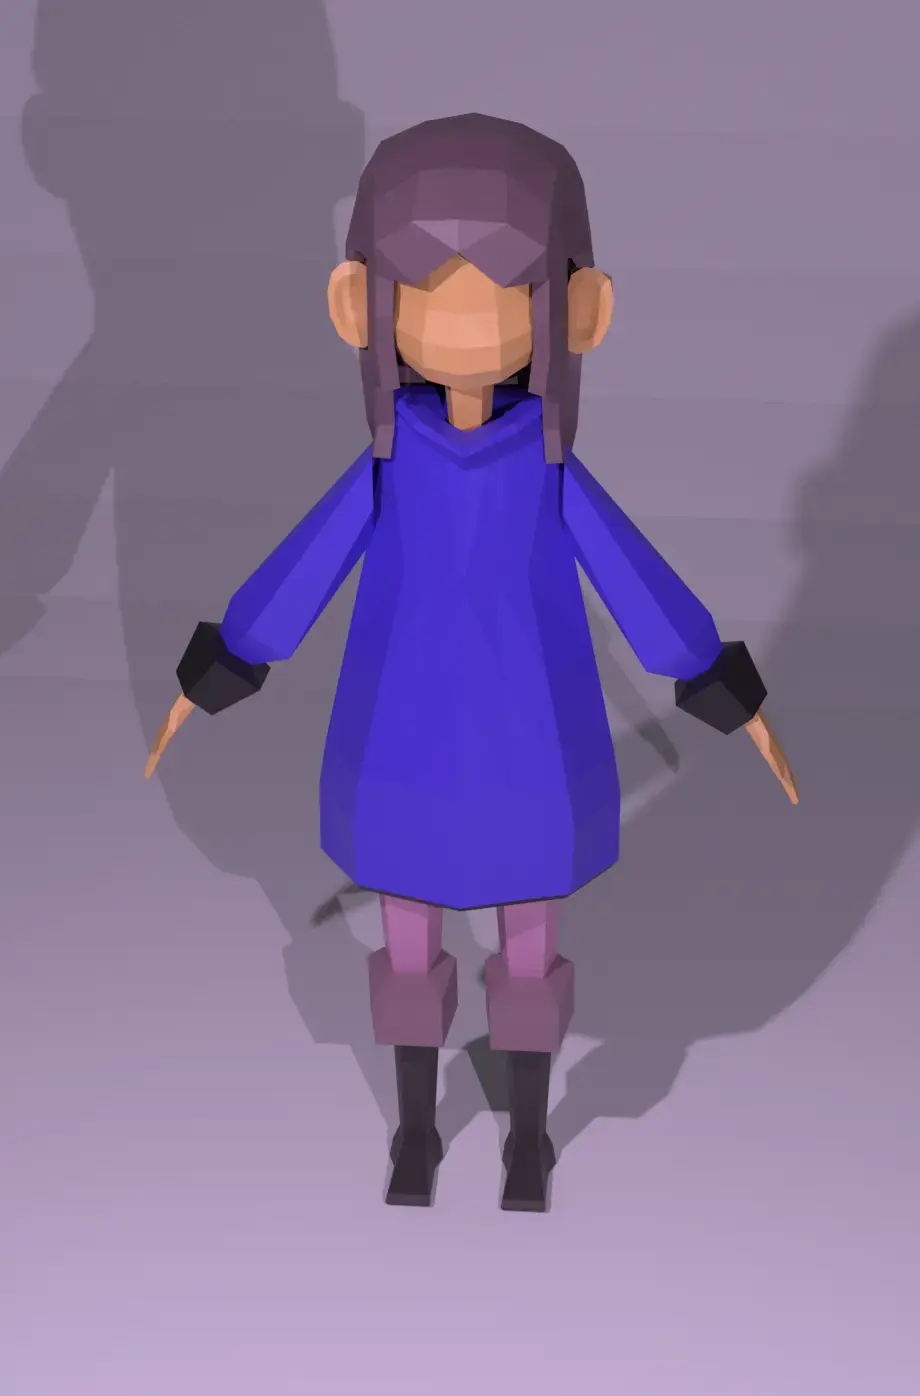
I have an arc. Lets say it's something like the image attached to this post.

How would I bend the tip of one end so the rest of the shape stays uniform and bends evenly / organically? I'm trying to have it keep fairly even proportions and smooth curves.

I've tried a few tutorials on bending, rotating, and they always end up with turns along specific vertices, giving a sharp turn or a stretched effect. "Skew" may be the right term I'm looking for.

2
22
submitted 1 month ago by [email protected] to c/[email protected]

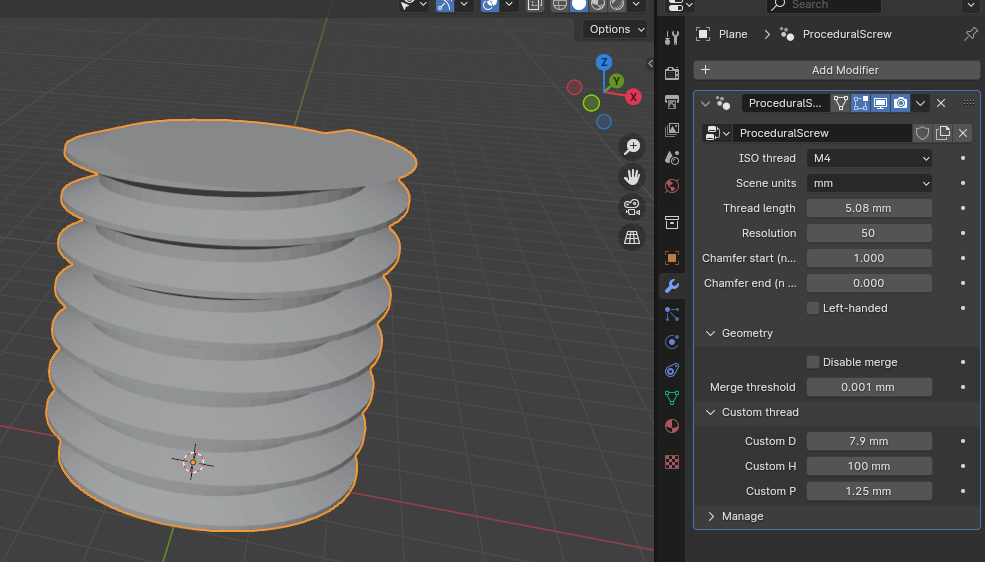
I couldn’t find any good examples of threads generated with geometry nodes, so I made my own following the ISO metric screw thread specifications.

3
44
Hotwheels (sh.itjust.works)
submitted 2 months ago by [email protected] to c/[email protected]

cross-posted from: https://sh.itjust.works/post/18900173

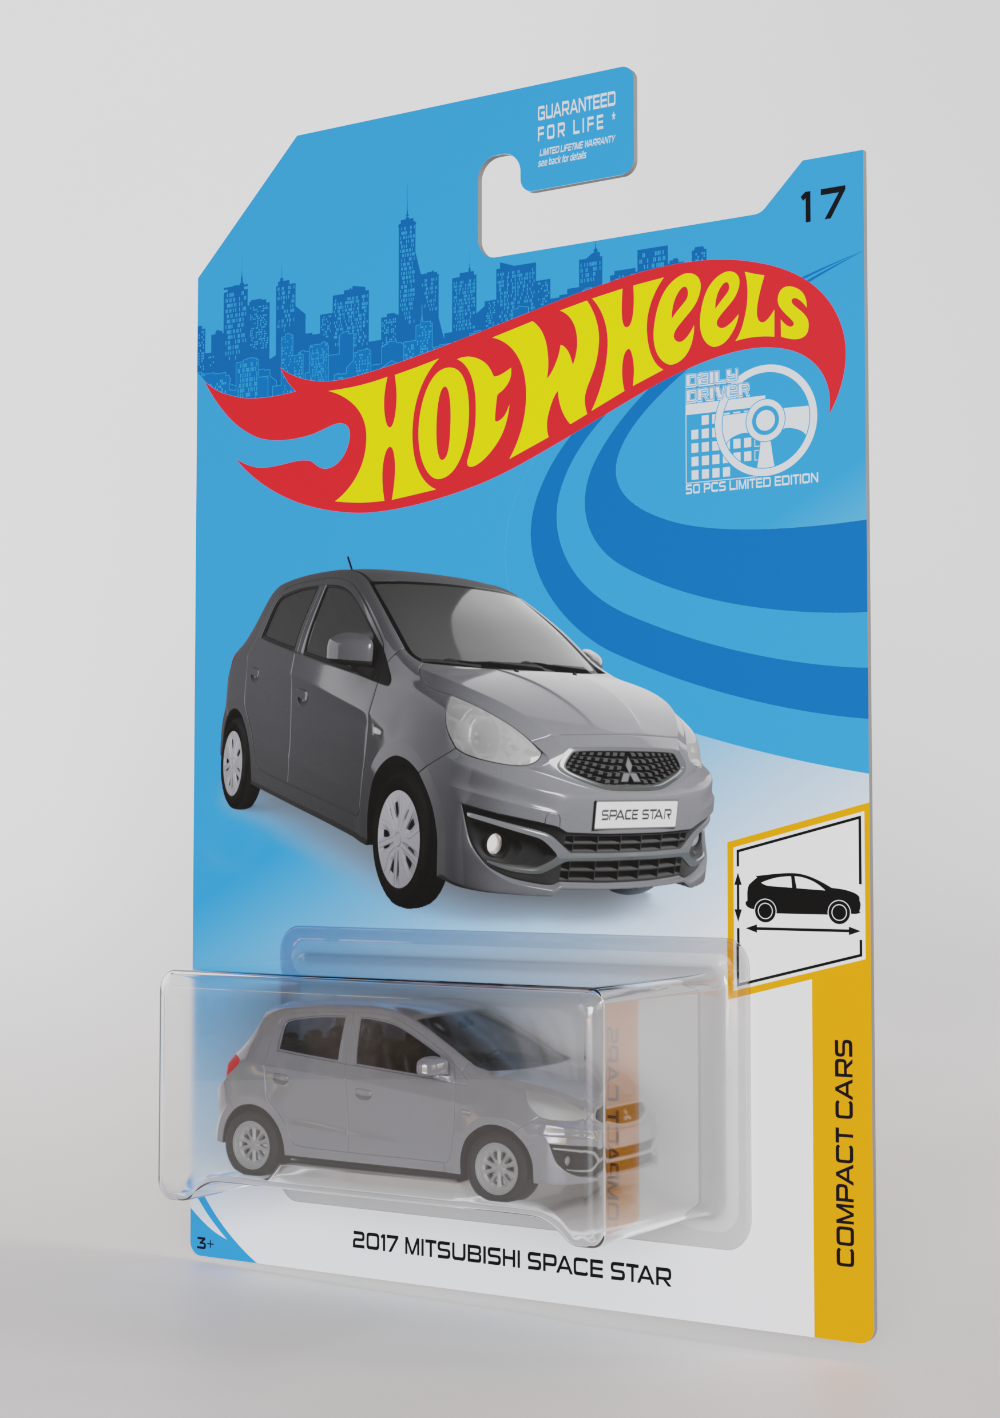
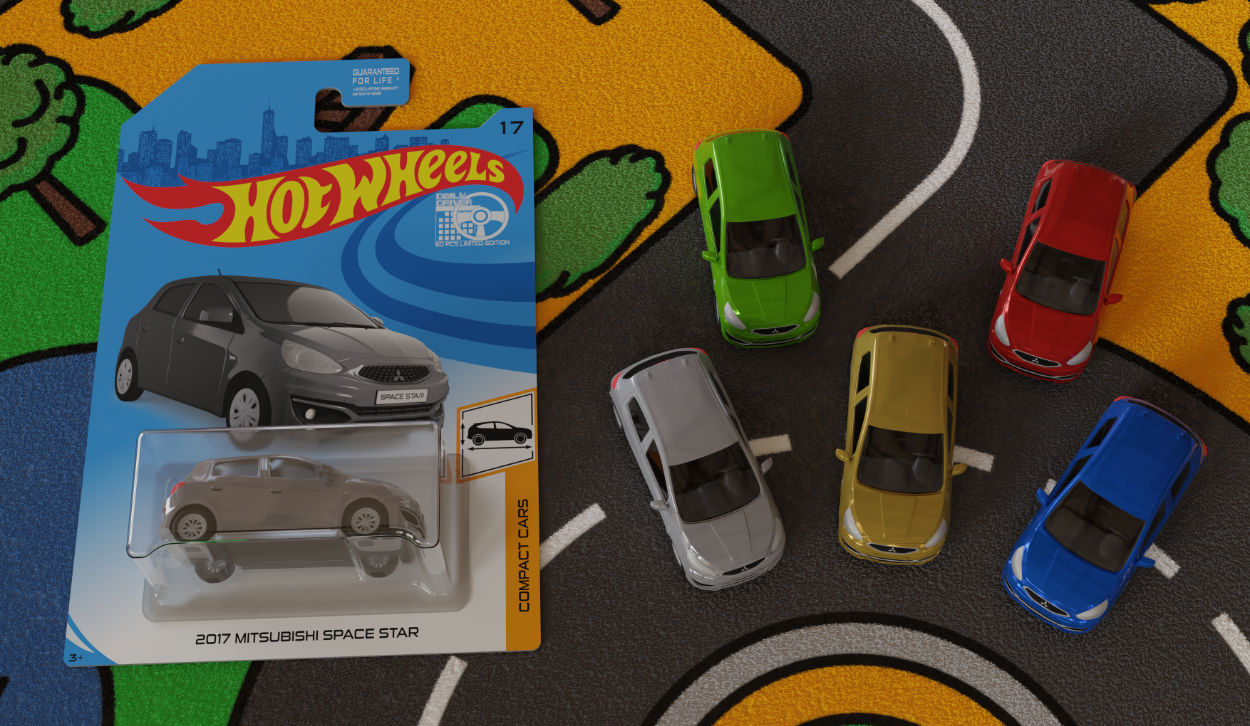
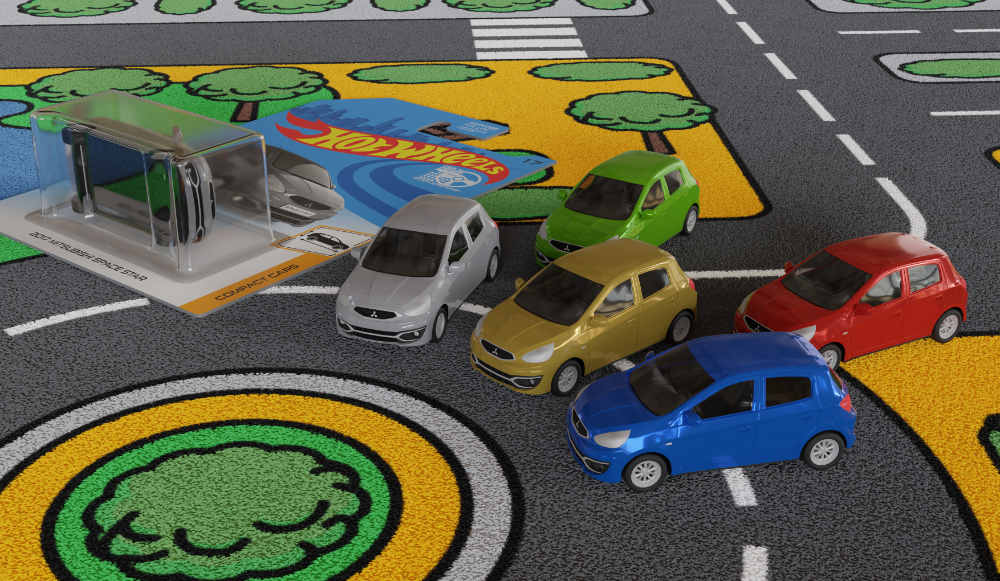
In addition to my last post I want to share another work with you all. I created a toy car from my exsisting model and I also made a packing for it in the style of a Hotwheels toy car packing as if they would have made it.

For the general shape of the cardboard I found a template on the internet. Apparently I wasn’t the first one that came up with the Idea of creating a toy car version of a casual vehicle. This template saved a lot of time in guessing the correct measurements and proportions.

The rendering of the car on the packing was rendered with EVEE since it must not be too realistic. The cars depicted on these real packings are detailed, but look more like a colored illustration, also there are no enviromental reflections. The glass (windshield) is opaque. I added the „Space Star“ writing to the number plate, which usually would be on the trunk door. Without the number plate the picture of the car would be somewhat empy, although the depictions of cars from genuine Hotwheels packings don’t show number plates since these are mostly racing cars - or at least not boring everyday cars.

With EVEE I was able to render the scene without any background because the rendering was put onto the cardboard design which I created in Affinity Designer entirely.

For the bilster packing I used the subdivison surface modifier for smoothness and the solidify modifier to add a little bit of thickness.

To make my car model appear like a toy car I had to apply some changes to it. The most noticeable one is the tires. I found out that toy cars only have a few basic tire designs which are shared between all kinds of cras. I made another set of tires with the help of the array modifier. Additionally to that I made the tires way wider than they would be in real life. The original car model has raher thin tires.

Another thing I did was to remove all additional things like the decals, the windshield wipers the number plates and the antenna. Also I changed the material of many plastic parts (e.g. the mirrors) to the color of the paint. Usually the scale of these toy cars is 1:64. That means the length of the car is about 6 cm or 2.36 Inches. There are not many details visible.

I changed the material properties as well. The head and taillights of reals toy models seem to be painted on, so I scaled down the transmission value and scaled up the roughness value for these materials.I changed the chrome material to a less reflective one as well.

For the composition of the packing and the unpacked toy cars I choosed a road area rug. I guess many of you had one of these - at least I had one. For the fluffiness effect I used hair particles. Since it was not possible to find a good picture on the internet I was forced to re-draw the carpet using a blurry picture as a template. I did that in Affinity Designer. Then I used that drawing as an image texture. The carpet has 8 million hairs (at 10 million my laptop crashes) and working with that many particles was a pain in the ass. I saw the spinning beach ball a lot. Maybe that is the one of the reasons why desktop computers still have a place.

For all renderings I used Cycles.

I didn’t track time so I don’t know how long all of this took me. What I can say is that the drawing of the carpet took me about 9 hours, and the setup with the hair particles took almost all weekend.
4
26
A car [OC] (sh.itjust.works)
submitted 3 months ago by [email protected] to c/[email protected]

cross-posted from: https://sh.itjust.works/post/17781622

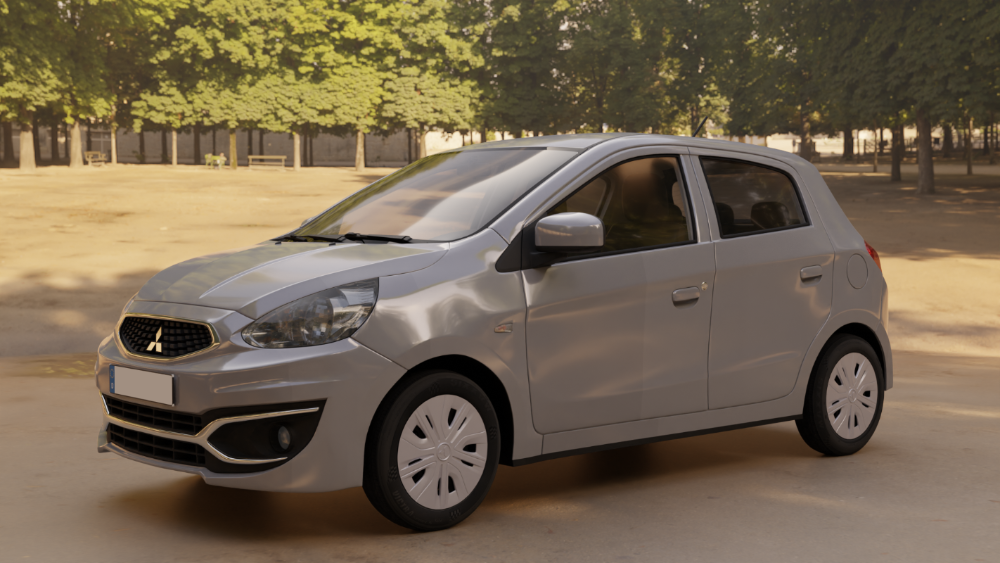
This is my latest work - a Mitsubishi Space Star (also marketed as Mitsubishi Mirage) modelled in Version 3.6.9.

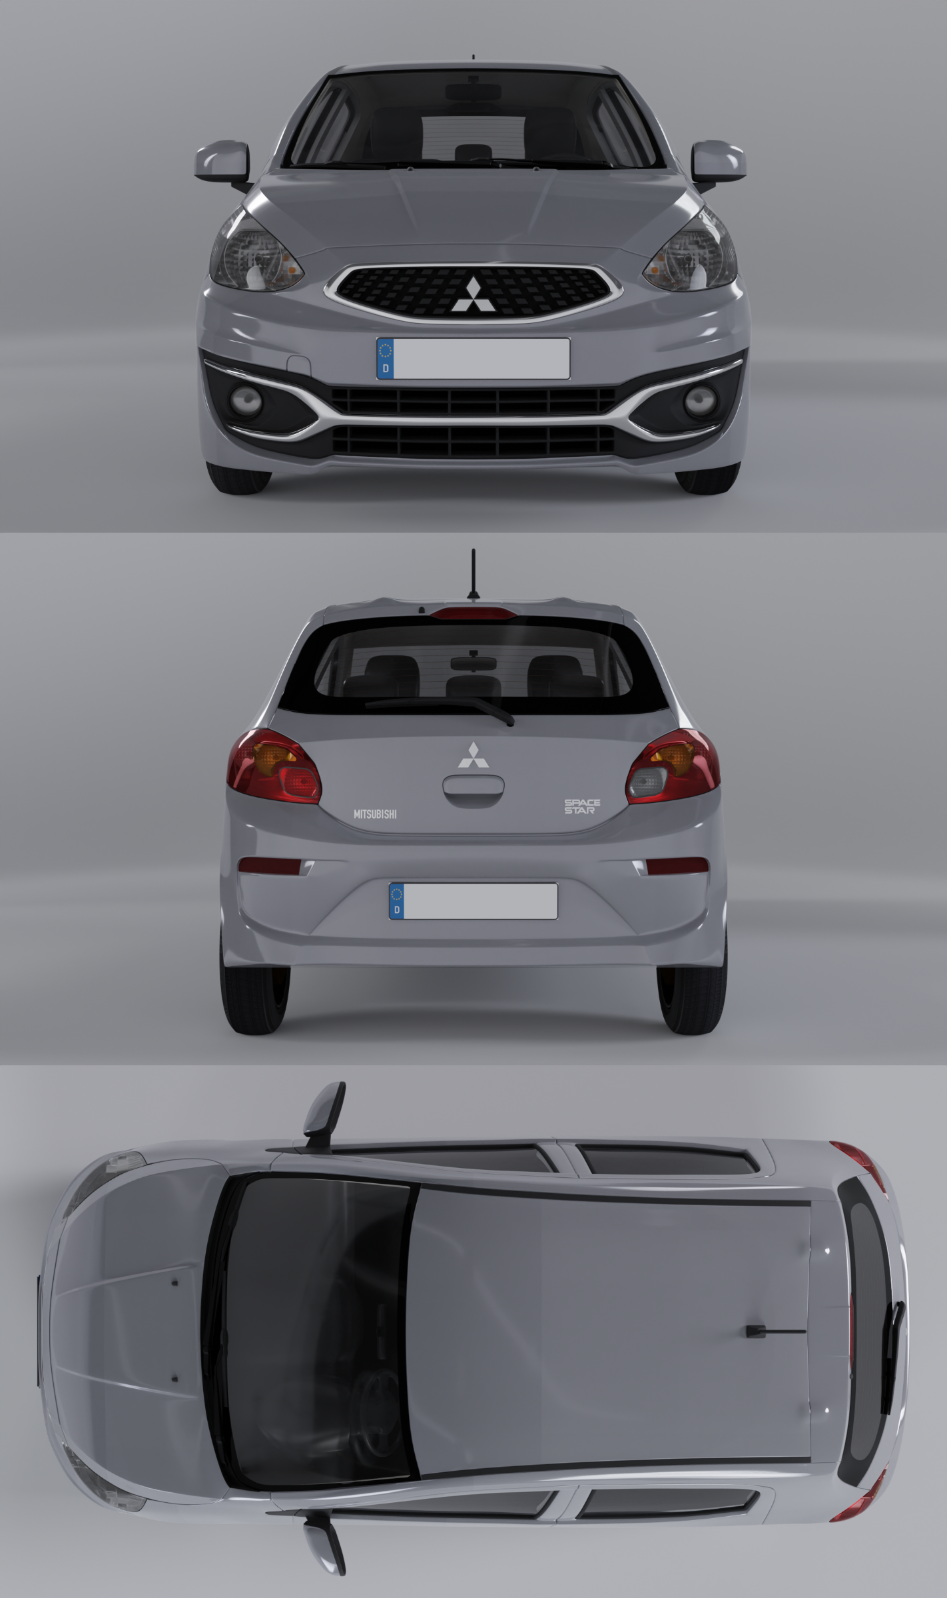
It took me approximately 180 hours which spread over the course of 6 weeks (Blender, modelling only) as well as an additional 8 hours for tracing the side, front, back and top view (using Affinity Designer) which I used as reference images to create the general shape.

All details were built with eye measure from photos.

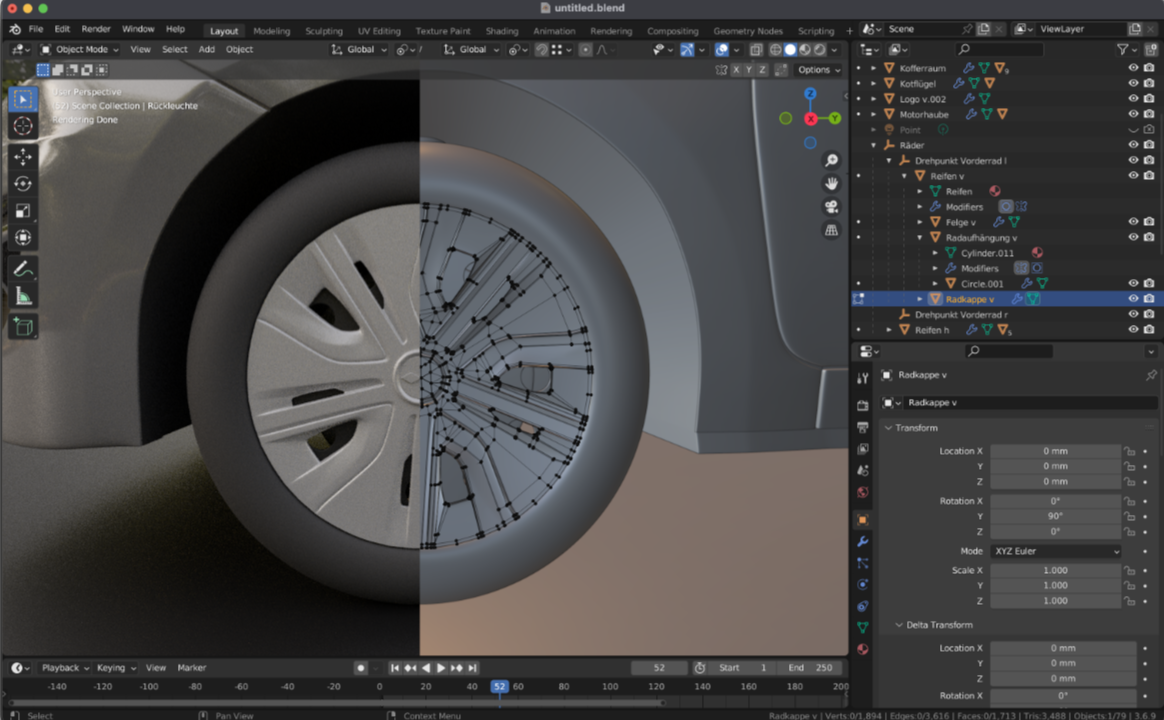
Most of the car is symmetrical, which means that only one half had to be built. I used the mirror modifier for almost everything as well as the subdivision modifier, shrinkwrap modifier (for the decals and the back lights) and array modifier (for the grille and for the heating lines in the back window, also for the wheel caps to an extent).

As mentioned above it took some hours to complete the work. One reason might be that the work process is much slower than anticipated, due to lack of knowing all the tricks and features.

My question to you is: Do you also spend so much time creating your work with Blender?

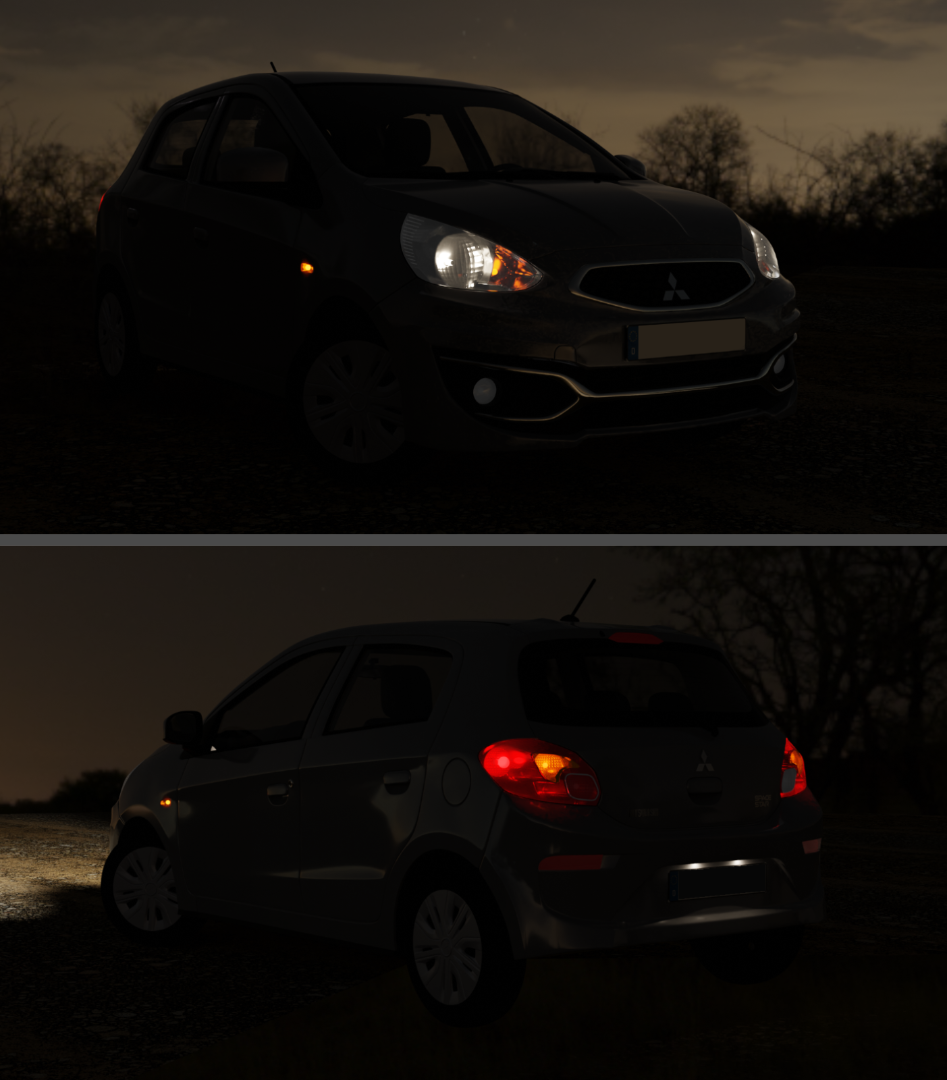
The result (for the upload I removed the number plates):

5
21
submitted 3 months ago by [email protected] to c/[email protected]
6
14
submitted 3 months ago by [email protected] to c/[email protected]
7
6
submitted 5 months ago by [email protected] to c/[email protected]
8
22
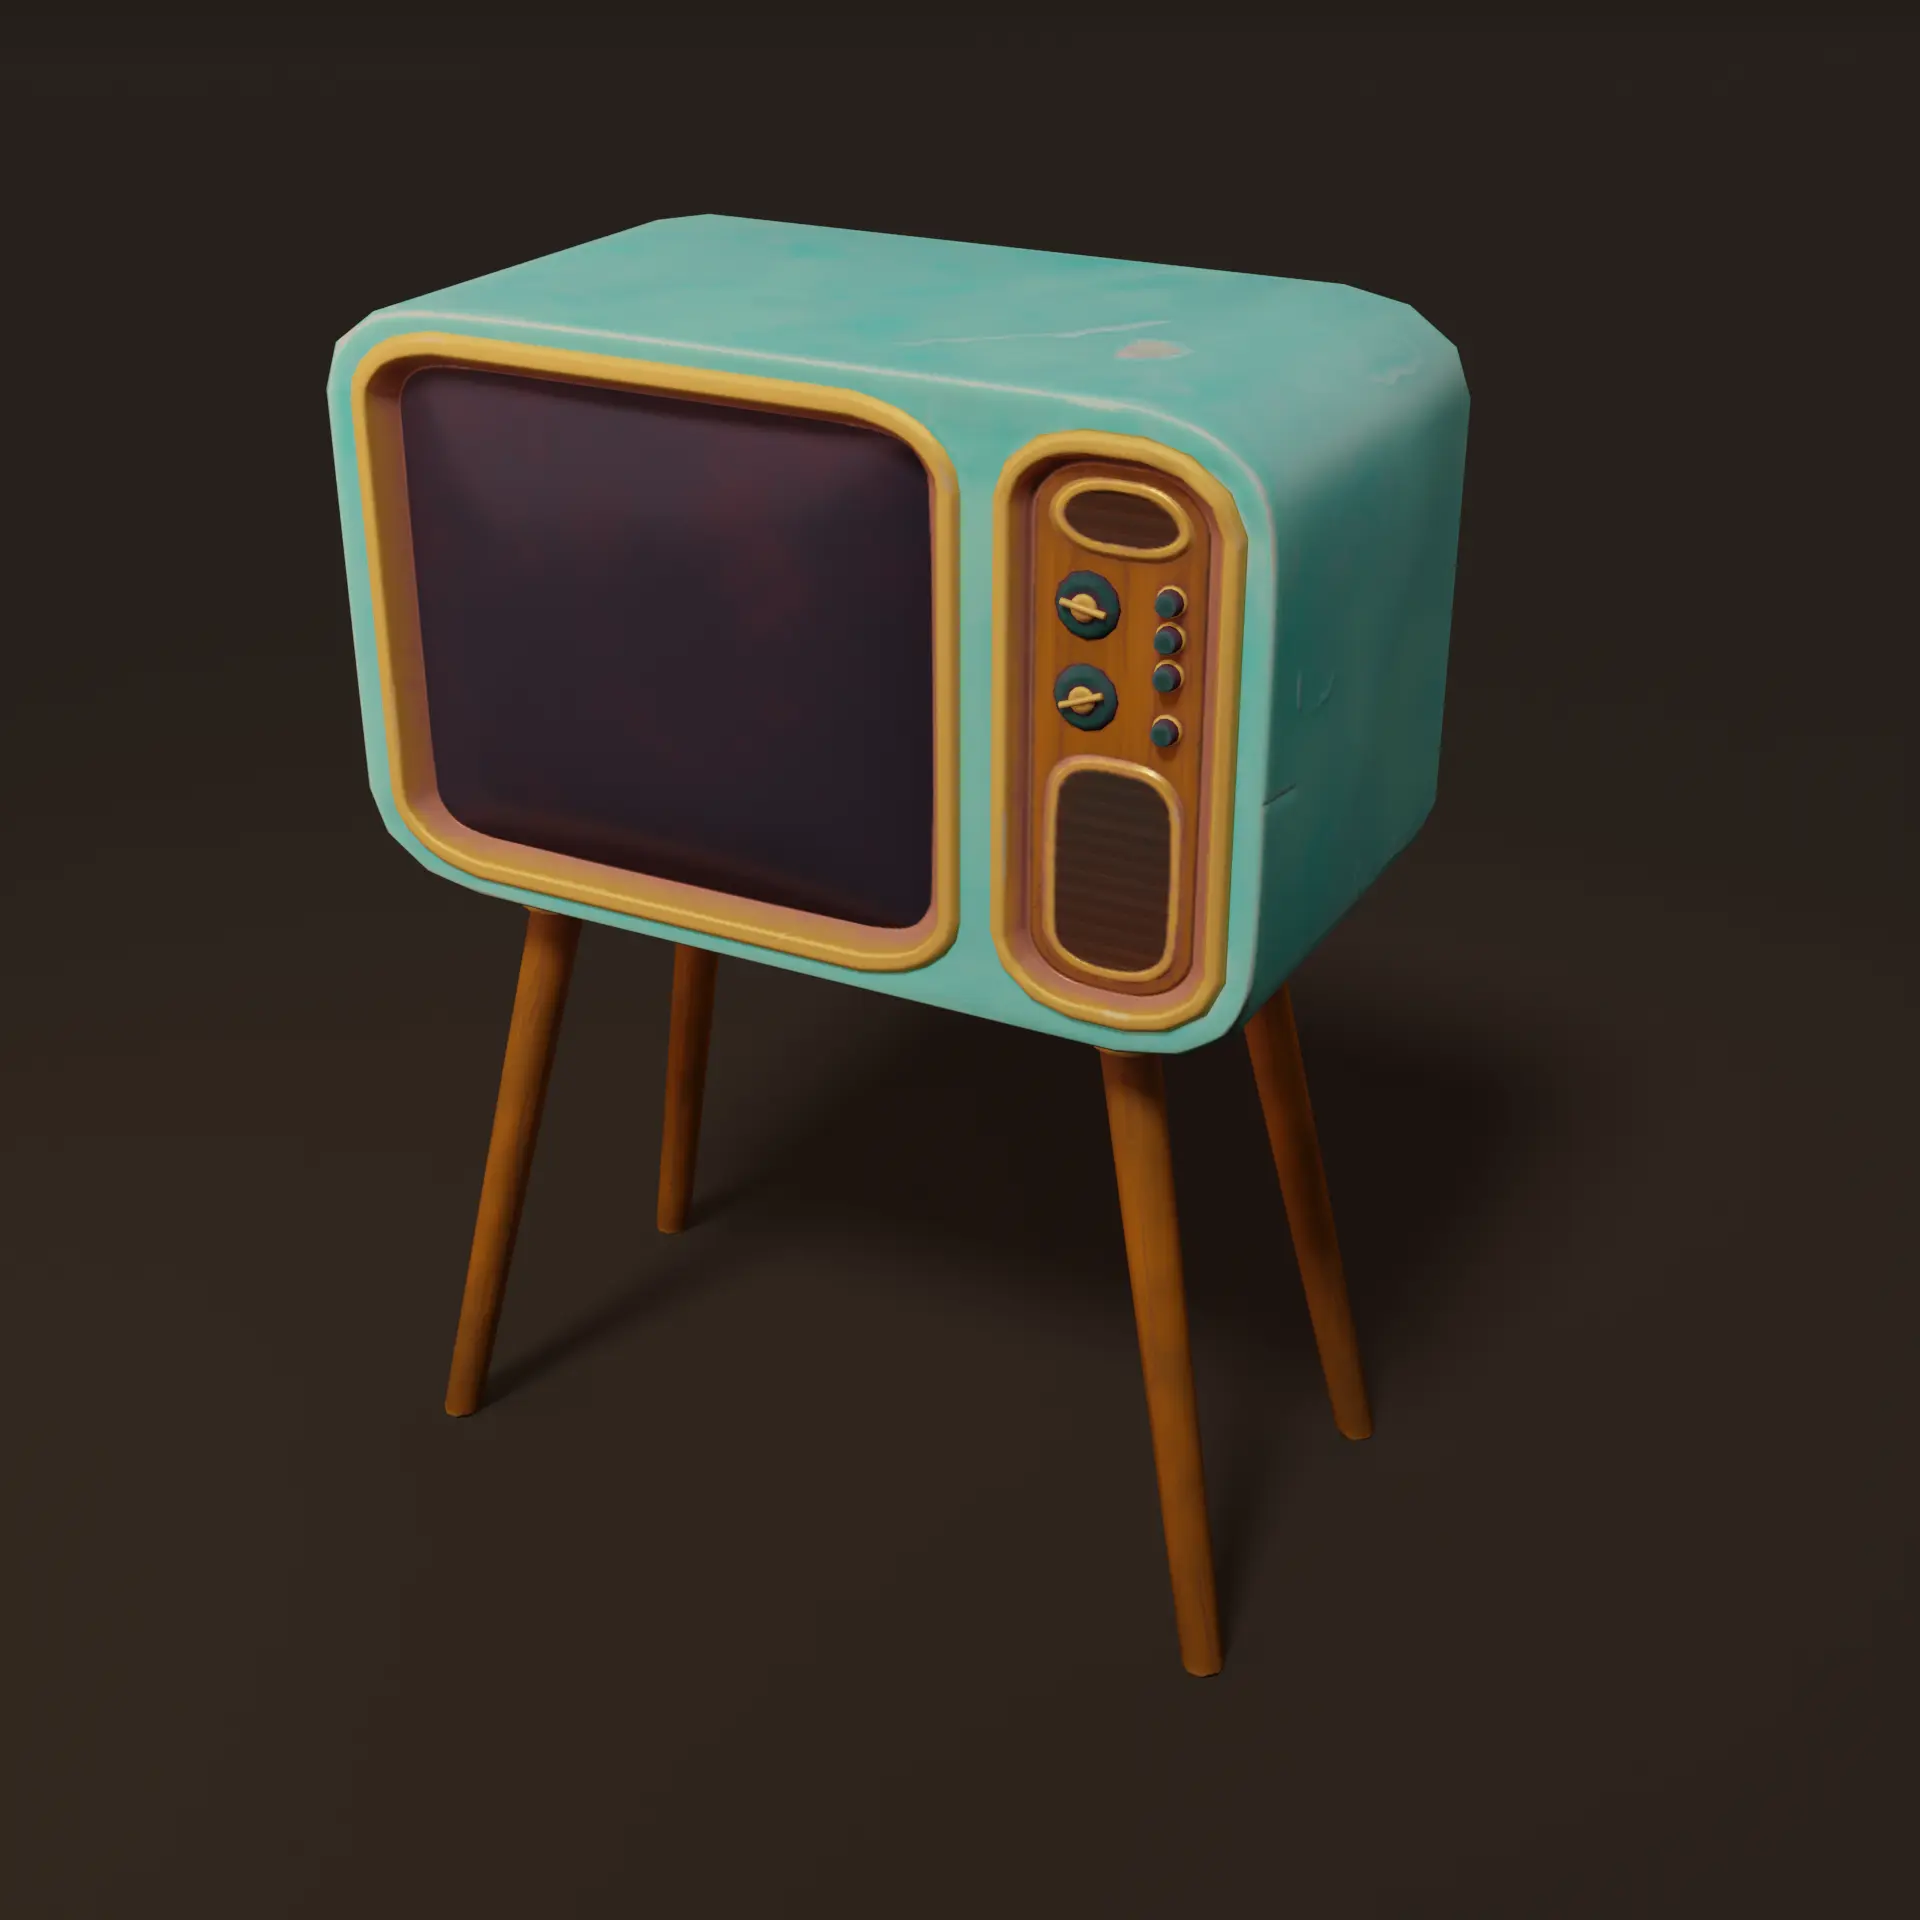
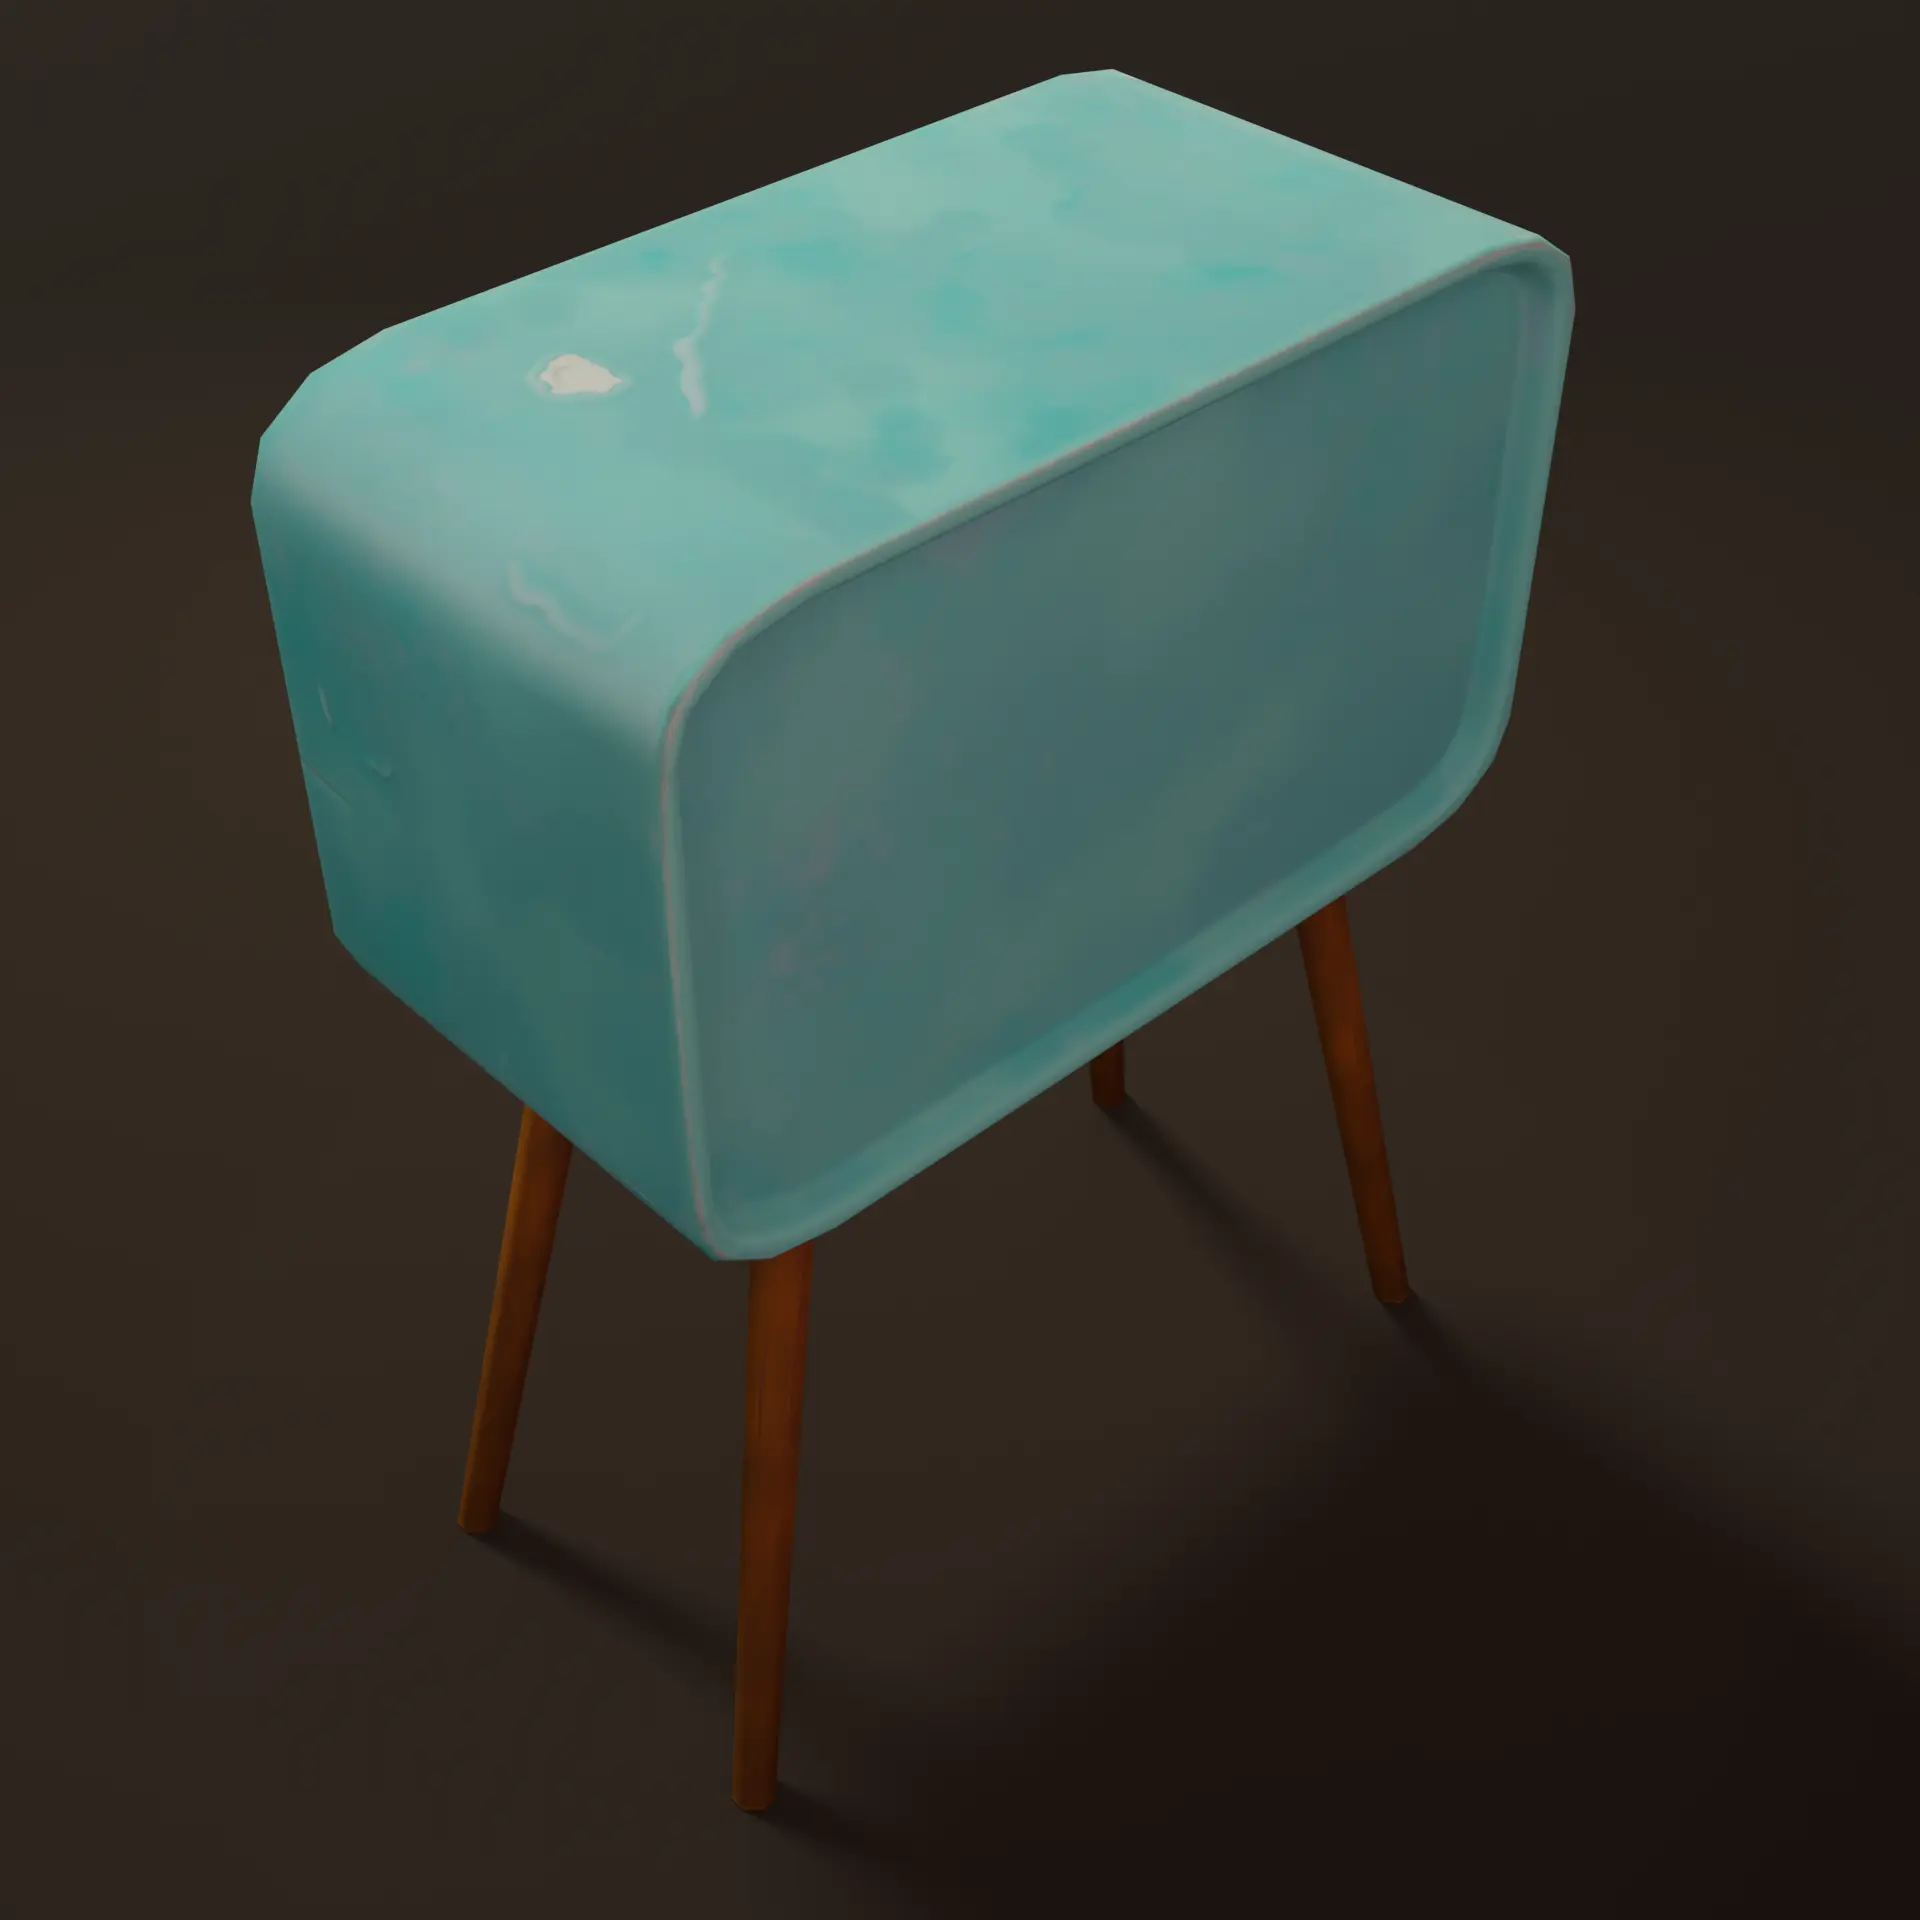
Retro TV (lemmus.org)
submitted 5 months ago by [email protected] to c/[email protected]

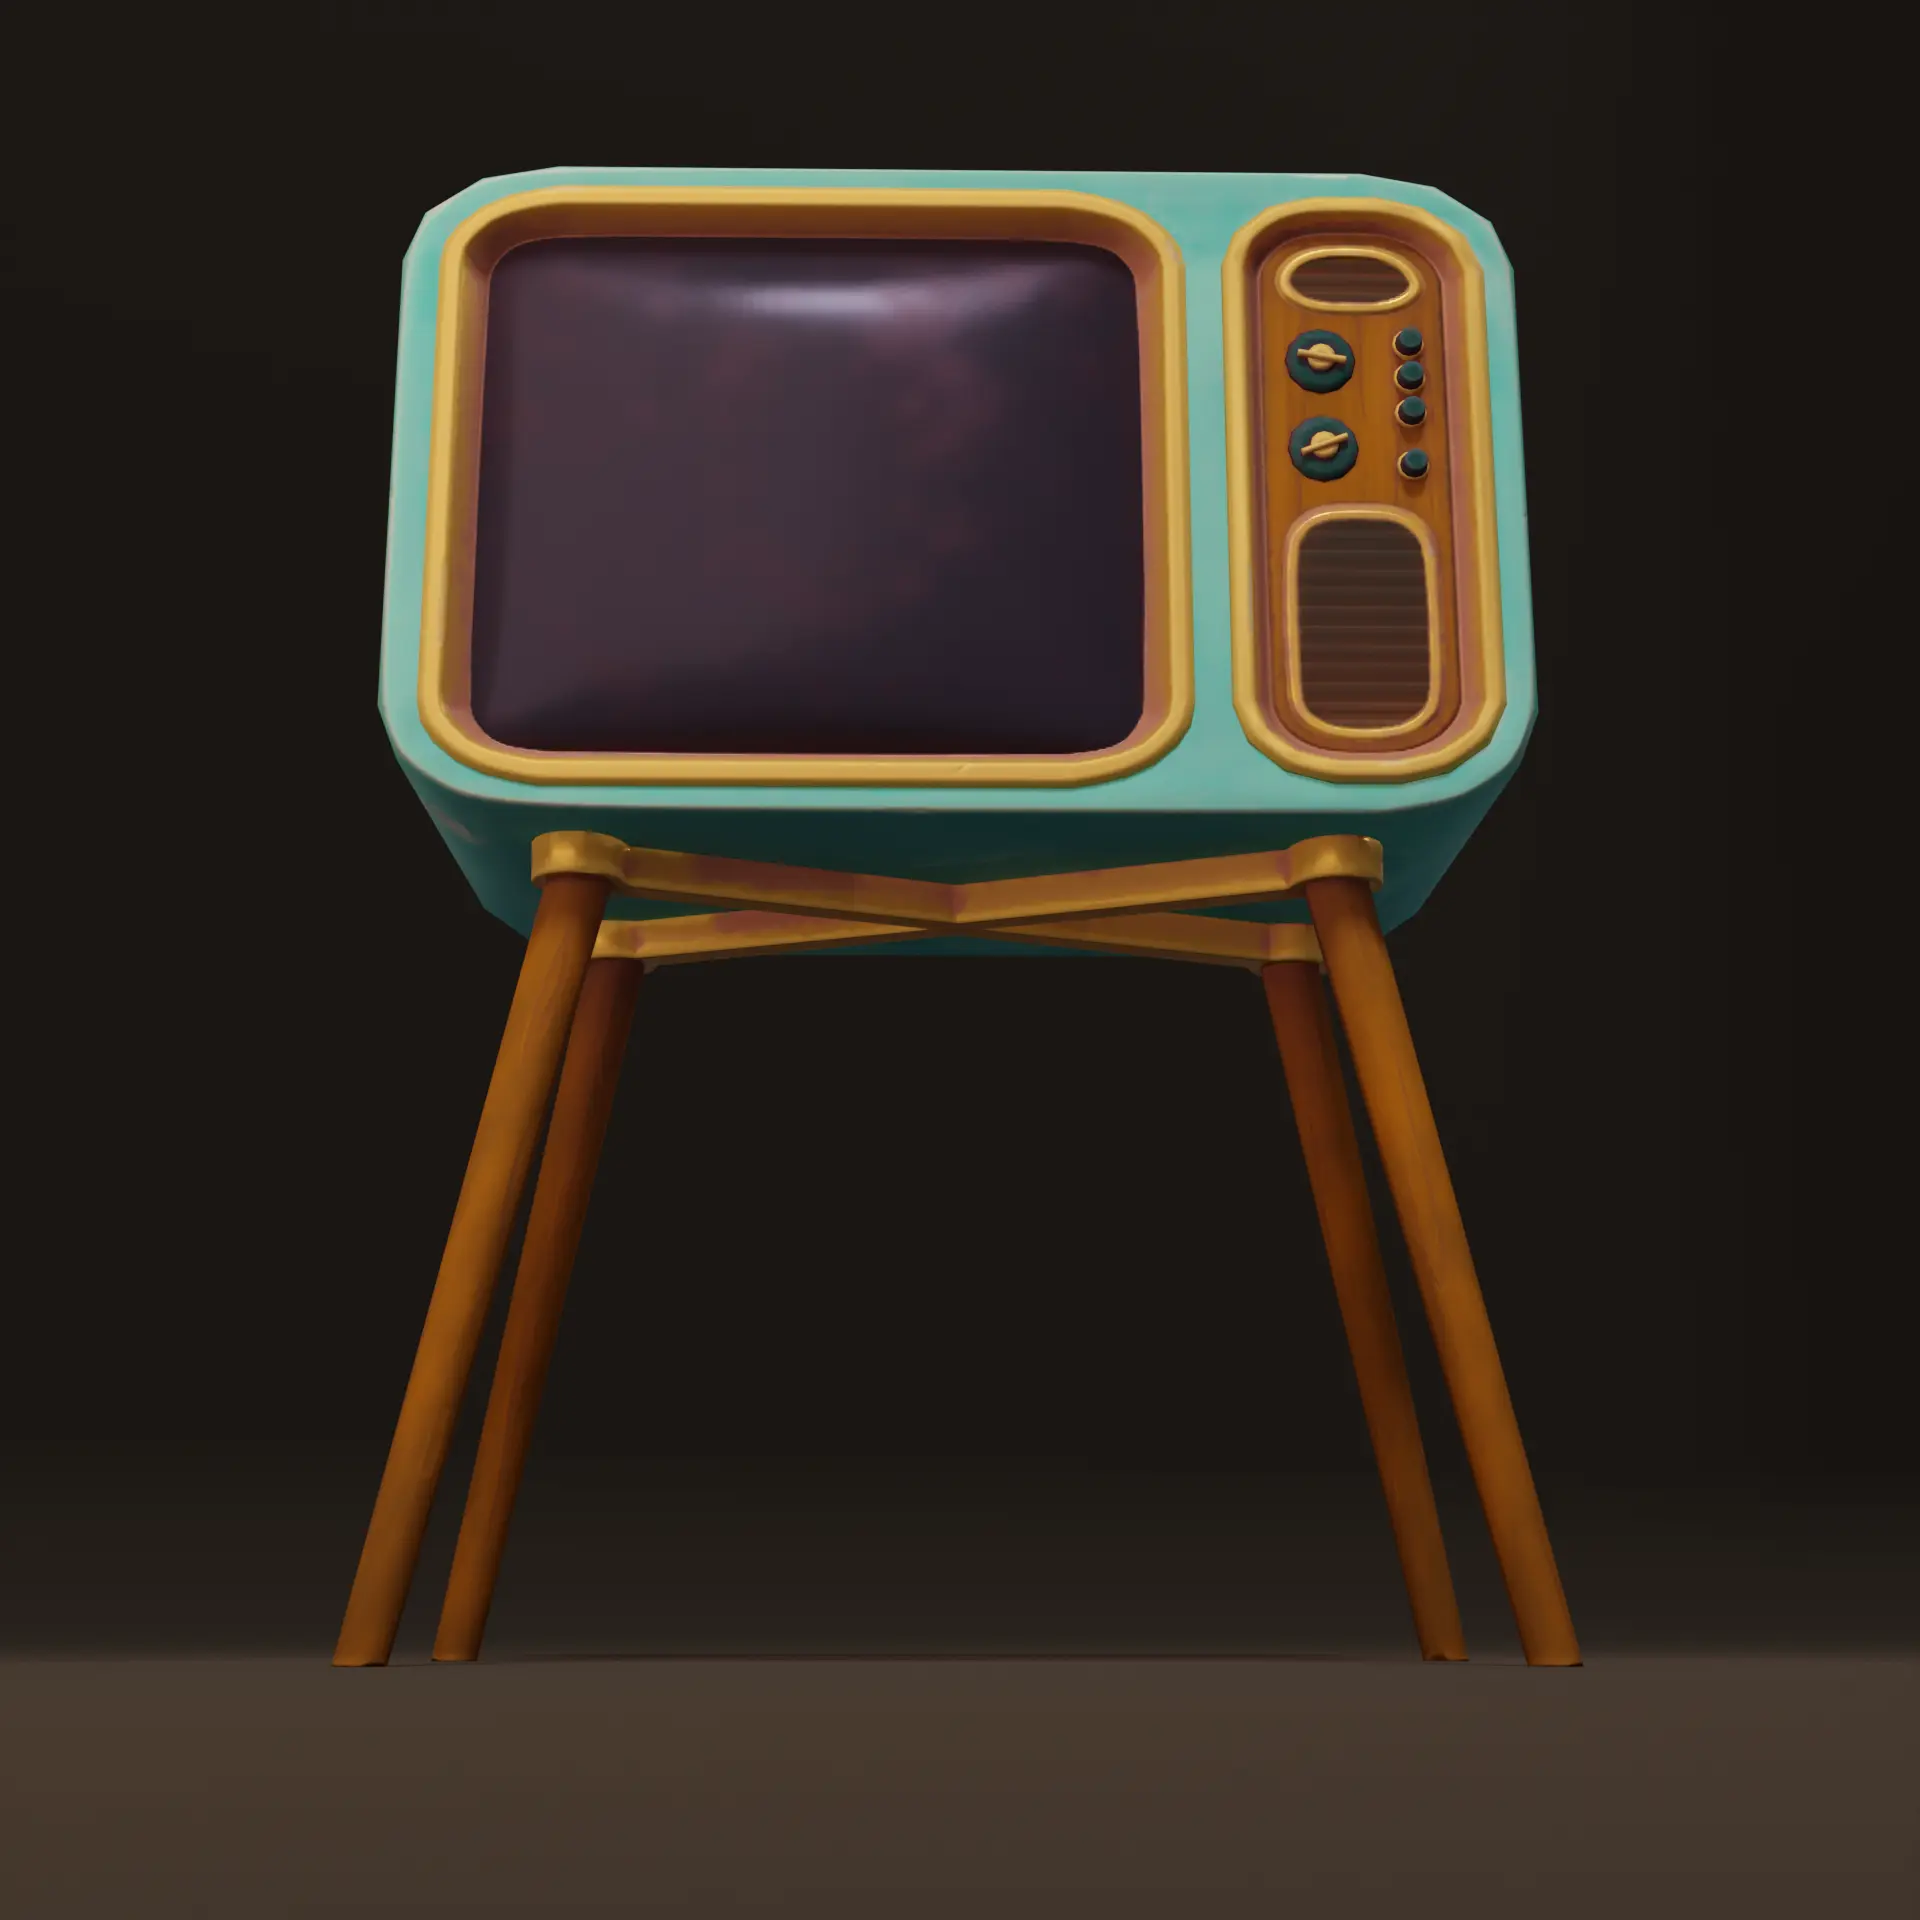
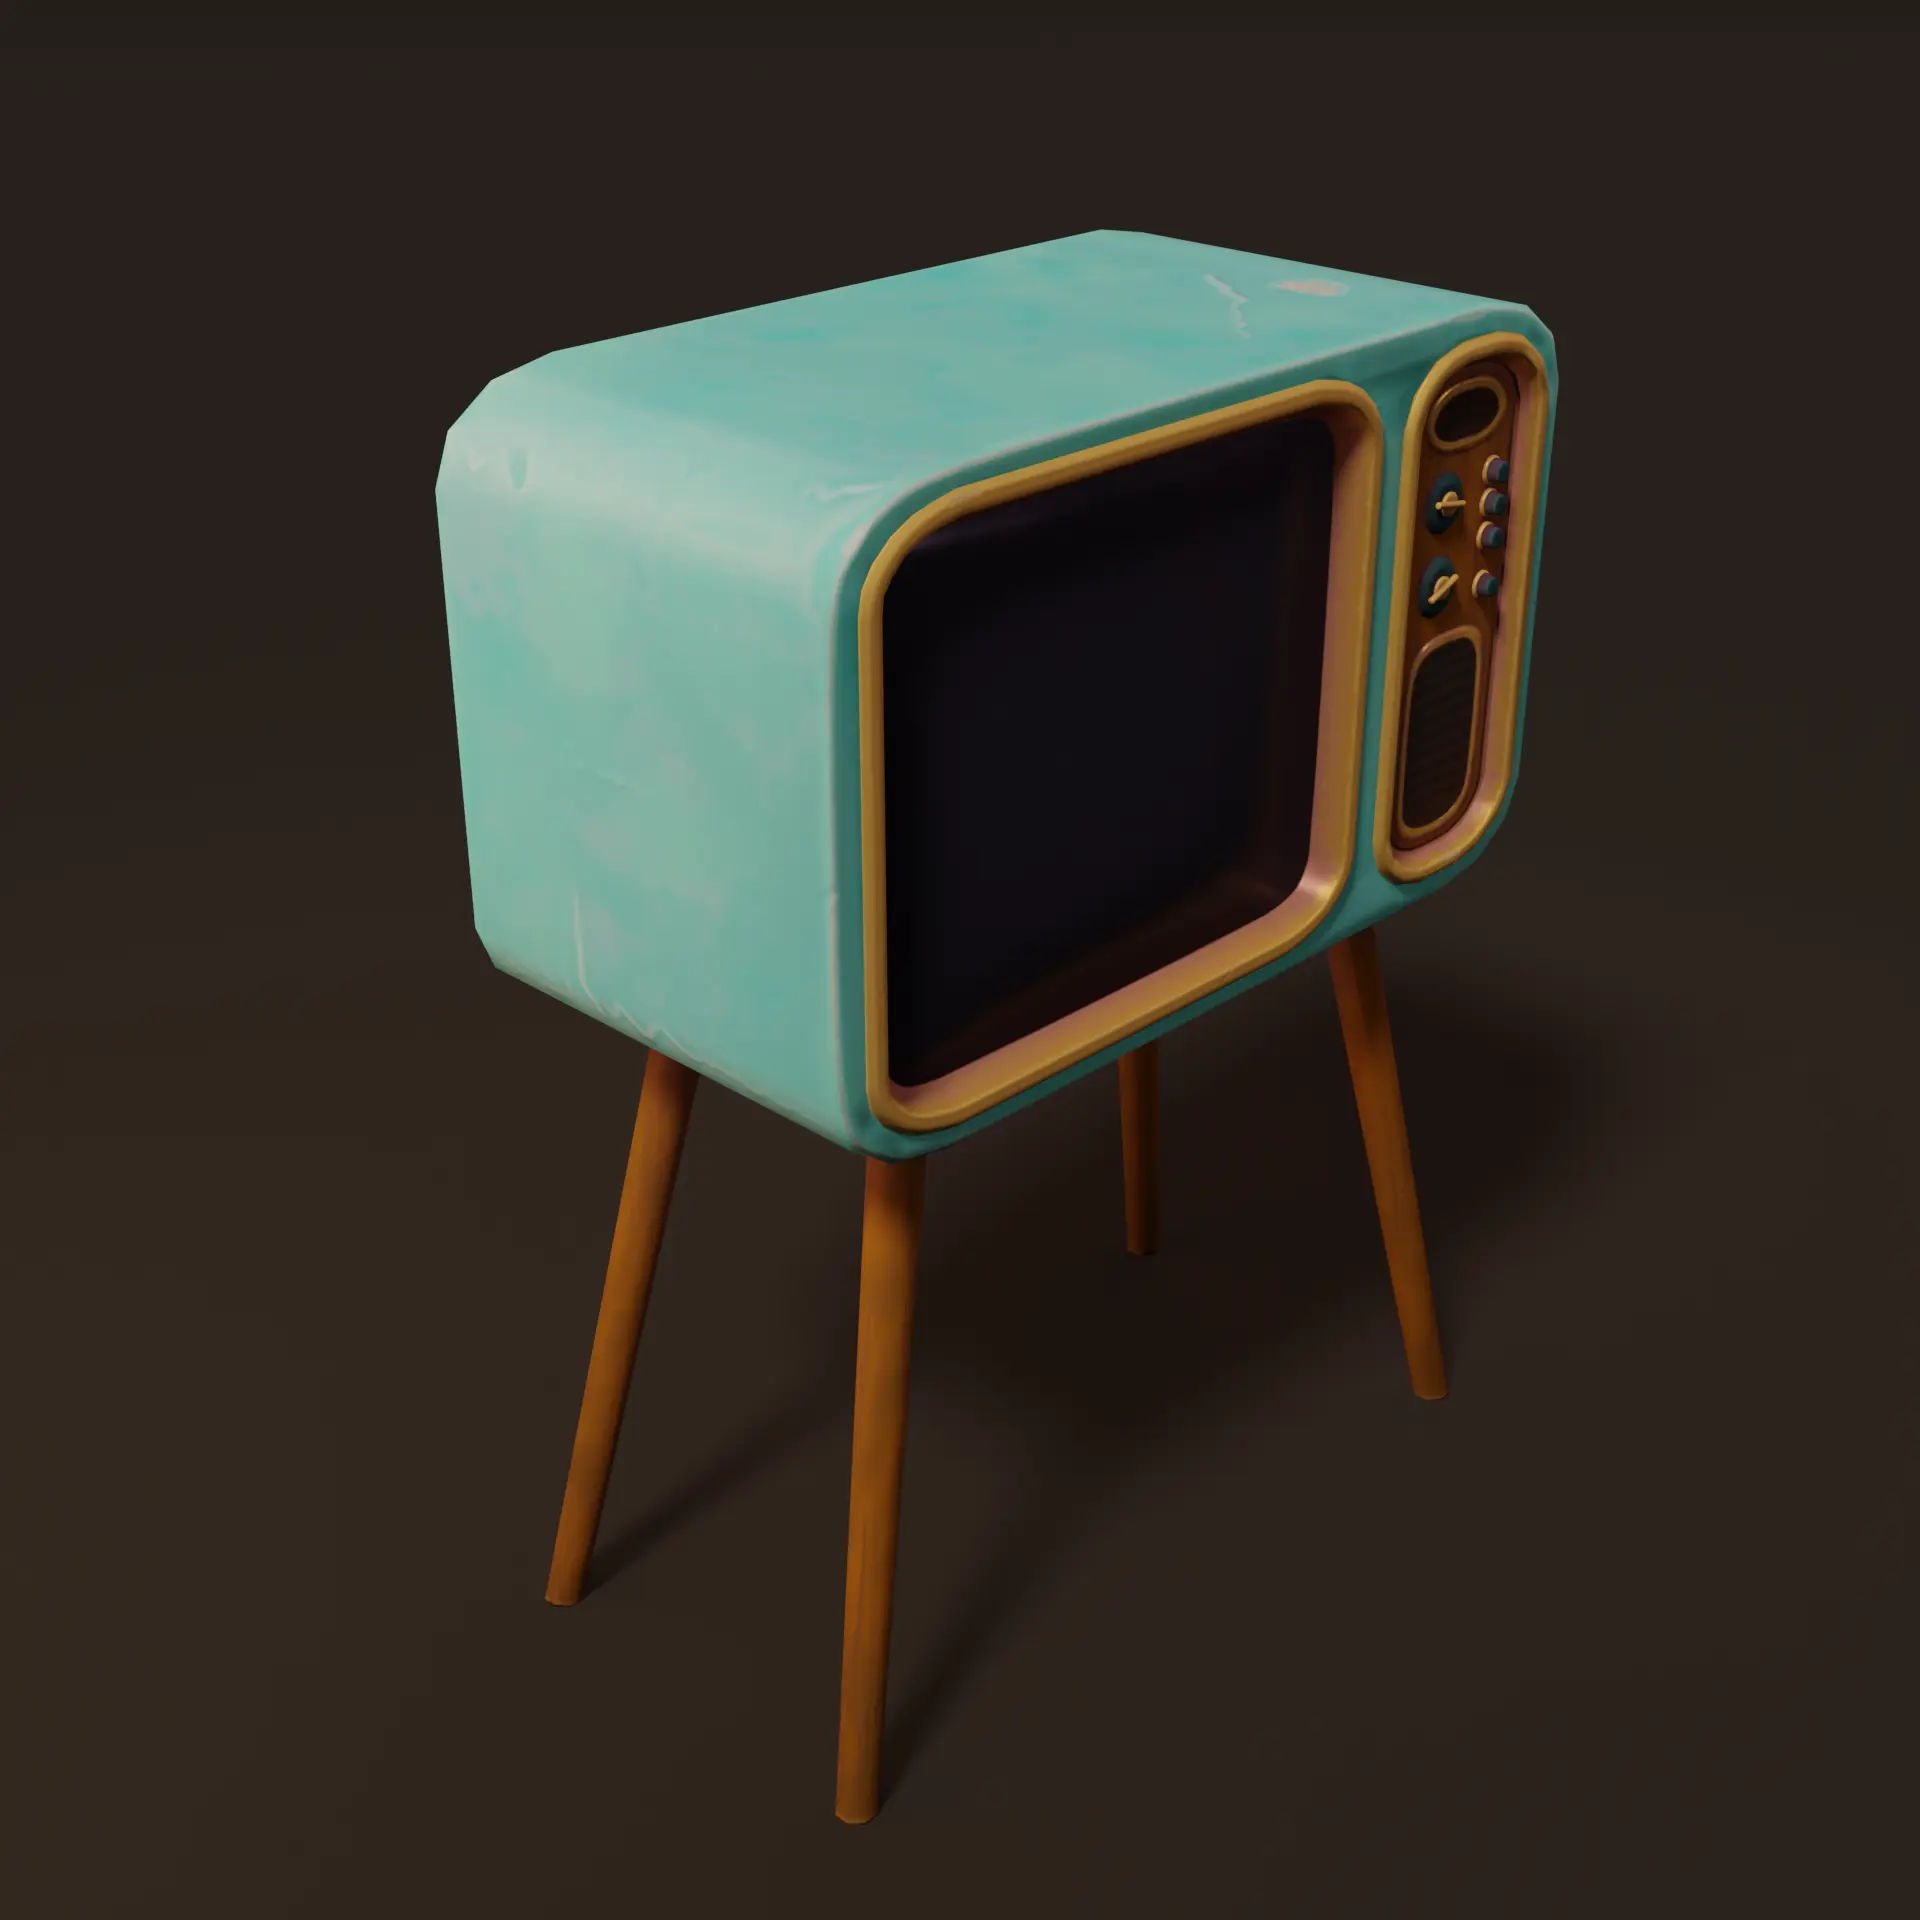
After a long break, I returned to 3D and made this TV for a game that my husband and I are making.

Textures 1024*1024

Vertices 1346

Triangles 2294

9
33
submitted 6 months ago by [email protected] to c/[email protected]

Amazing milestone!

Also testing federation

10
11
submitted 6 months ago by [email protected] to c/[email protected]

cross-posted from: https://lemmy.ml/post/10222248

I recently switched from Windows to Manjaro because i tied it for some time on my laptop and really liked it.

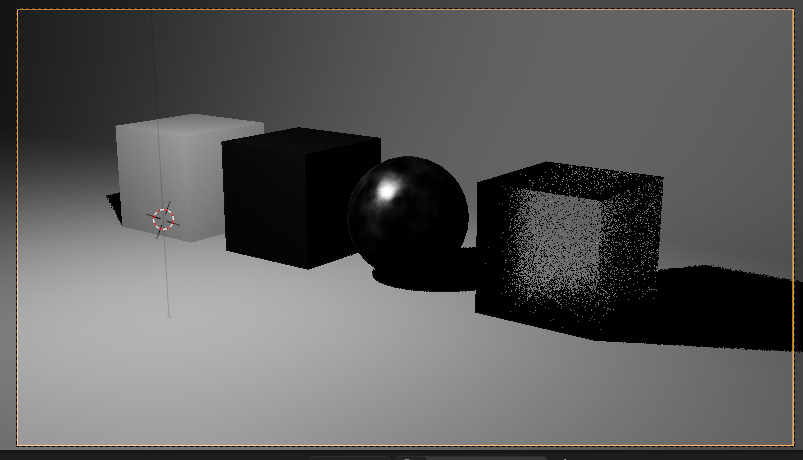
But now I have major problems with blender 4.0 Cycles HIP rendering on my PC. I tried amdgpu-pro-oglp, hip-runtime-amd and hip-runtime-amd-blender but i get strange shading with progl blender and hip-runtime-amd-blender, with hip-runtime-amd blender crashes when selecting gpu rendering. I use a "radeon 5600 xt" GPU and everything worked fine on Windows, but i really don't want to go back to Windows

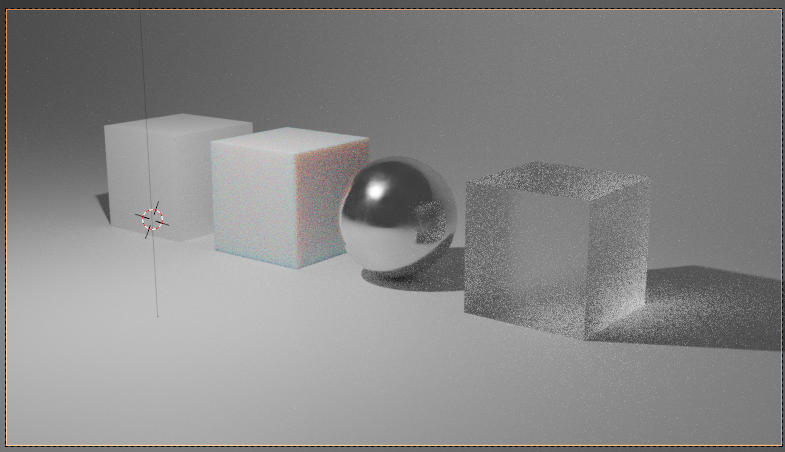
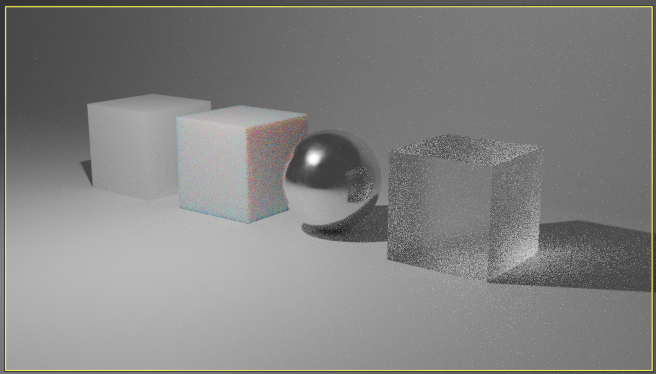
Everything works fine in blender 3.6 LTS I created a simple scene to show the problems on the left is simple principled bsdf, middle left is principled bsdf with full SSS the sphere is metallic and the cube on the right is glas:

  1. Blender 3.6 (GPU HIP, works fine thats how it should look)

  1. Blender 4.0 CPU rendering (works fine)

  1. Blender 4.0 GPU (HIP, not working, sometimes crashing)

Pls help its pretty important for me that newer versions of blender work. If you need more information just ask.

11
20
Blender 4.0 - Reel (kbin.social)
submitted 8 months ago* (last edited 8 months ago) by [email protected] to c/[email protected]

Enjoy this showcase of amazing work done by the Blender Community.

See everything new in Blender 4.0 LTS https://www.blender.org/download/releases/4-0/

edit:
So this is not how to cross-post on kbin... sorry for extra click. Can't change the link now.

12
7
submitted 9 months ago by [email protected] to c/[email protected]
13
14
Video: Making Of A Dice [OC] (www.dailymotion.com)
submitted 10 months ago* (last edited 10 months ago) by [email protected] to c/[email protected]

This is a screencap video of the making of a dice in Blender. When I made this video I had about a week of expreience with Blender an I watched some tutorials before. This is trial no. 20 (probably), which had a sufficient outcome. This is the first model I made which was worth keeping. I took adwantage of the boolean modifier as well as of the bevel modifier.

14
6
submitted 10 months ago by [email protected] to c/[email protected]

cross-posted from: https://feddit.de/post/3106023

Six weeks ago I started to learn Blender and have spent every spare minute with it ever since, including my summer vacation. After working through the manual and watching several tutorials online, I followed the Donut Tutorial and the Søborg Chair Tutorial, both are aimed to beginners, by Blender Guru on Youtube which really helped to understand the logic of the program.

Here is the result: I modelled and animated my MacBook Pro. The modelling process took approximately 3 weeks (after work and on the weekends), with many setbacks and two crashes during the animation process. The laptop screen film clip, which is a screen capture made with Qucktime Player, inside the main animation must have been too much at this point and resulted in a crash twice. The setup of the animation took me the whole weekend - rendering the 693 frames in total took approximately 18 hours.

To get the proportions of each part right, I made vector drawings from illustrations and photos of the macbook. I might add that I made these vector drawings using Affinity Designer at an earlier occasion which was unrelated to this modelling project.

15
15
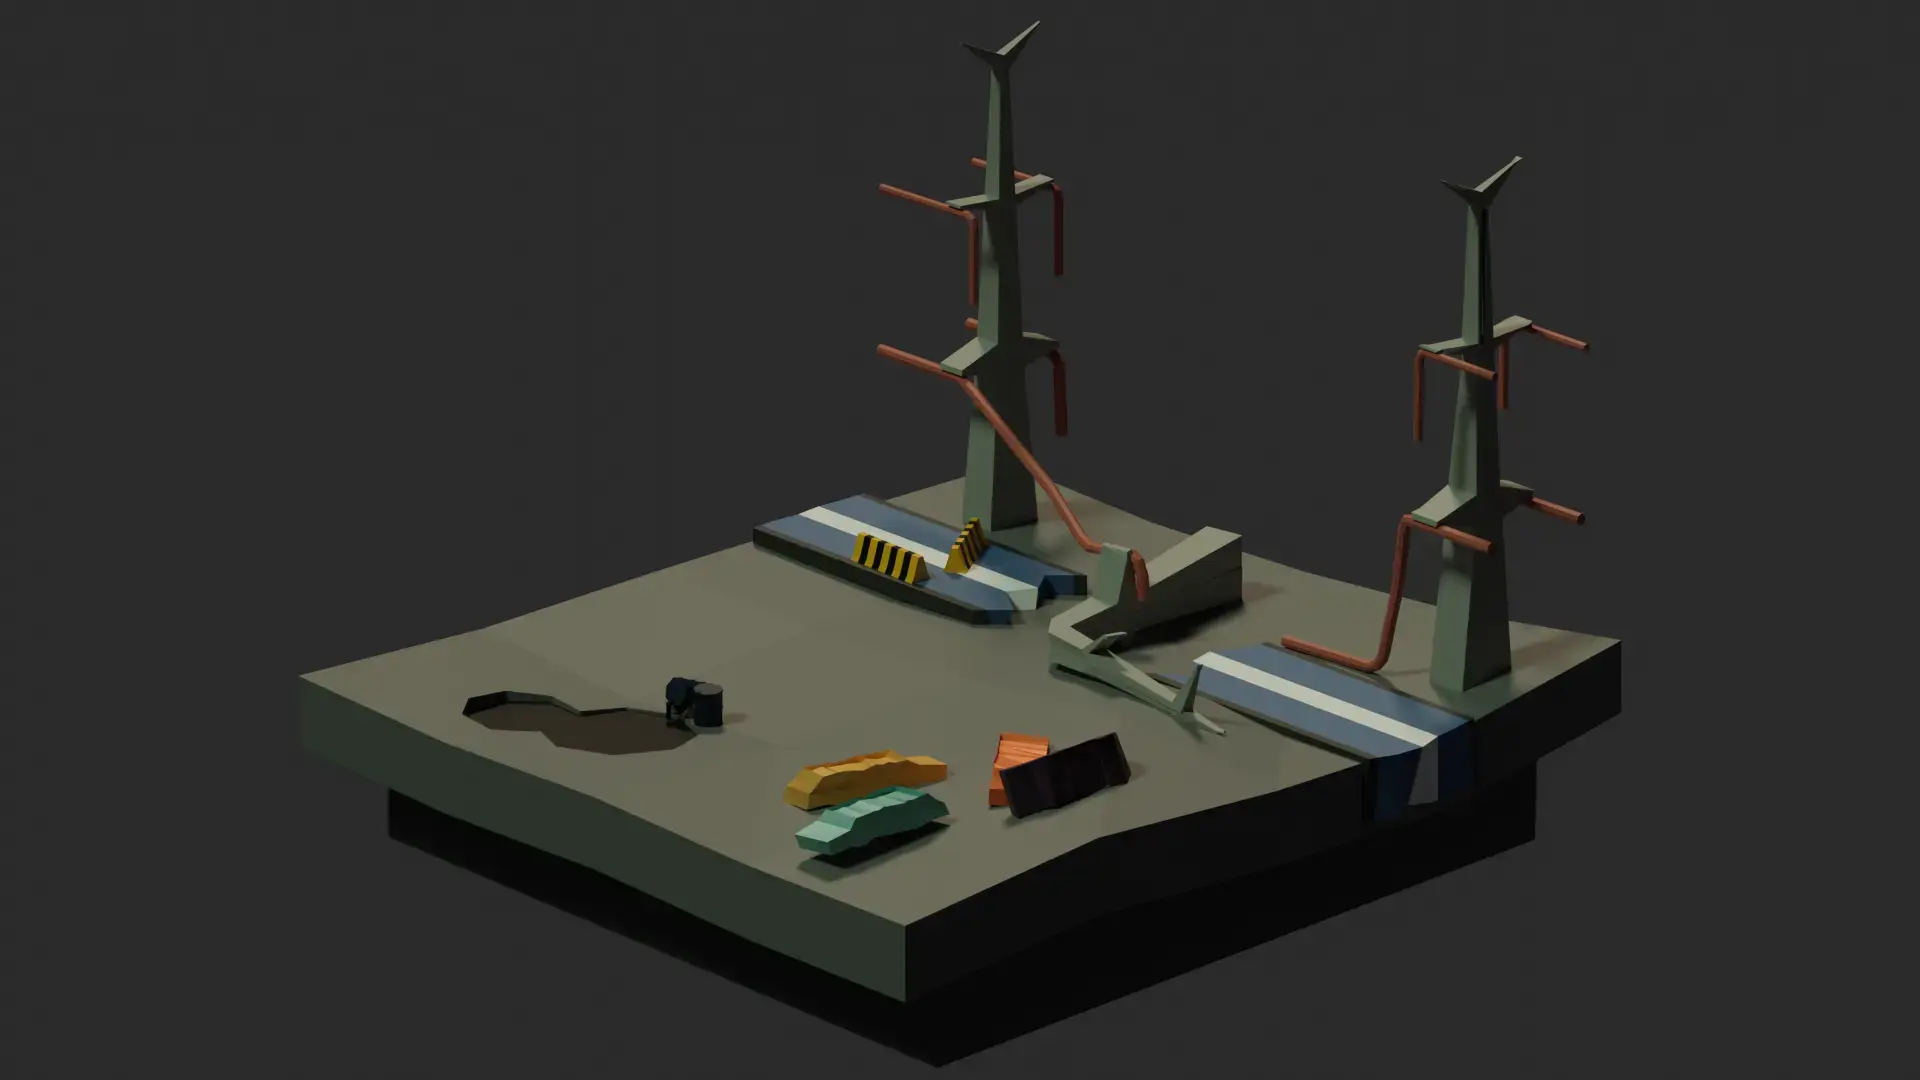
Desolate (beehaw.org)
submitted 10 months ago by [email protected] to c/[email protected]
16
17
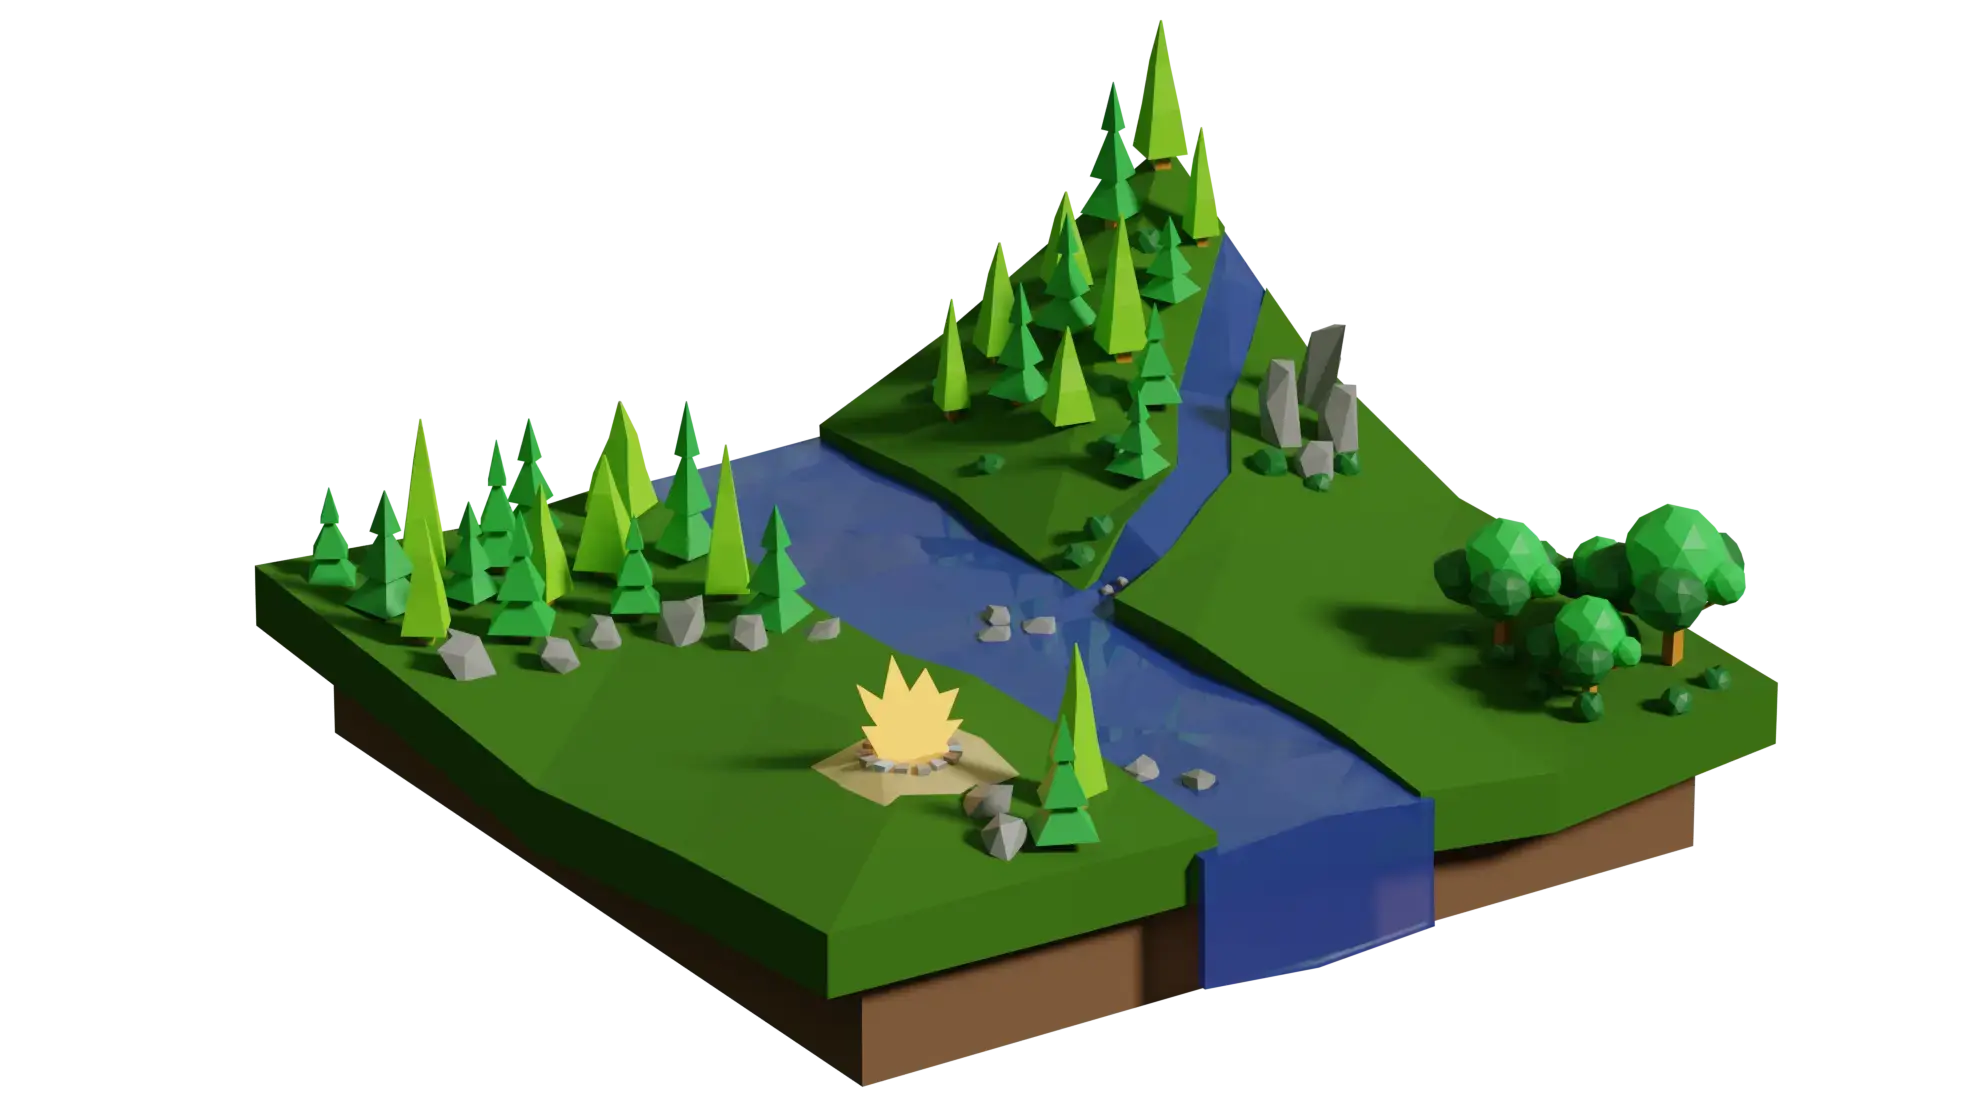
lowpoly hillside (beehaw.org)
submitted 10 months ago by [email protected] to c/[email protected]
17
4
submitted 11 months ago by [email protected] to c/[email protected]
18
9
submitted 11 months ago by [email protected] to c/[email protected]

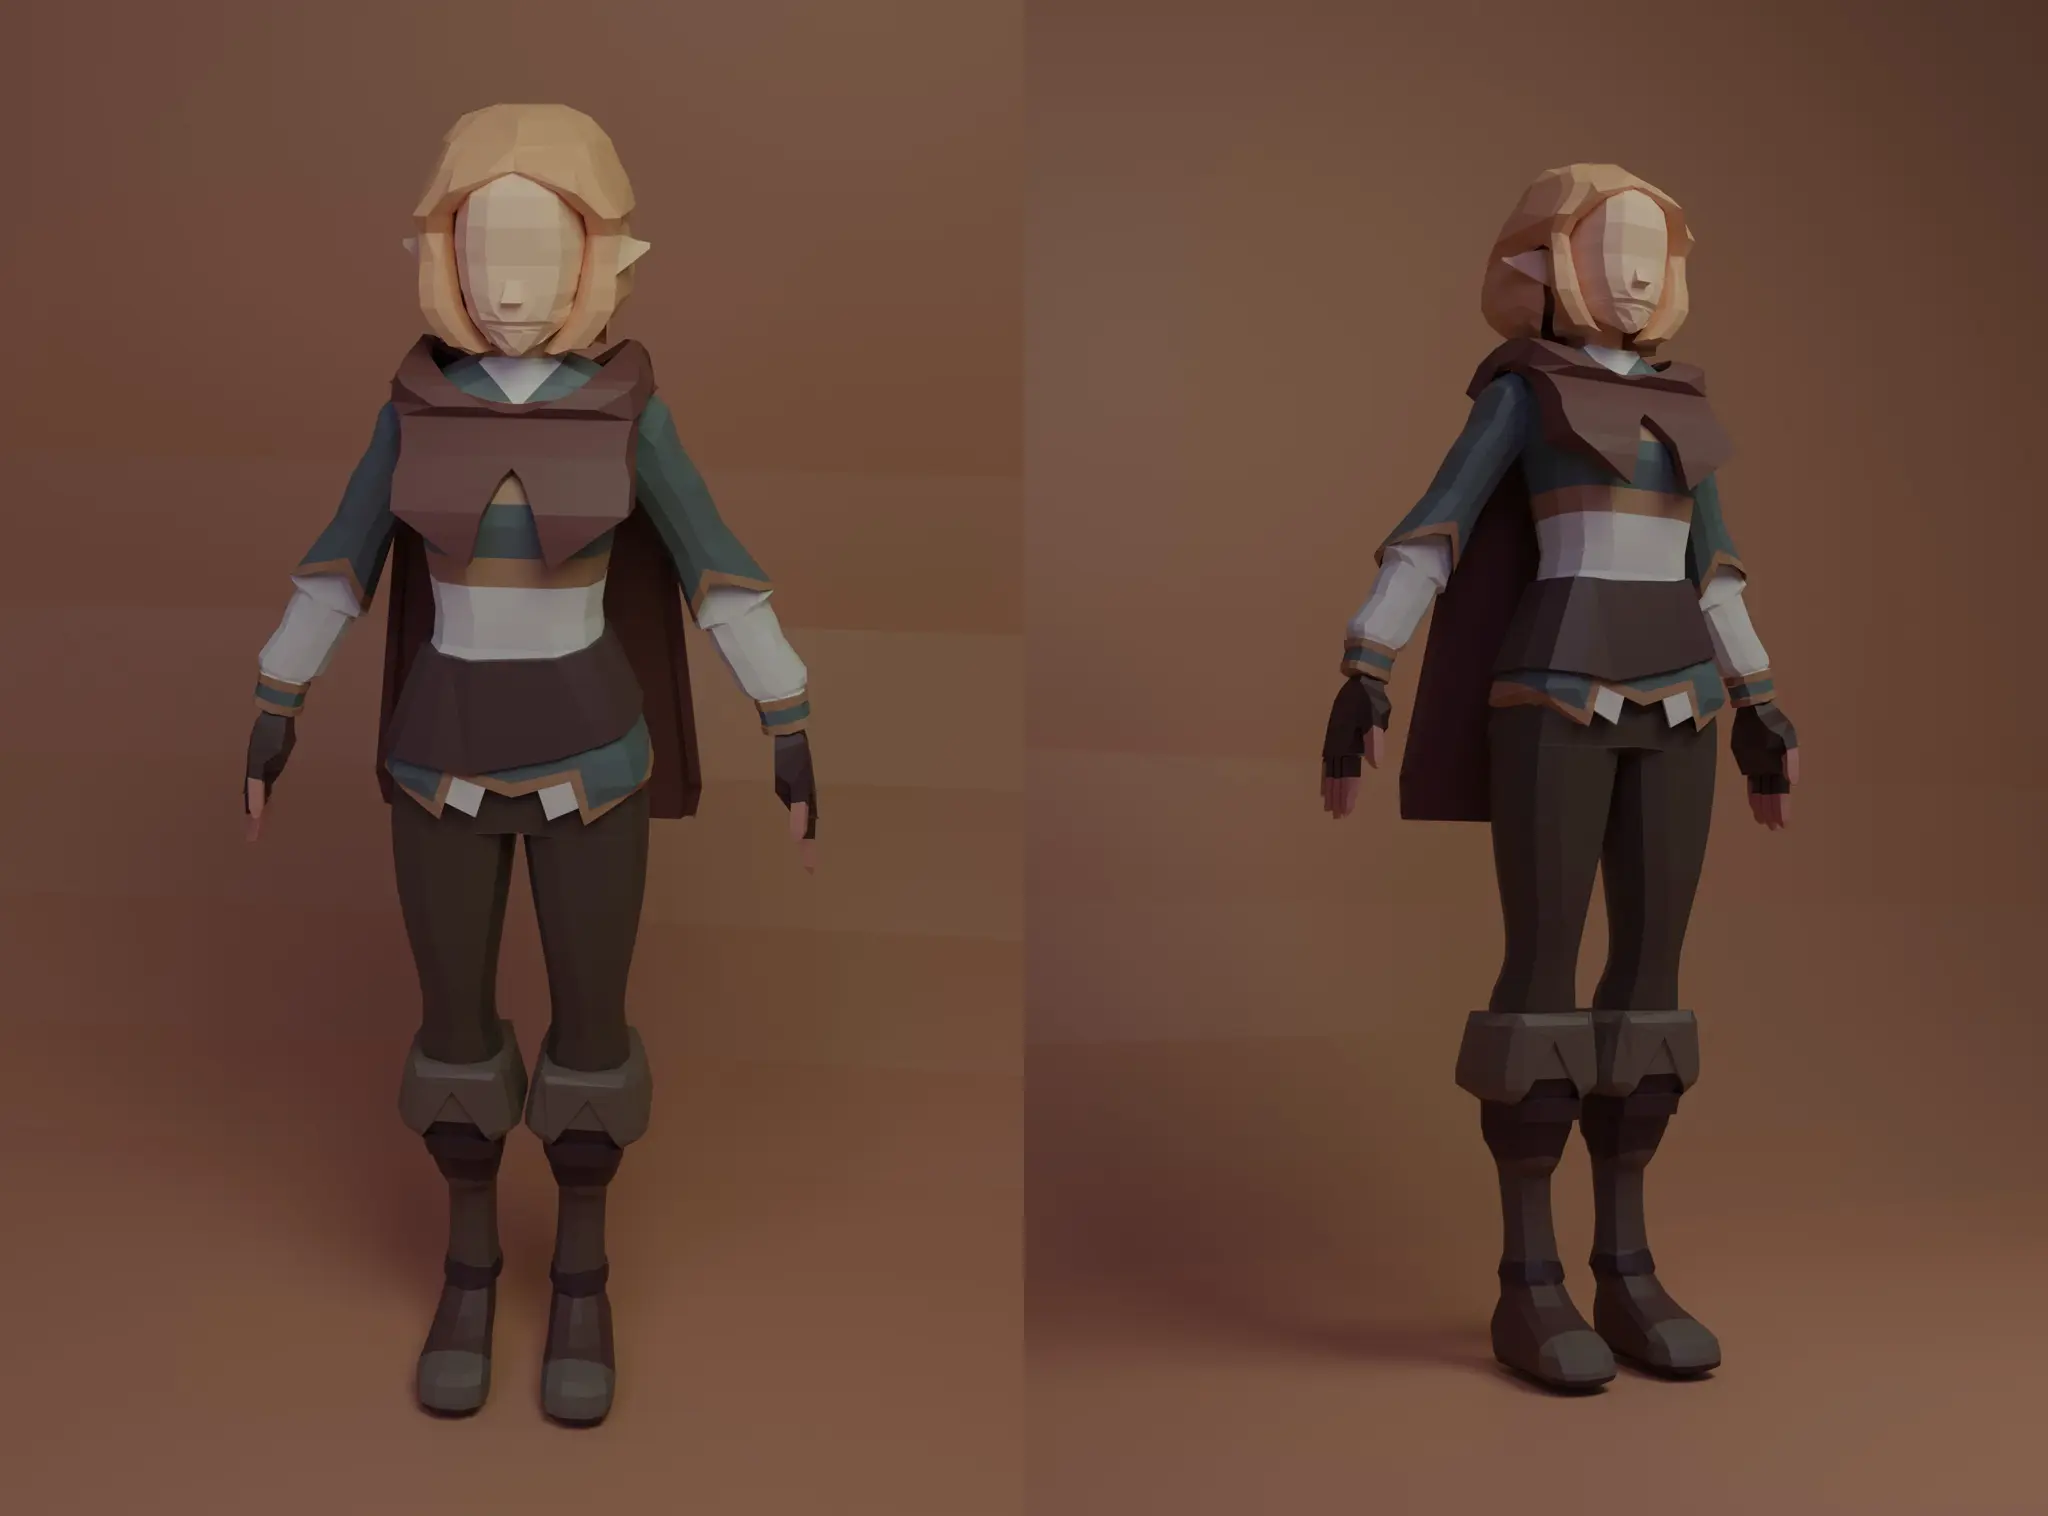
Quite a lot of hurdles with this (couldnt really fix the wrinkly mouth sadly) lowpoly zelda but she is done!

19
2
submitted 11 months ago by [email protected] to c/[email protected]

We got another one, this time my 2nd favourite zelda from SkywardSword

20
15
submitted 11 months ago by [email protected] to c/[email protected]

I tried to apply the same techniques from the other day to something entirely different, it was lara croft time.

21
2
submitted 11 months ago by [email protected] to c/[email protected]

I tried to apply the same techniques to something entirely different, it was lara croft time.

22
2
submitted 11 months ago by [email protected] to c/[email protected]

23
3
submitted 11 months ago by [email protected] to c/[email protected]

TLDR: Can you recommend an addon/plugin that helps with FBX issues upon import and export? I found only https://blendermarket.com/products/better-fbx-importer--exporter which is a bit expensive for me, no guarantee it will work either.

Option 2: can you recommend a plugin or addon that recalculates the normals more effectively or that could somehow help with this? Or perhaps you know a workaround?

I've used Maya, Zbrush and other 3D software for roughly 5 years but I've only started learning Blender for about a month. So I'm not exactly sure which are the best resources or where to find them. From some basic researching, I see it's common for Blender to mess up FBX imports and exports. Because of that, I'm surprised I can't find more addons for these situations. I guess I could try importing and exporting an OBJ from Zbrush but this wouldn't be the ideal workflow.

I've followed this tutorial to the letter https://youtu.be/9NjMeAFkm3s and even downloaded the same model used, https://3dsky.org/3dmodels/show/ch33t_chair_2 , however, after setting up the shader, I found ugly seams when applying the normal map. I already tried selecting the model in edit mode and recalculating normals, setting normals from faces, averaging, flipping, etc. and no good results. I also tried marking all edges soft, no luck. I've selected the correct UV set as you can see in the shader.

I see the same problem in 3.5 and 3.6.

Thanks

24
2
submitted 11 months ago by [email protected] to c/[email protected]

Looks very cool, haven't bought it yet but I did (some) of their landscape course (by another person) which was excellent.

Course is here:

https://www.cgboost.com/courses/robotic-planet

25
4
Desolation (lemmy.world)
submitted 1 year ago by [email protected] to c/[email protected]

For a project I did way back when.

view more: next ›

Blender

715 readers
1 users here now

Community to share art made in Blender. https://www.blender.org/

founded 3 years ago
MODERATORS