1
Bread
598 readers
1 users here now
A day without bread is like a day without sun.
Post your success, post your failures, ask questions, and share your favorite recipes!
founded 1 year ago
MODERATORS
2
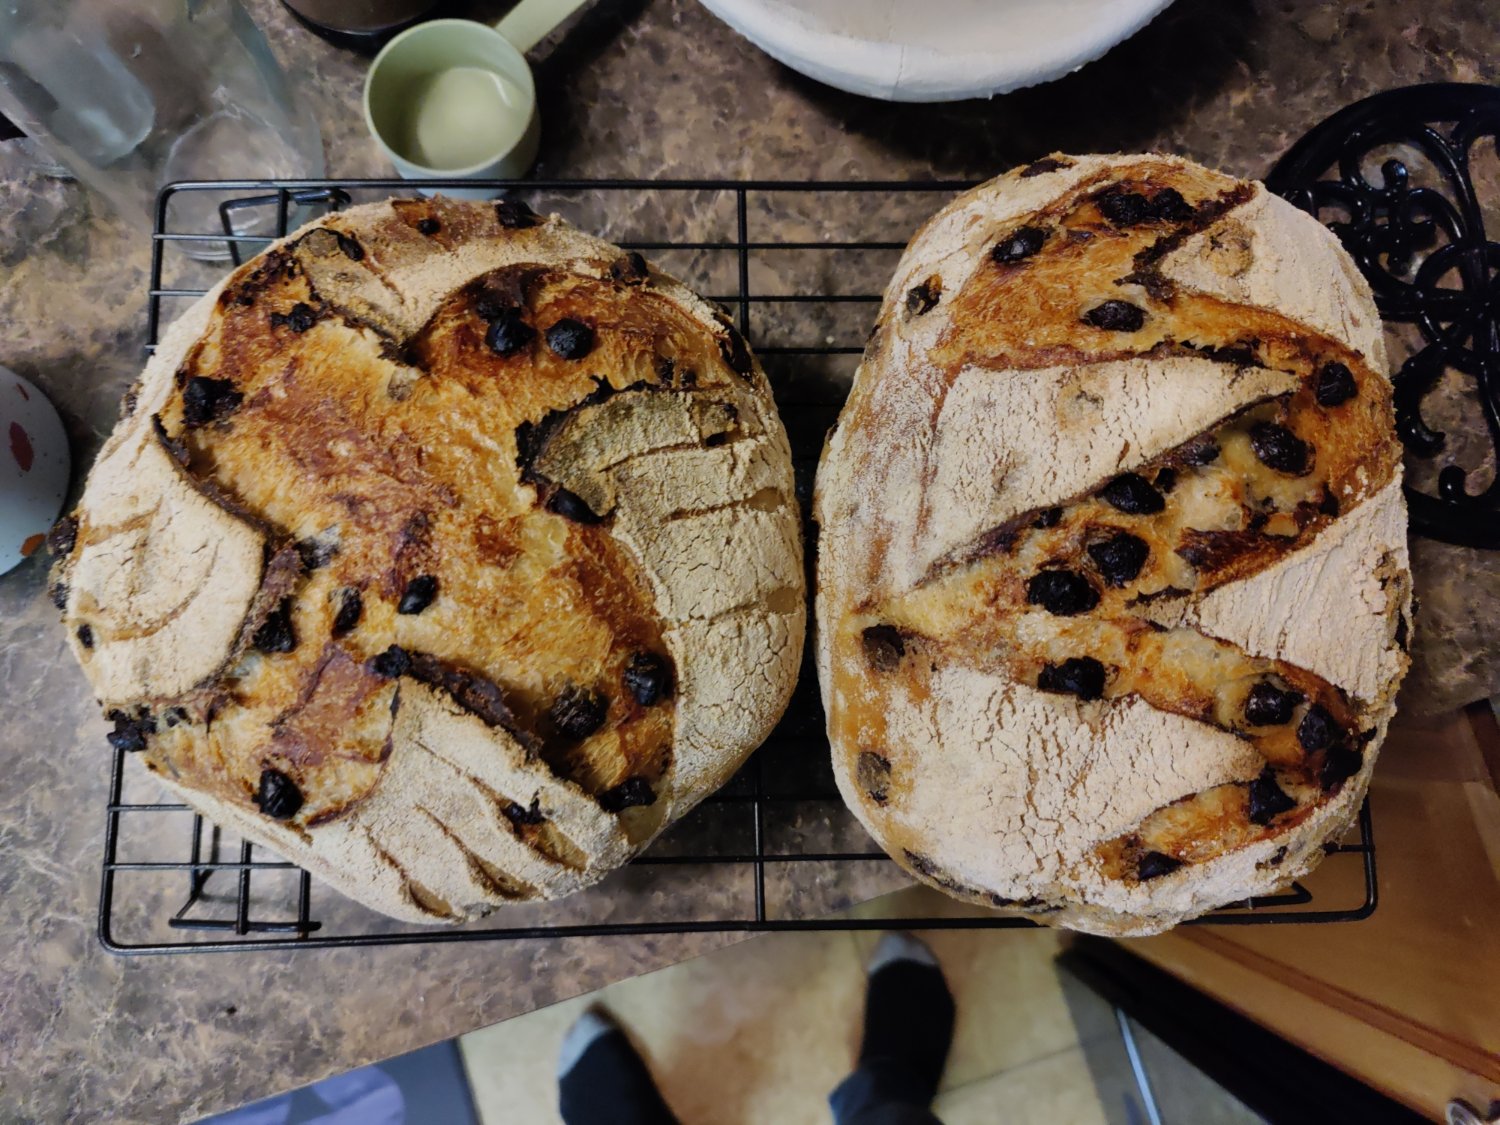
Modified version of King Arthur's Pain de Campagne recipe. Work two cups (one per loaf) of semi-sweet mini chocolate chips into the dough before the bulk rise step. Definitely worth a shot! Delicious toasted with some butter, would probably make great French toast as well
3
- 1/3 Whole wheat flour
- 2/3 White bread flour (all purpose works as well)
- 70% Mill Street Organic Lager (any light lager works)
- 2% Salt
- 1.5% Yeast
Bulk ferment for 2 hrs with one or two folds at 20min and 40min. Proof for 2 hrs then bake in an oven that was preheated with a cookie sheet full of water (careful of the scalding steam when you open the door). As soon as the bread is in the oven spray it down with way too much water (careful of your oven window) then close the door to trap all the steam. You should get some good spring and that nice crunchy/speckled crust.
Protip: 500g of flour is the perfect amount for a 355ml can of beer.
4
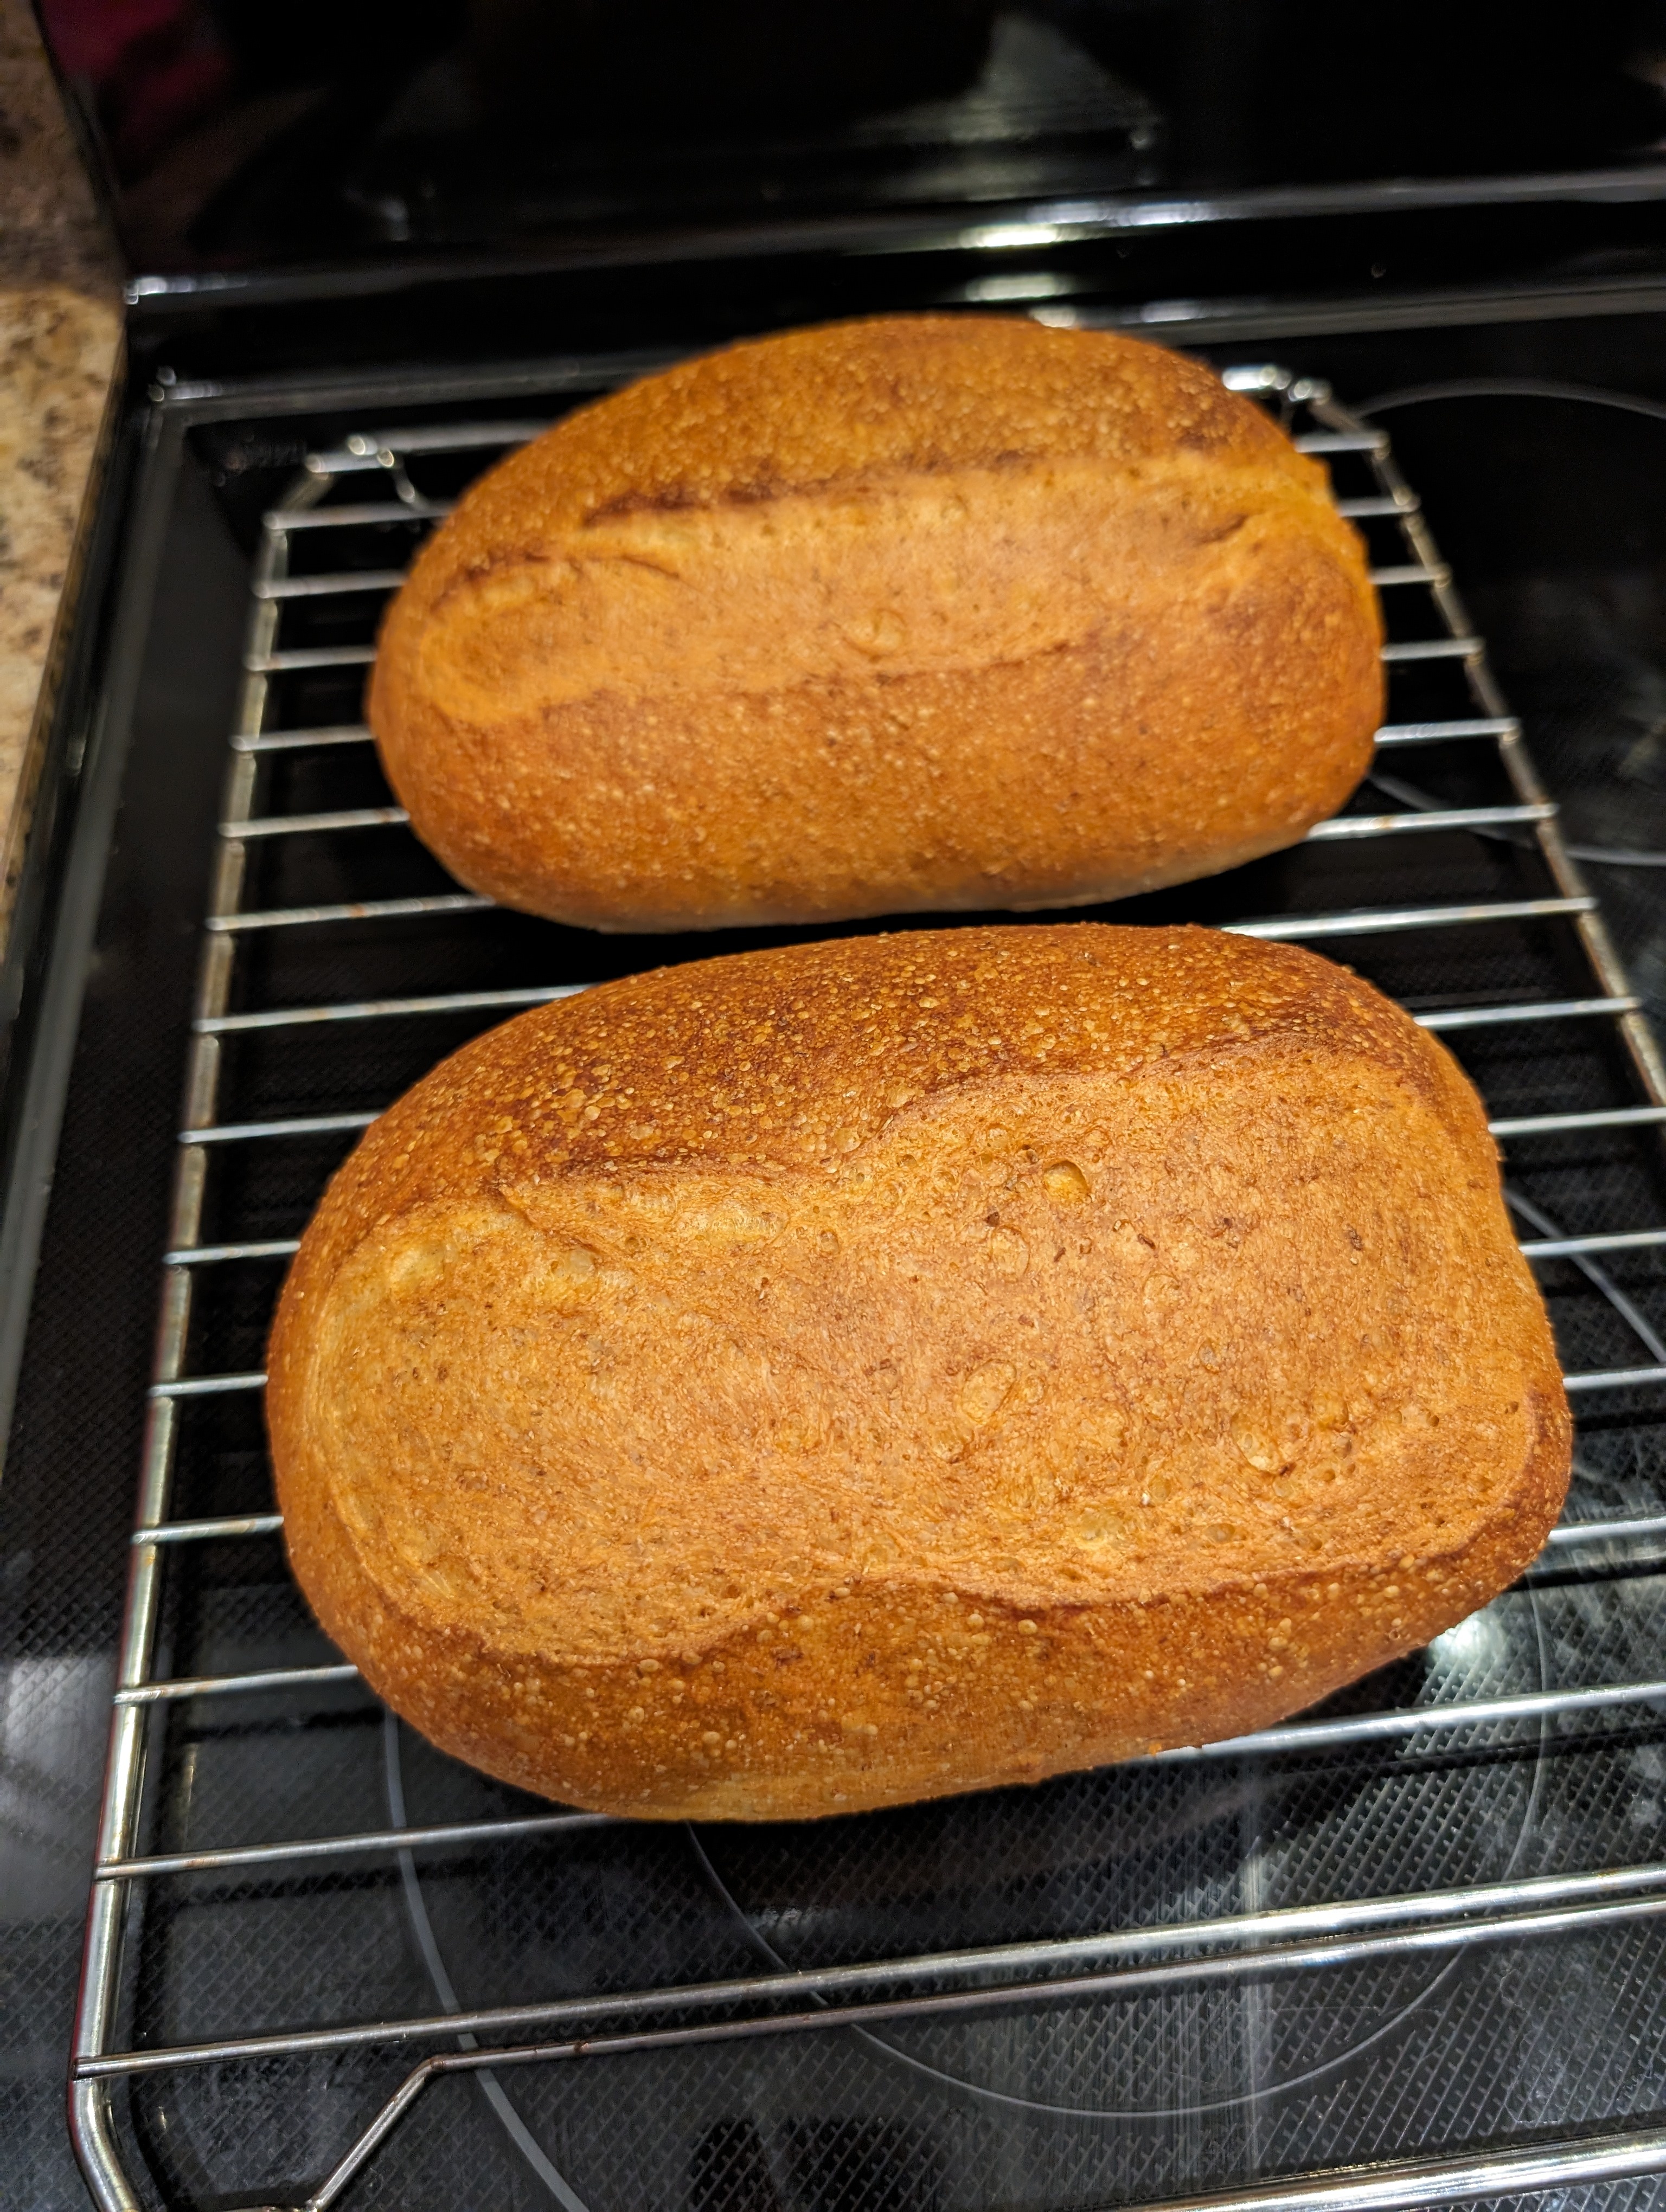
Money is SUPER tight for us this right now and we ran out of milk and couldn't go get more. I found a box of coconut milk in the pantry and looked up recipes for coconut milk bread.
Turns out that there is a Samoan Coconut Bread called Pani Popo that fit the bill perfectly. A very easy dough to make that is forgiving and very tasty.
The slightly sweet bread is a great pairing for the pork shoulder that I cooked sous vide for 36 hours.
I used this recipe: https://youtu.be/Tkx4lNpX3N4?si=D8ysm_BgWRsvw7JF

5
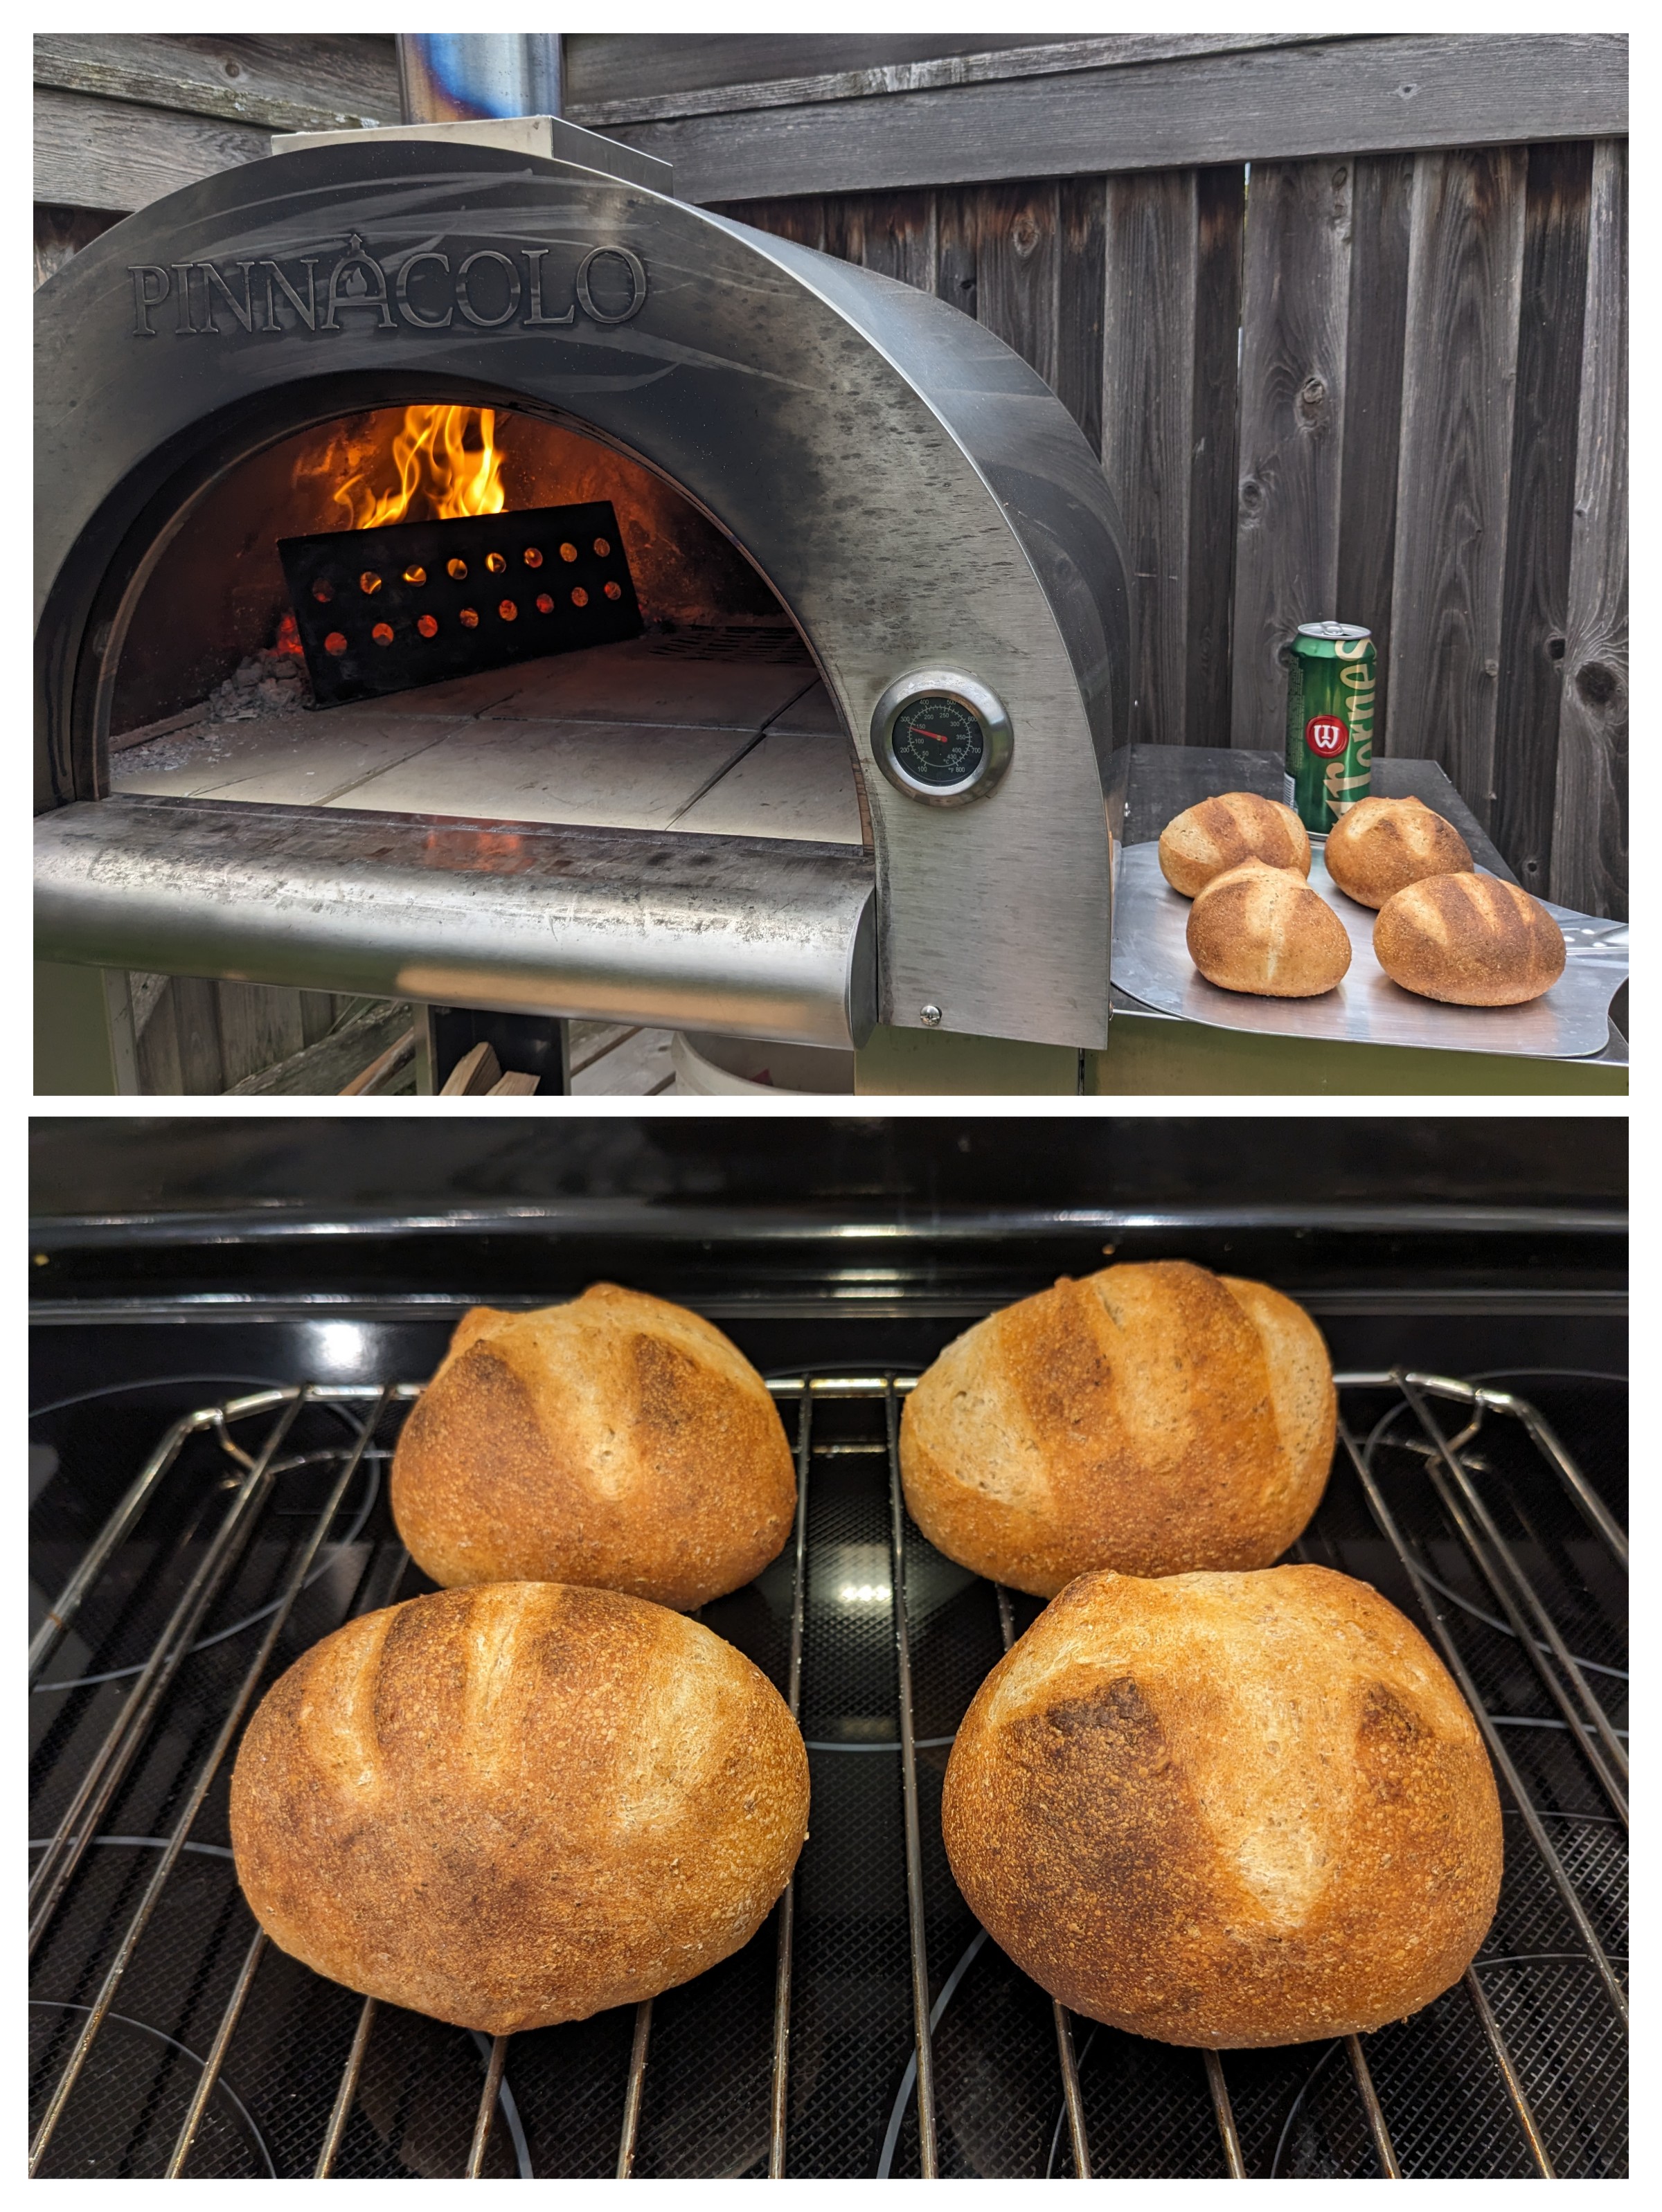
It took me a whole summer but I'm finally getting consistent results from the pizza oven.
6
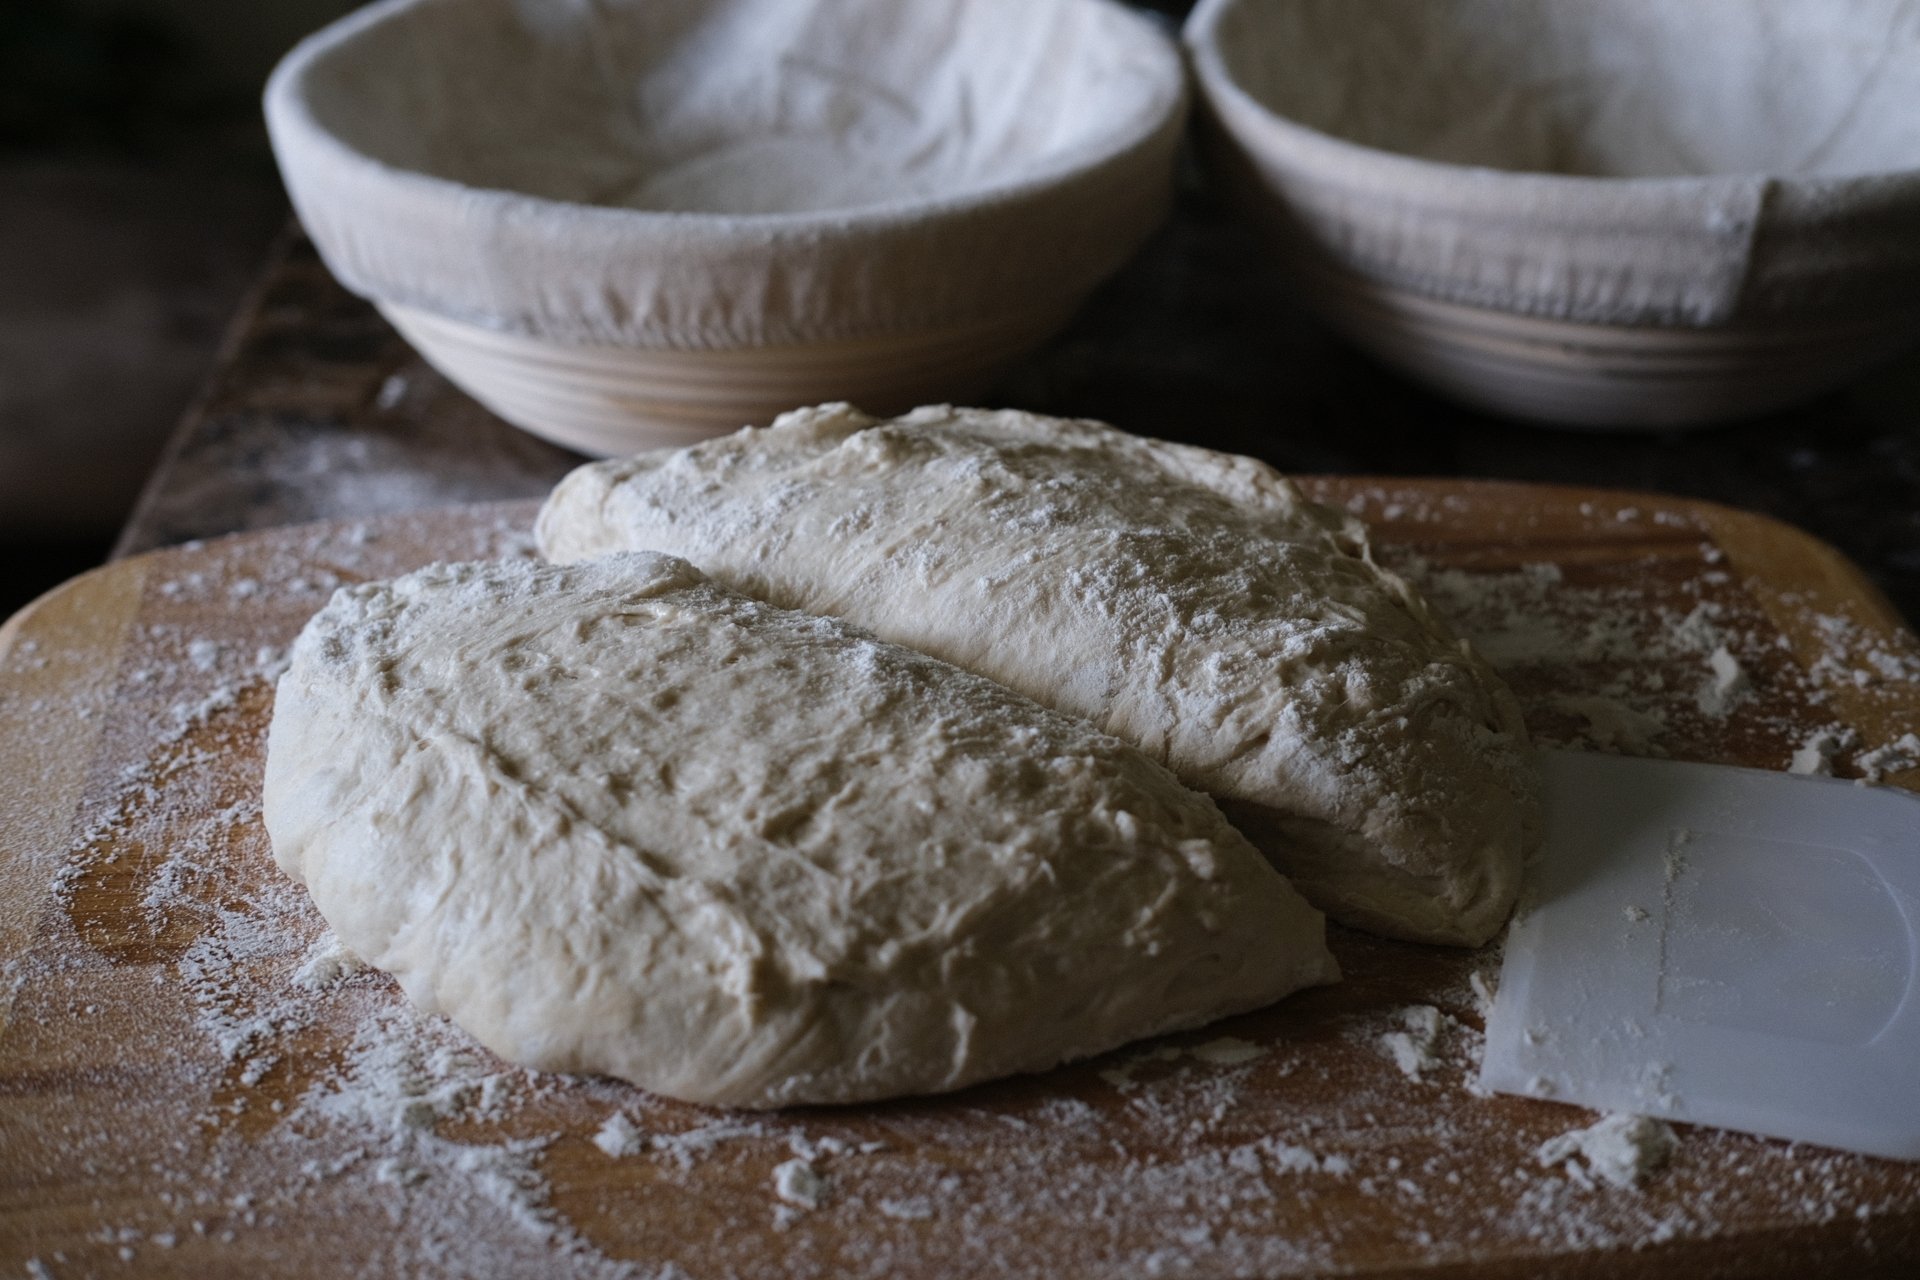
I made this one a while back. It's most likely the "Saturday White Bread" from "Flour Water Salt Yeast".
7
I'm really sorry that haven't been posting, but I have been continuing to take pics for y'all.
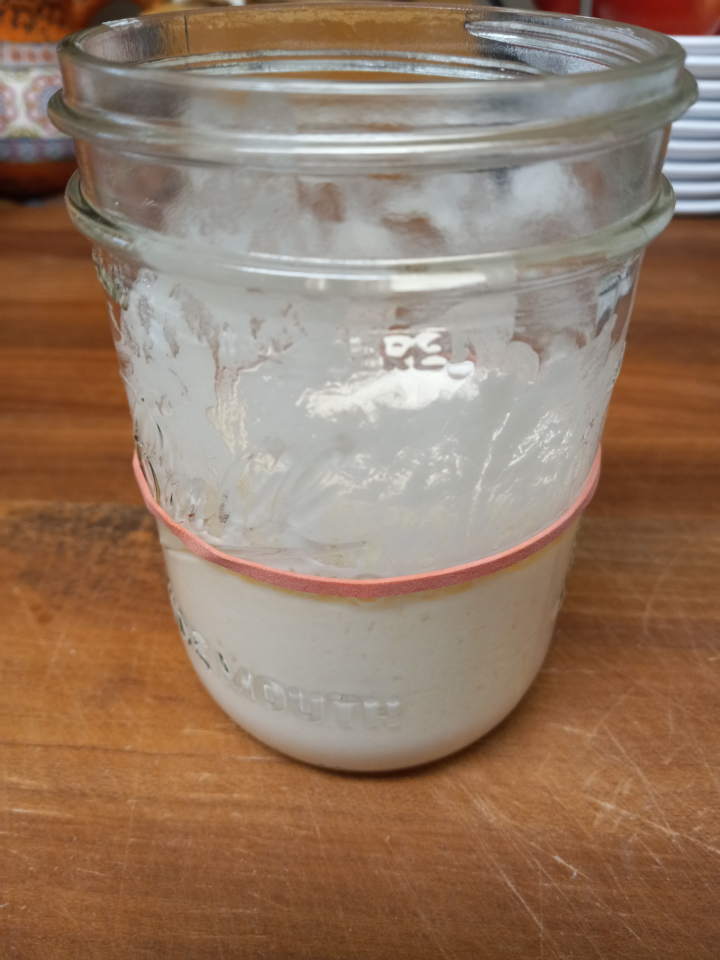
So, I split the liquid starter into 2 starters on Day 3, and I've been tending both ever since. I was feeding them every 12 hours, but they were both starting to smell like raw flour, so I switched to 24 hours (it must not be as warm in my kitchen as I thought).
There really hasn't been much action overall.
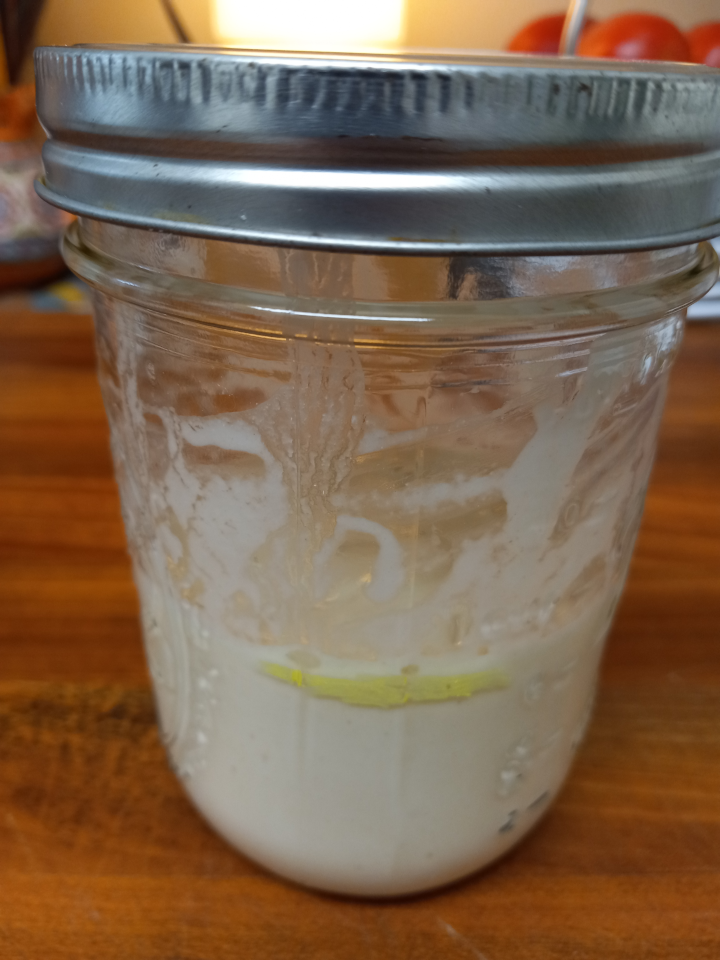
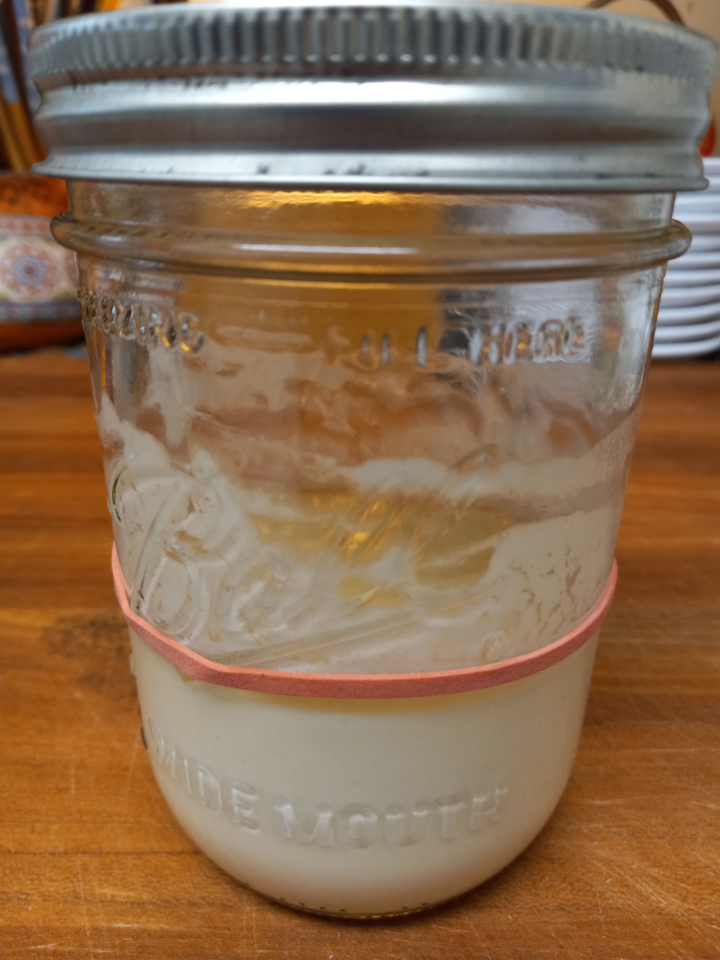
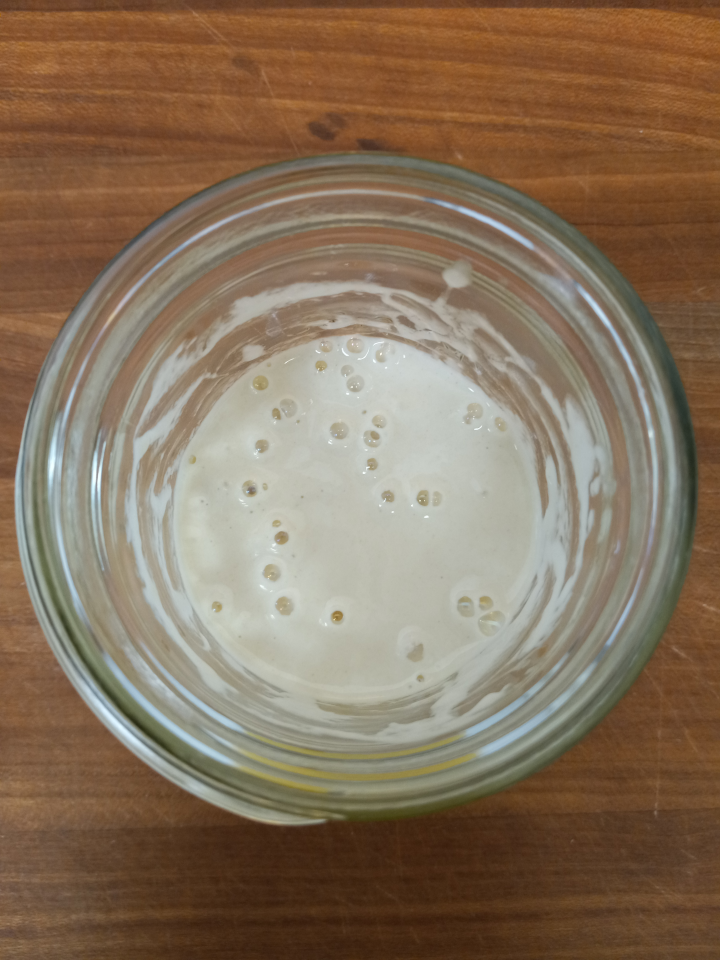
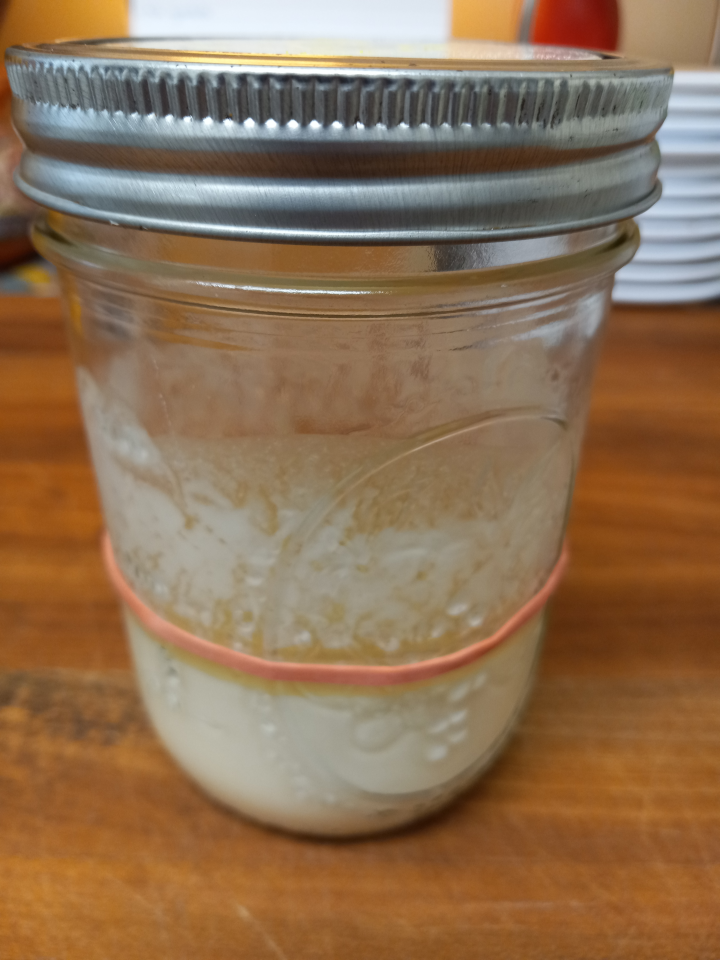
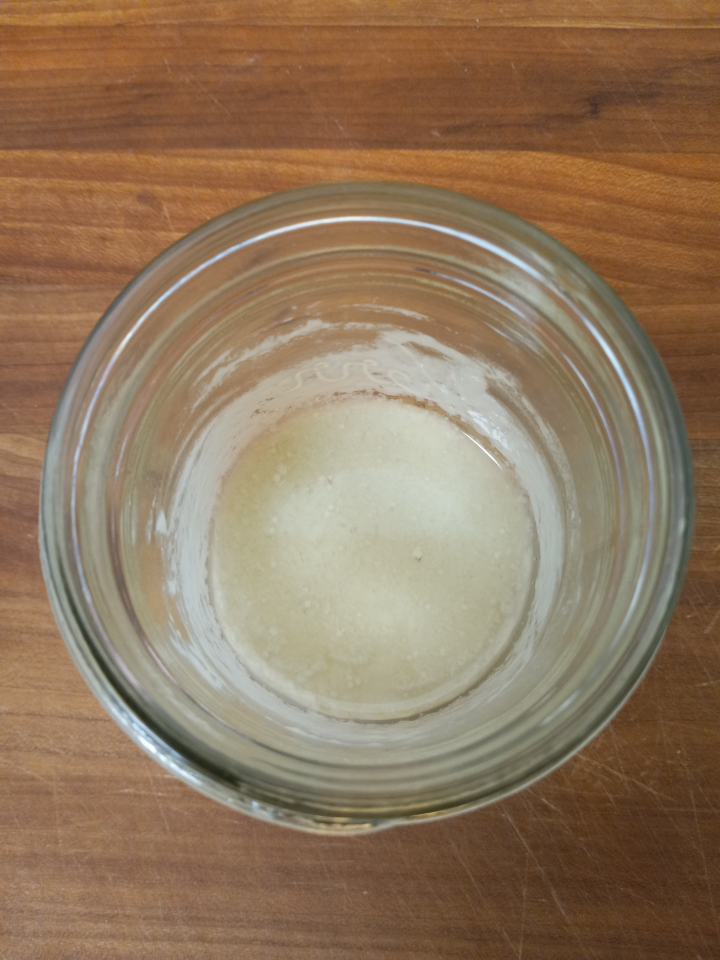
The liquid starter is pretty much stable and has a nice sour smell. It produces a gas and hooch consistently, but it isn't particularly active. The regular starter has taken until day 9 to develop a sour smell, and it produces a few bubbles everyday, but it's not increasing in volume yet. I think we just haven't captured a vigorous yeast.
Now time for the pics!
Pics
Day 3
Day 4 AM
Liquid Starter
Regular Starter
Day 4 PM
Liquid Starter
Regular Starter

Day 5
Liquid Starter
Regular Starter
Day 6
Liquid Starter
Regular Starter

Day 7
Liquid Starter
Regular Starter
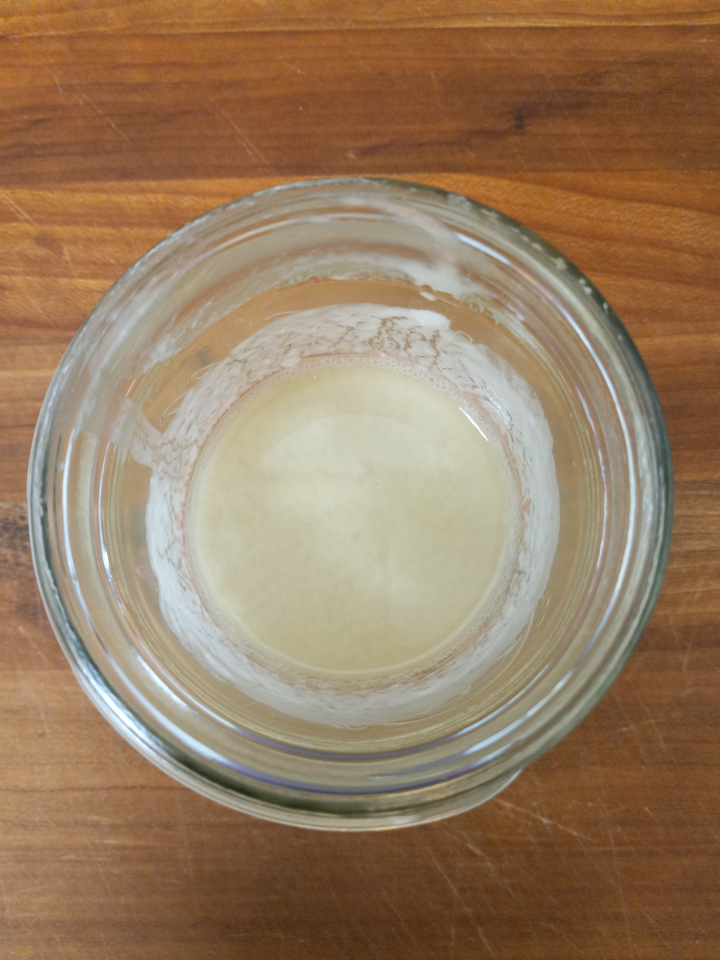
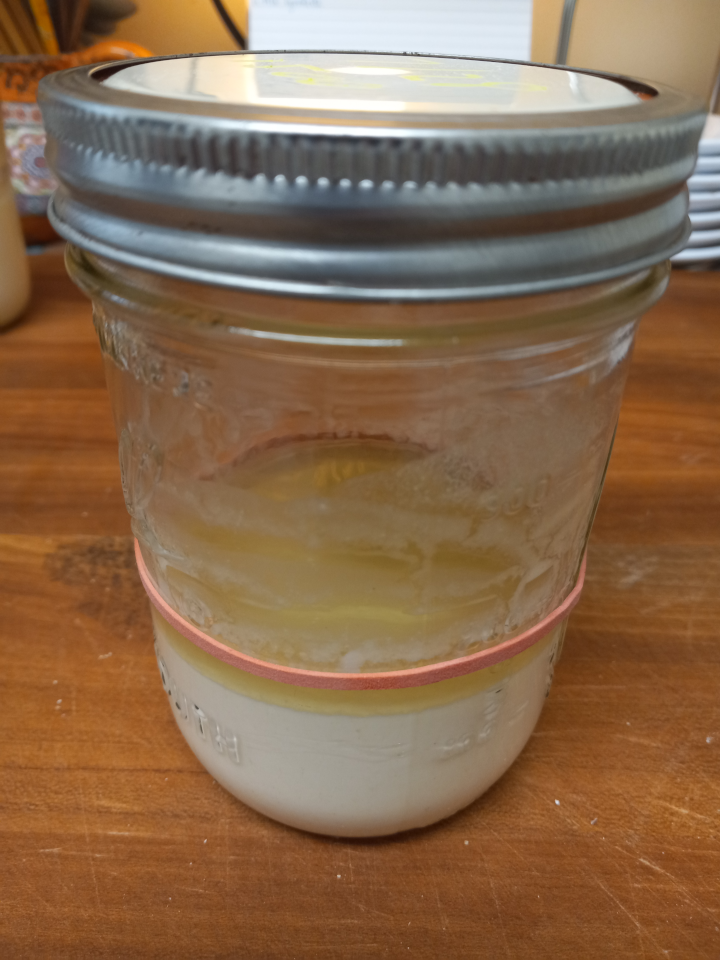
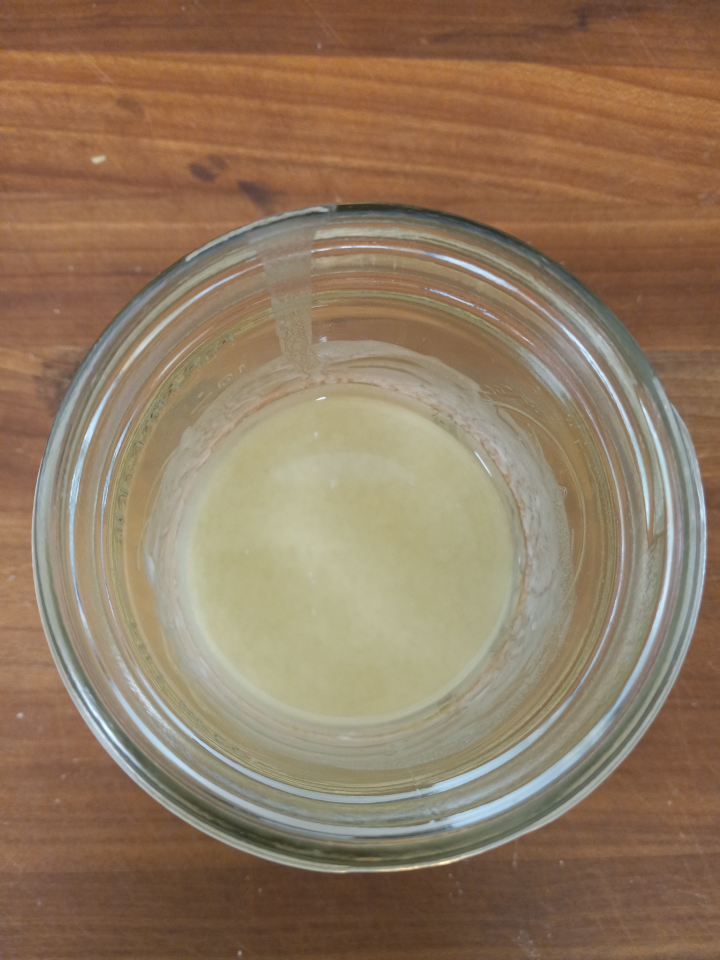
Day 8
I forgot to feed them on day 8 🙁. This mistake might have set me back a day or 2, because we were seeing improvement in gas production in the regular starter. You can see the pics from this morning below aren't as good as 2 days ago.
You can also see that the liquid starter just keeps on producing hooch. Looking back at the regular starter from day 4, I bet we can get a light rise from the liquid starter if we made a bread with it. I might try that out tomorrow.
We're not molding, though, so we can just keep feeding, watching, and smelling.
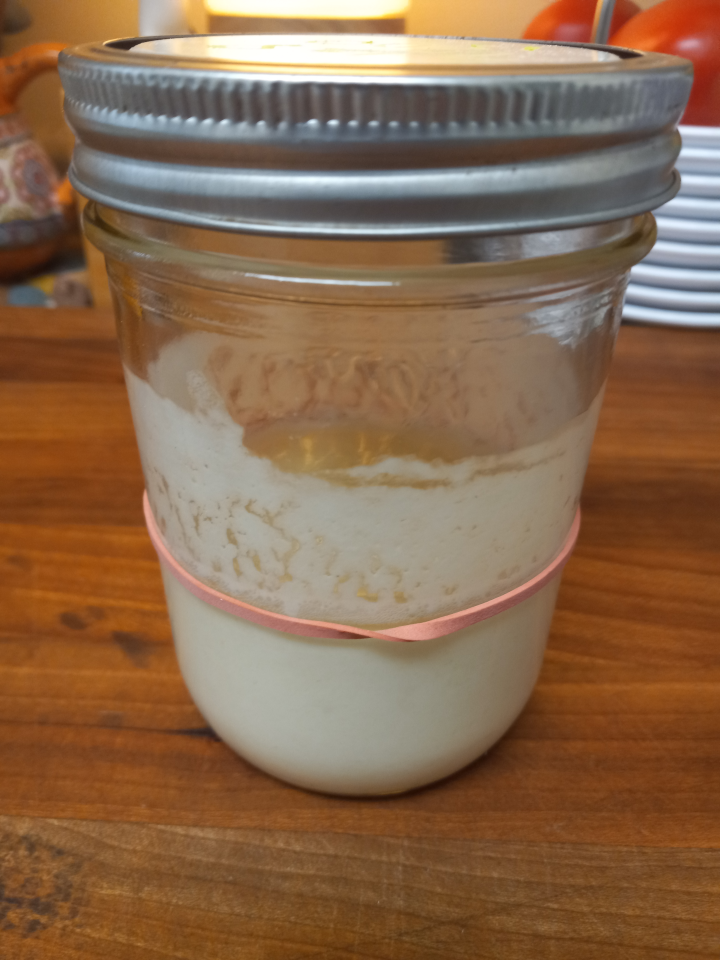
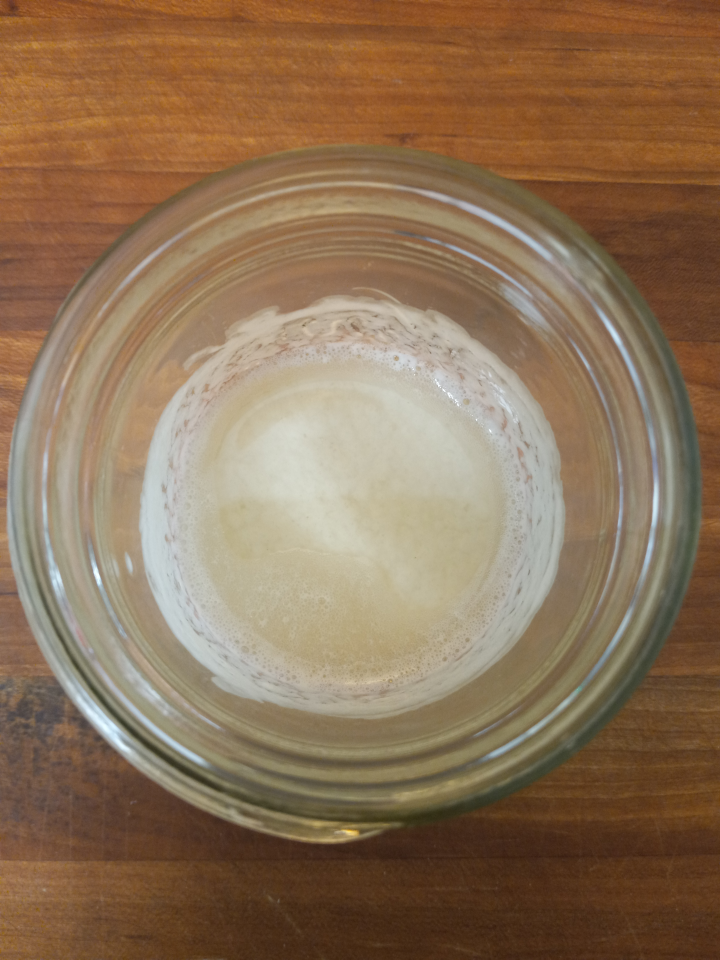
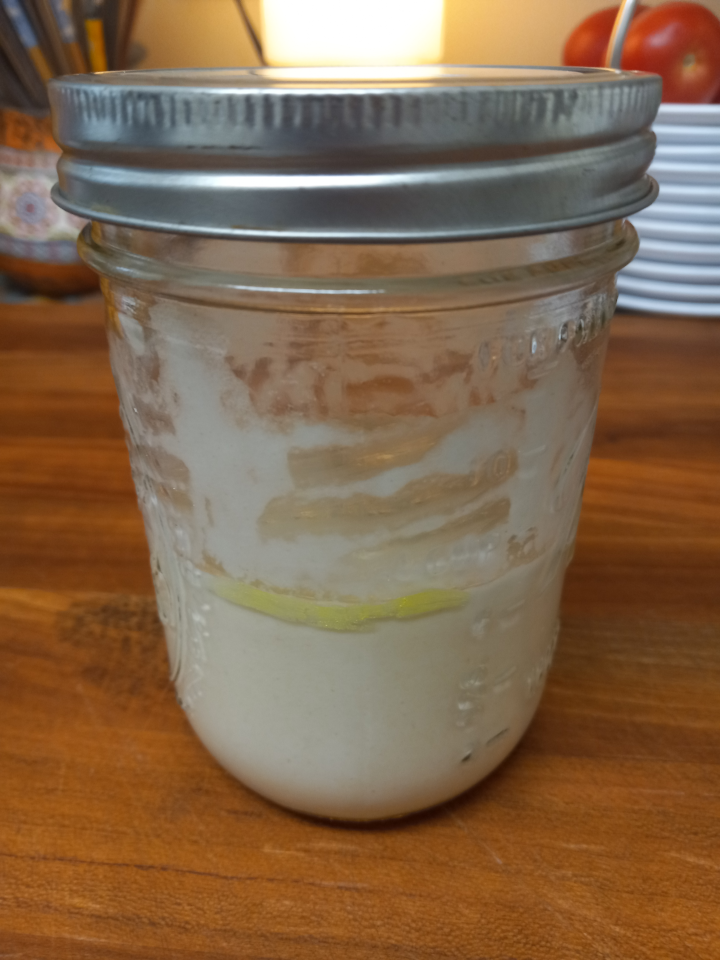
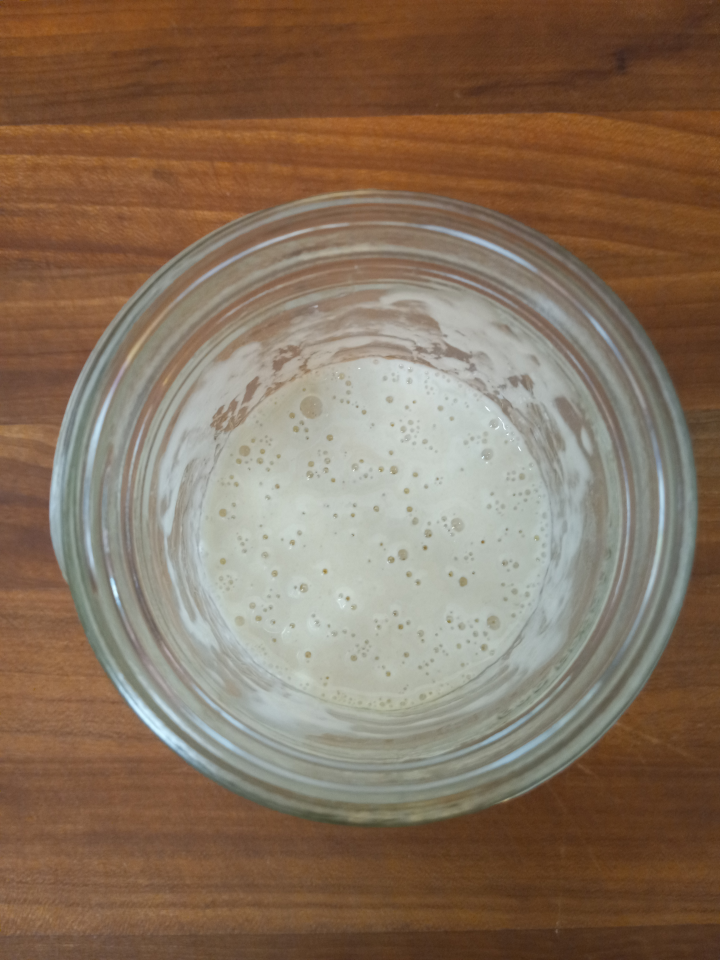
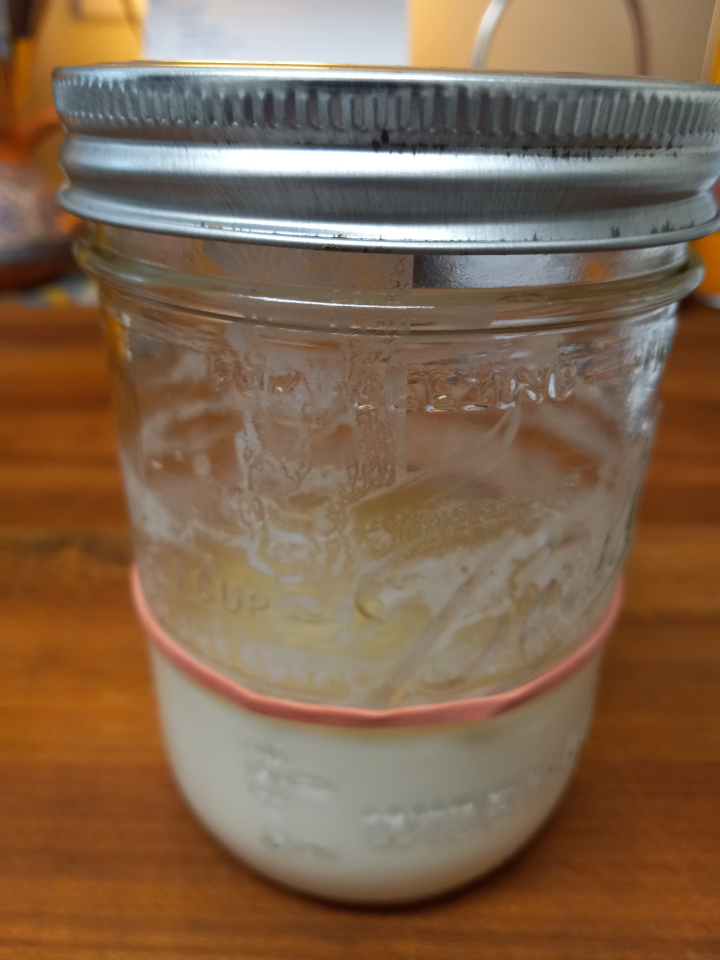
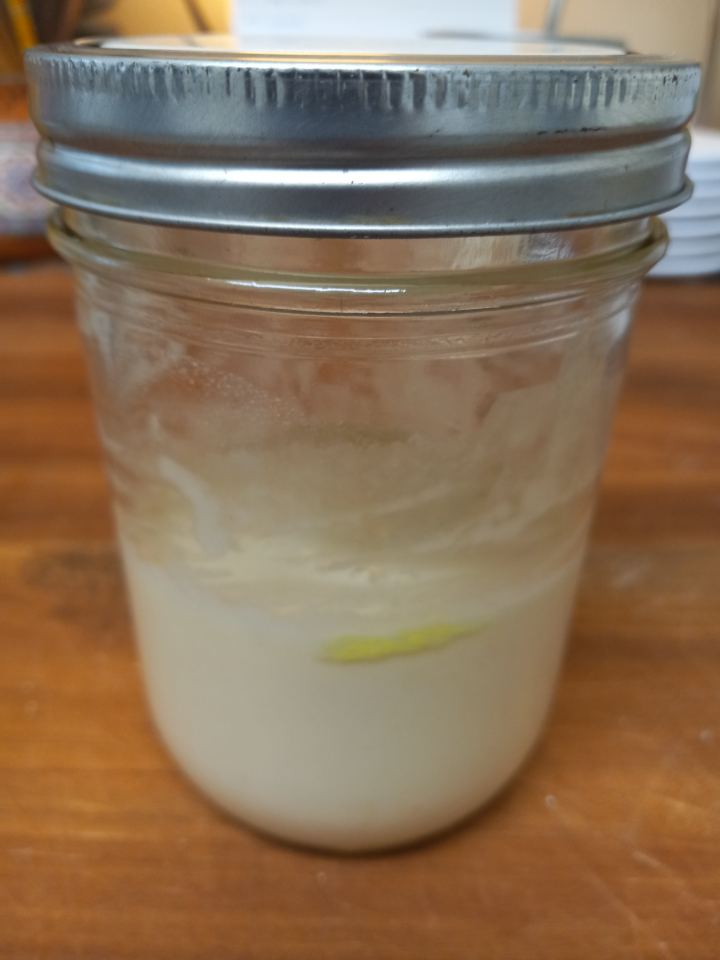
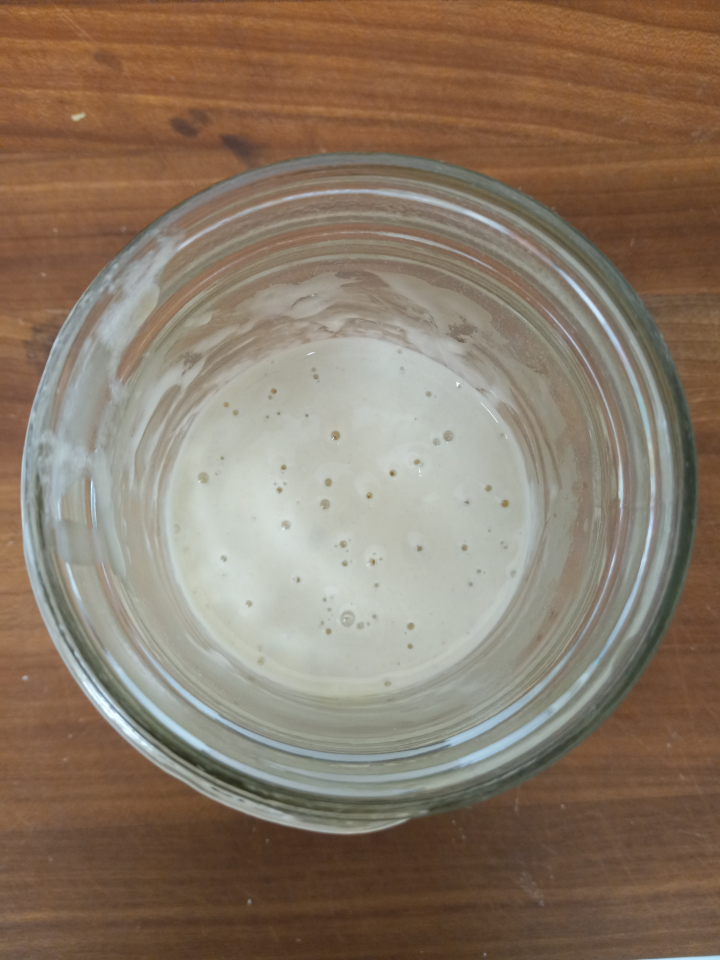
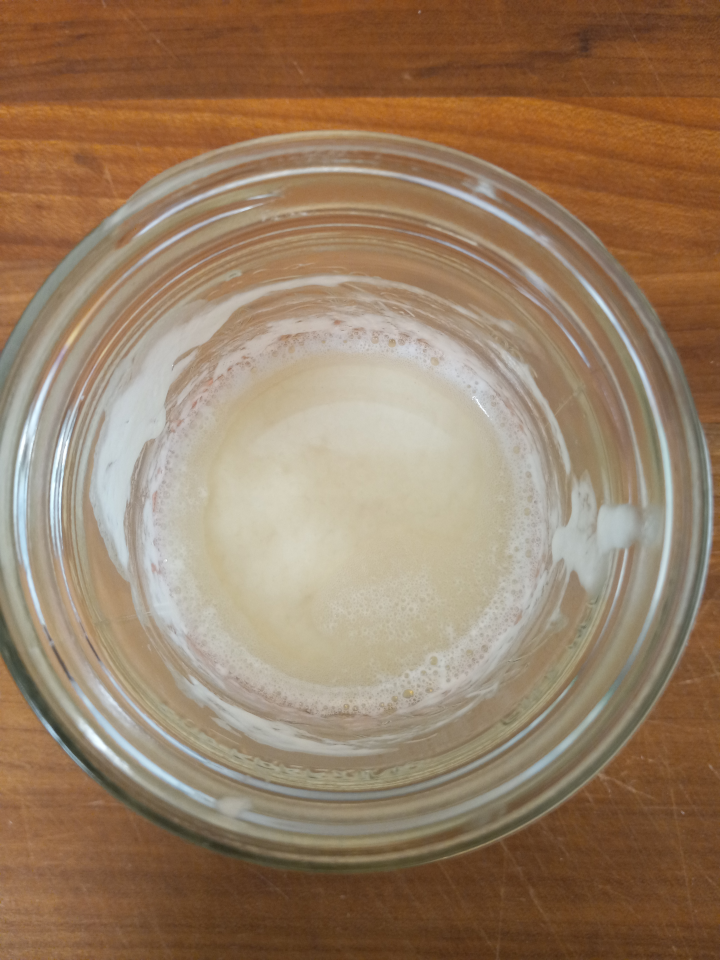
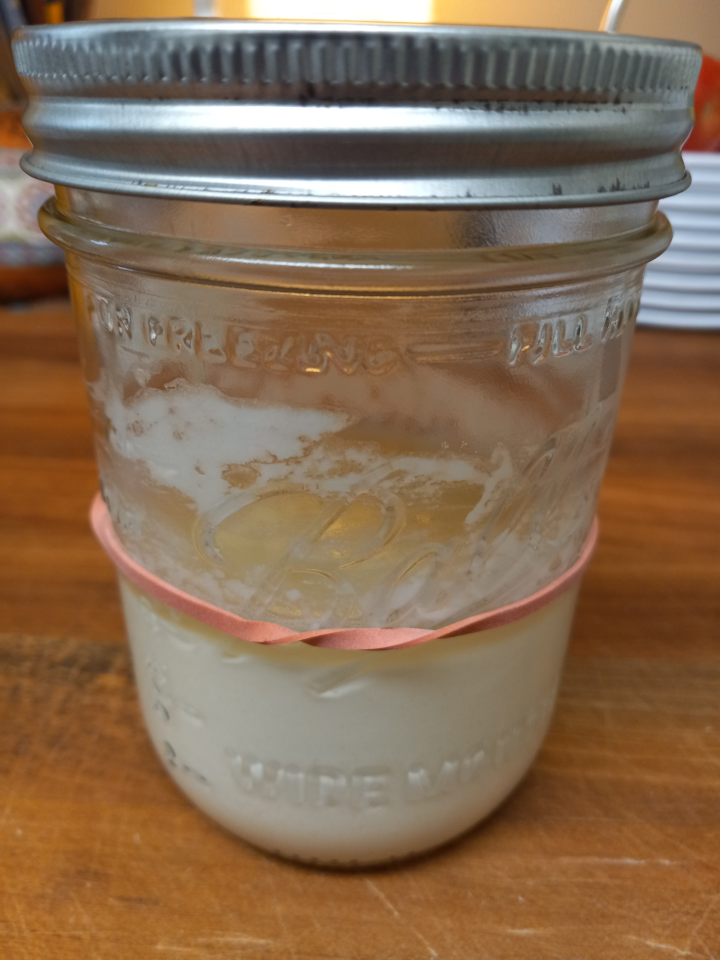
Day 9
Liquid Starter
Regular Starter

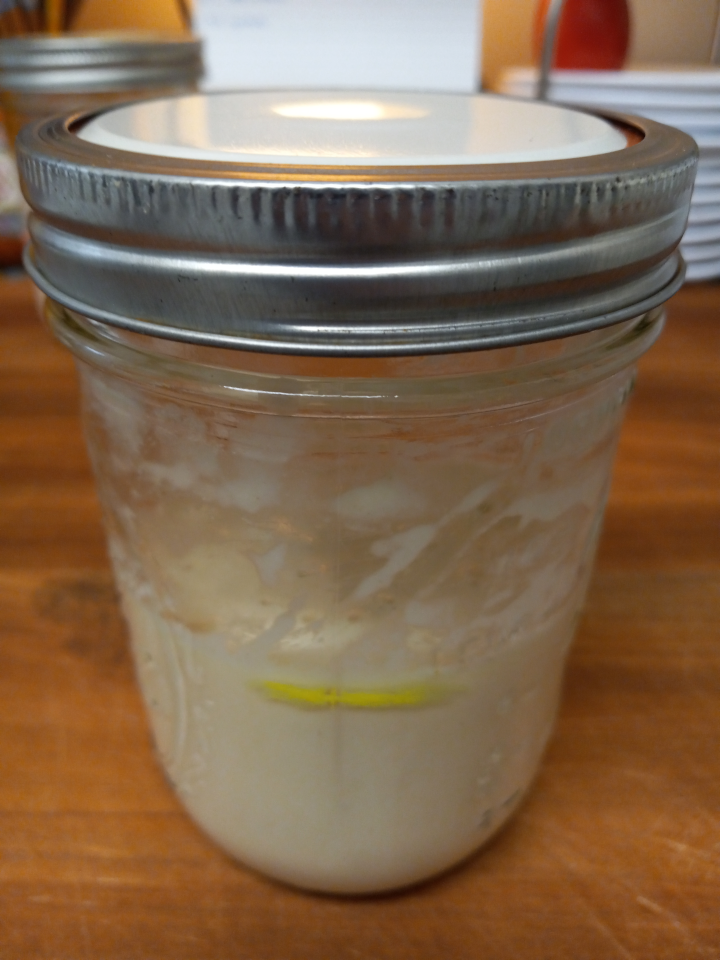
8
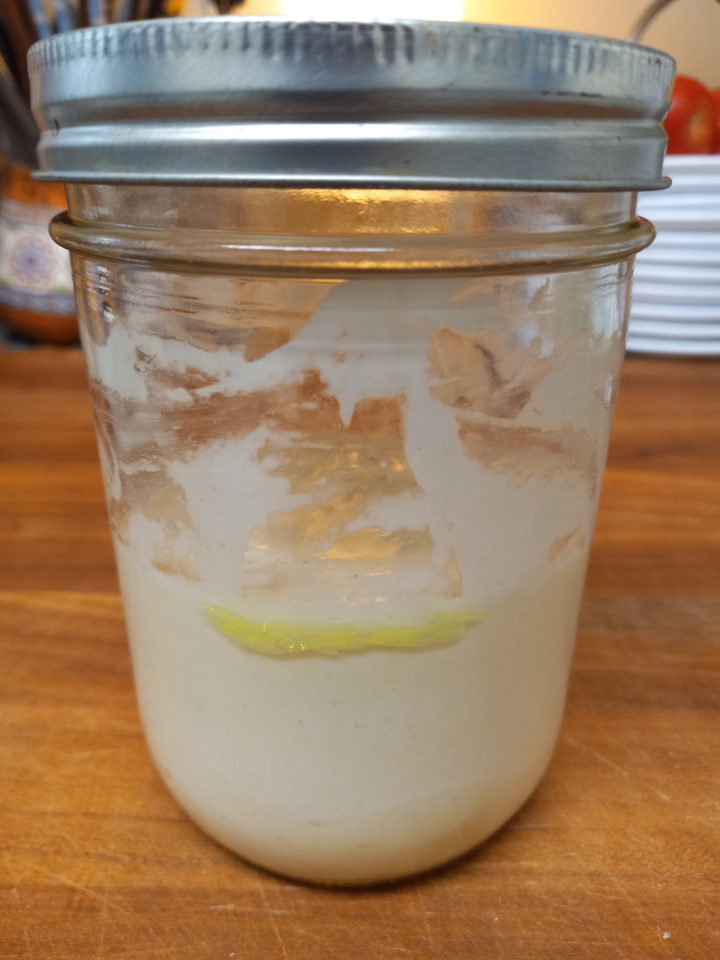
A much less exciting day yesterday. As you can see from the above pic from the morning, we're getting some good gas production, but it's gotten quite thin, so it might not be able to trap the gas and actually rise. I can't tell from the side pic if it rose and fell overnight or not.
Much less impressive activity when I went to feed it last night, but you can see from the foam that we're still bubbling away. I think we're getting some serious alcohol production, which is contributing to the thinness. I've heard some people pour off the hooch, but I've never done it.
Instead of using half the previous starter when feeding, I'll be going with 1:1:1 by volume to try to thicken it up, but I'm considering switching to 1:1:1 by weight as per one of my books, King Arthur, and probably our benevolent mod @[email protected].

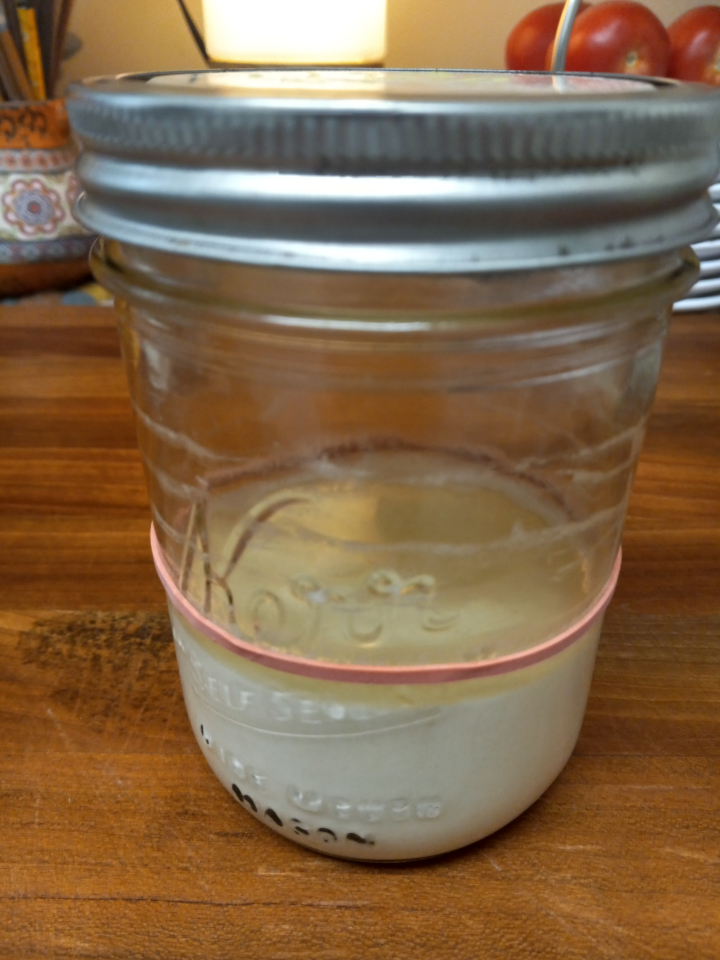
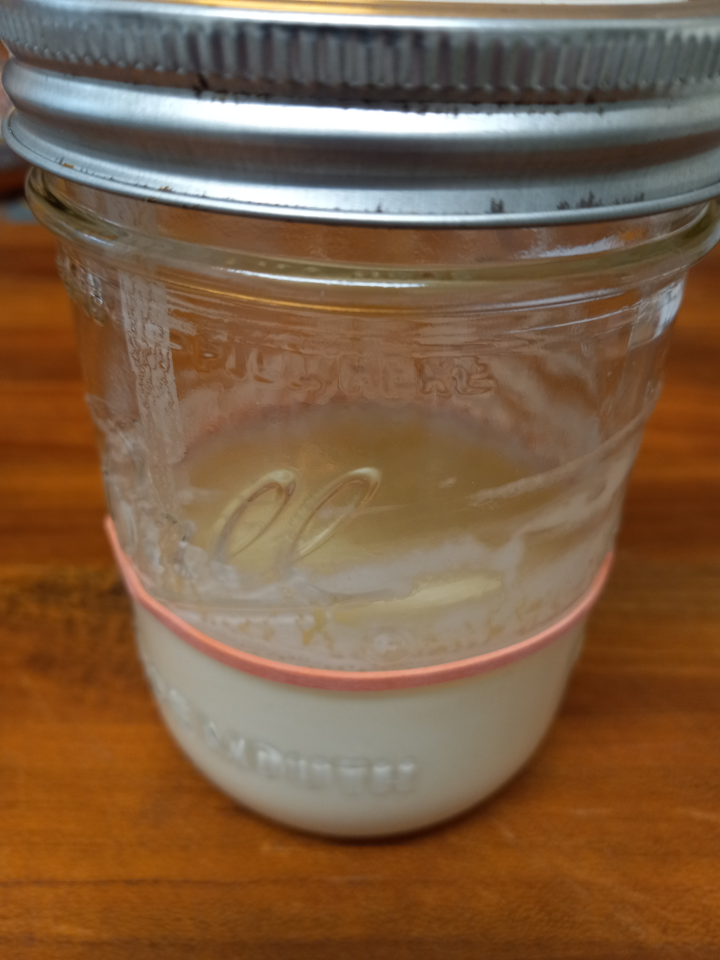
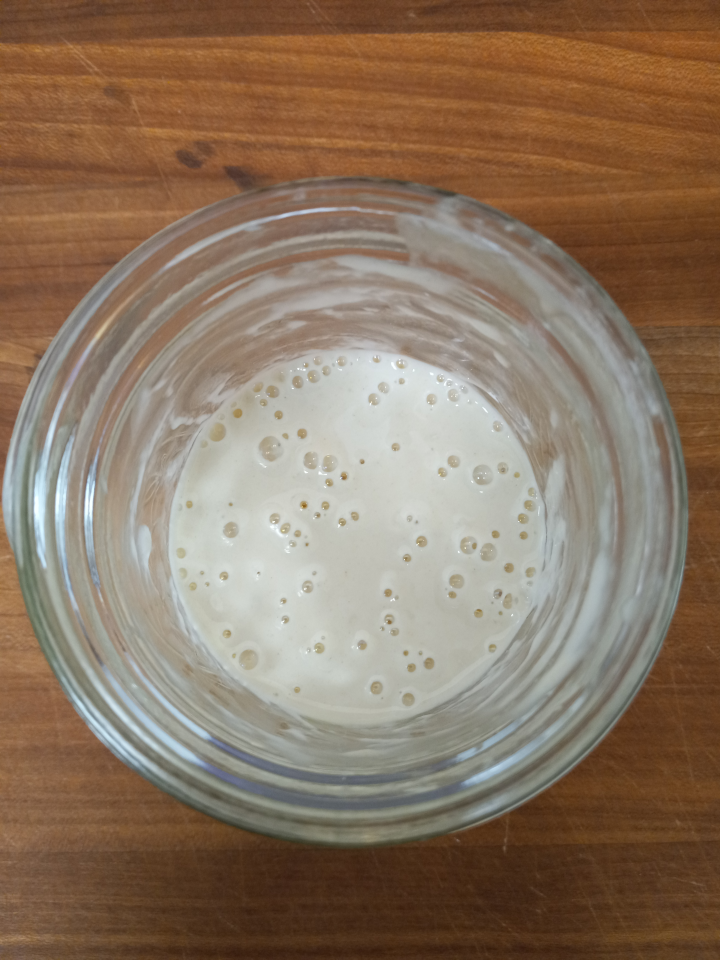
9
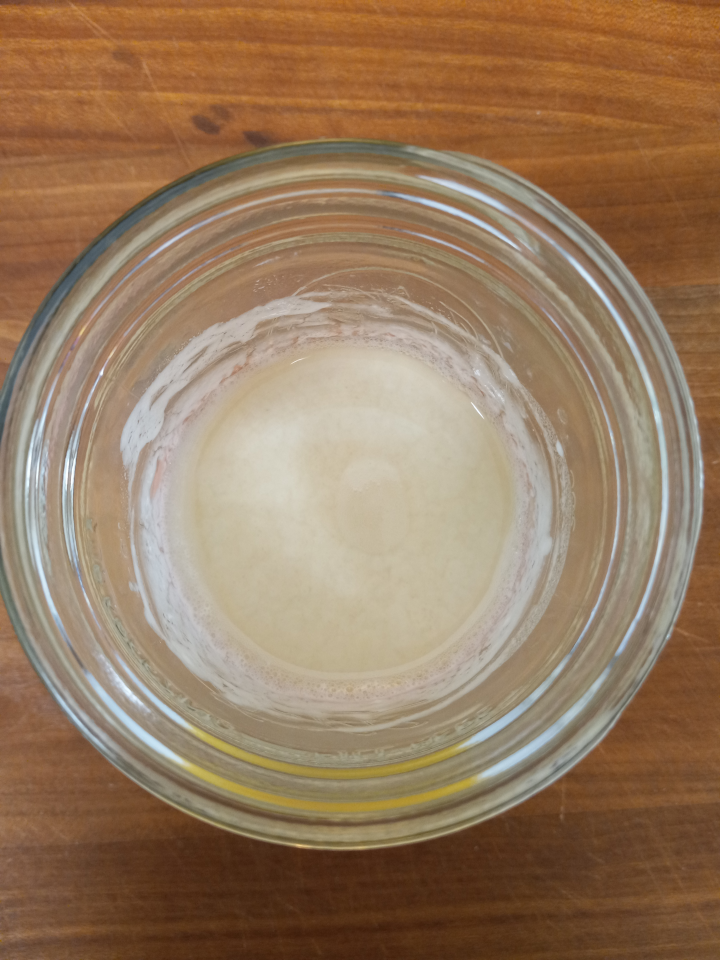
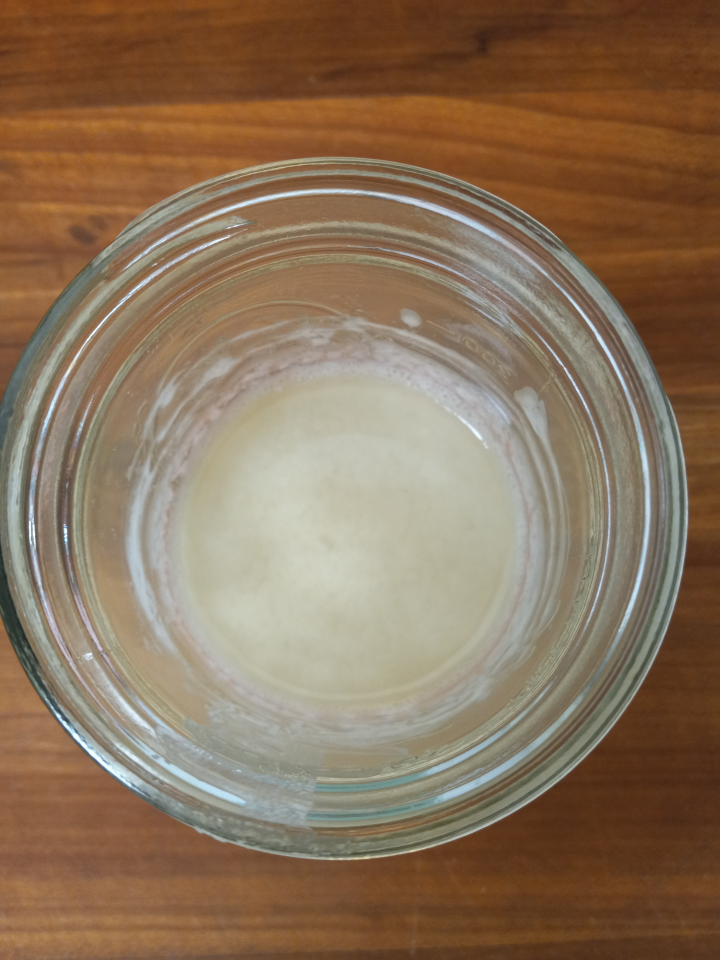
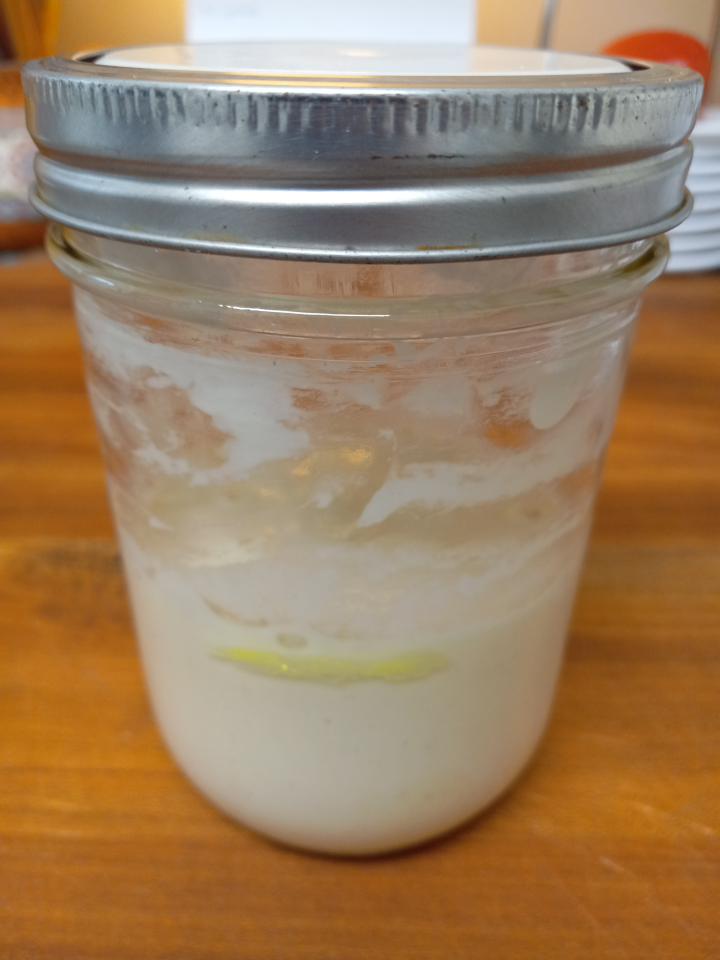
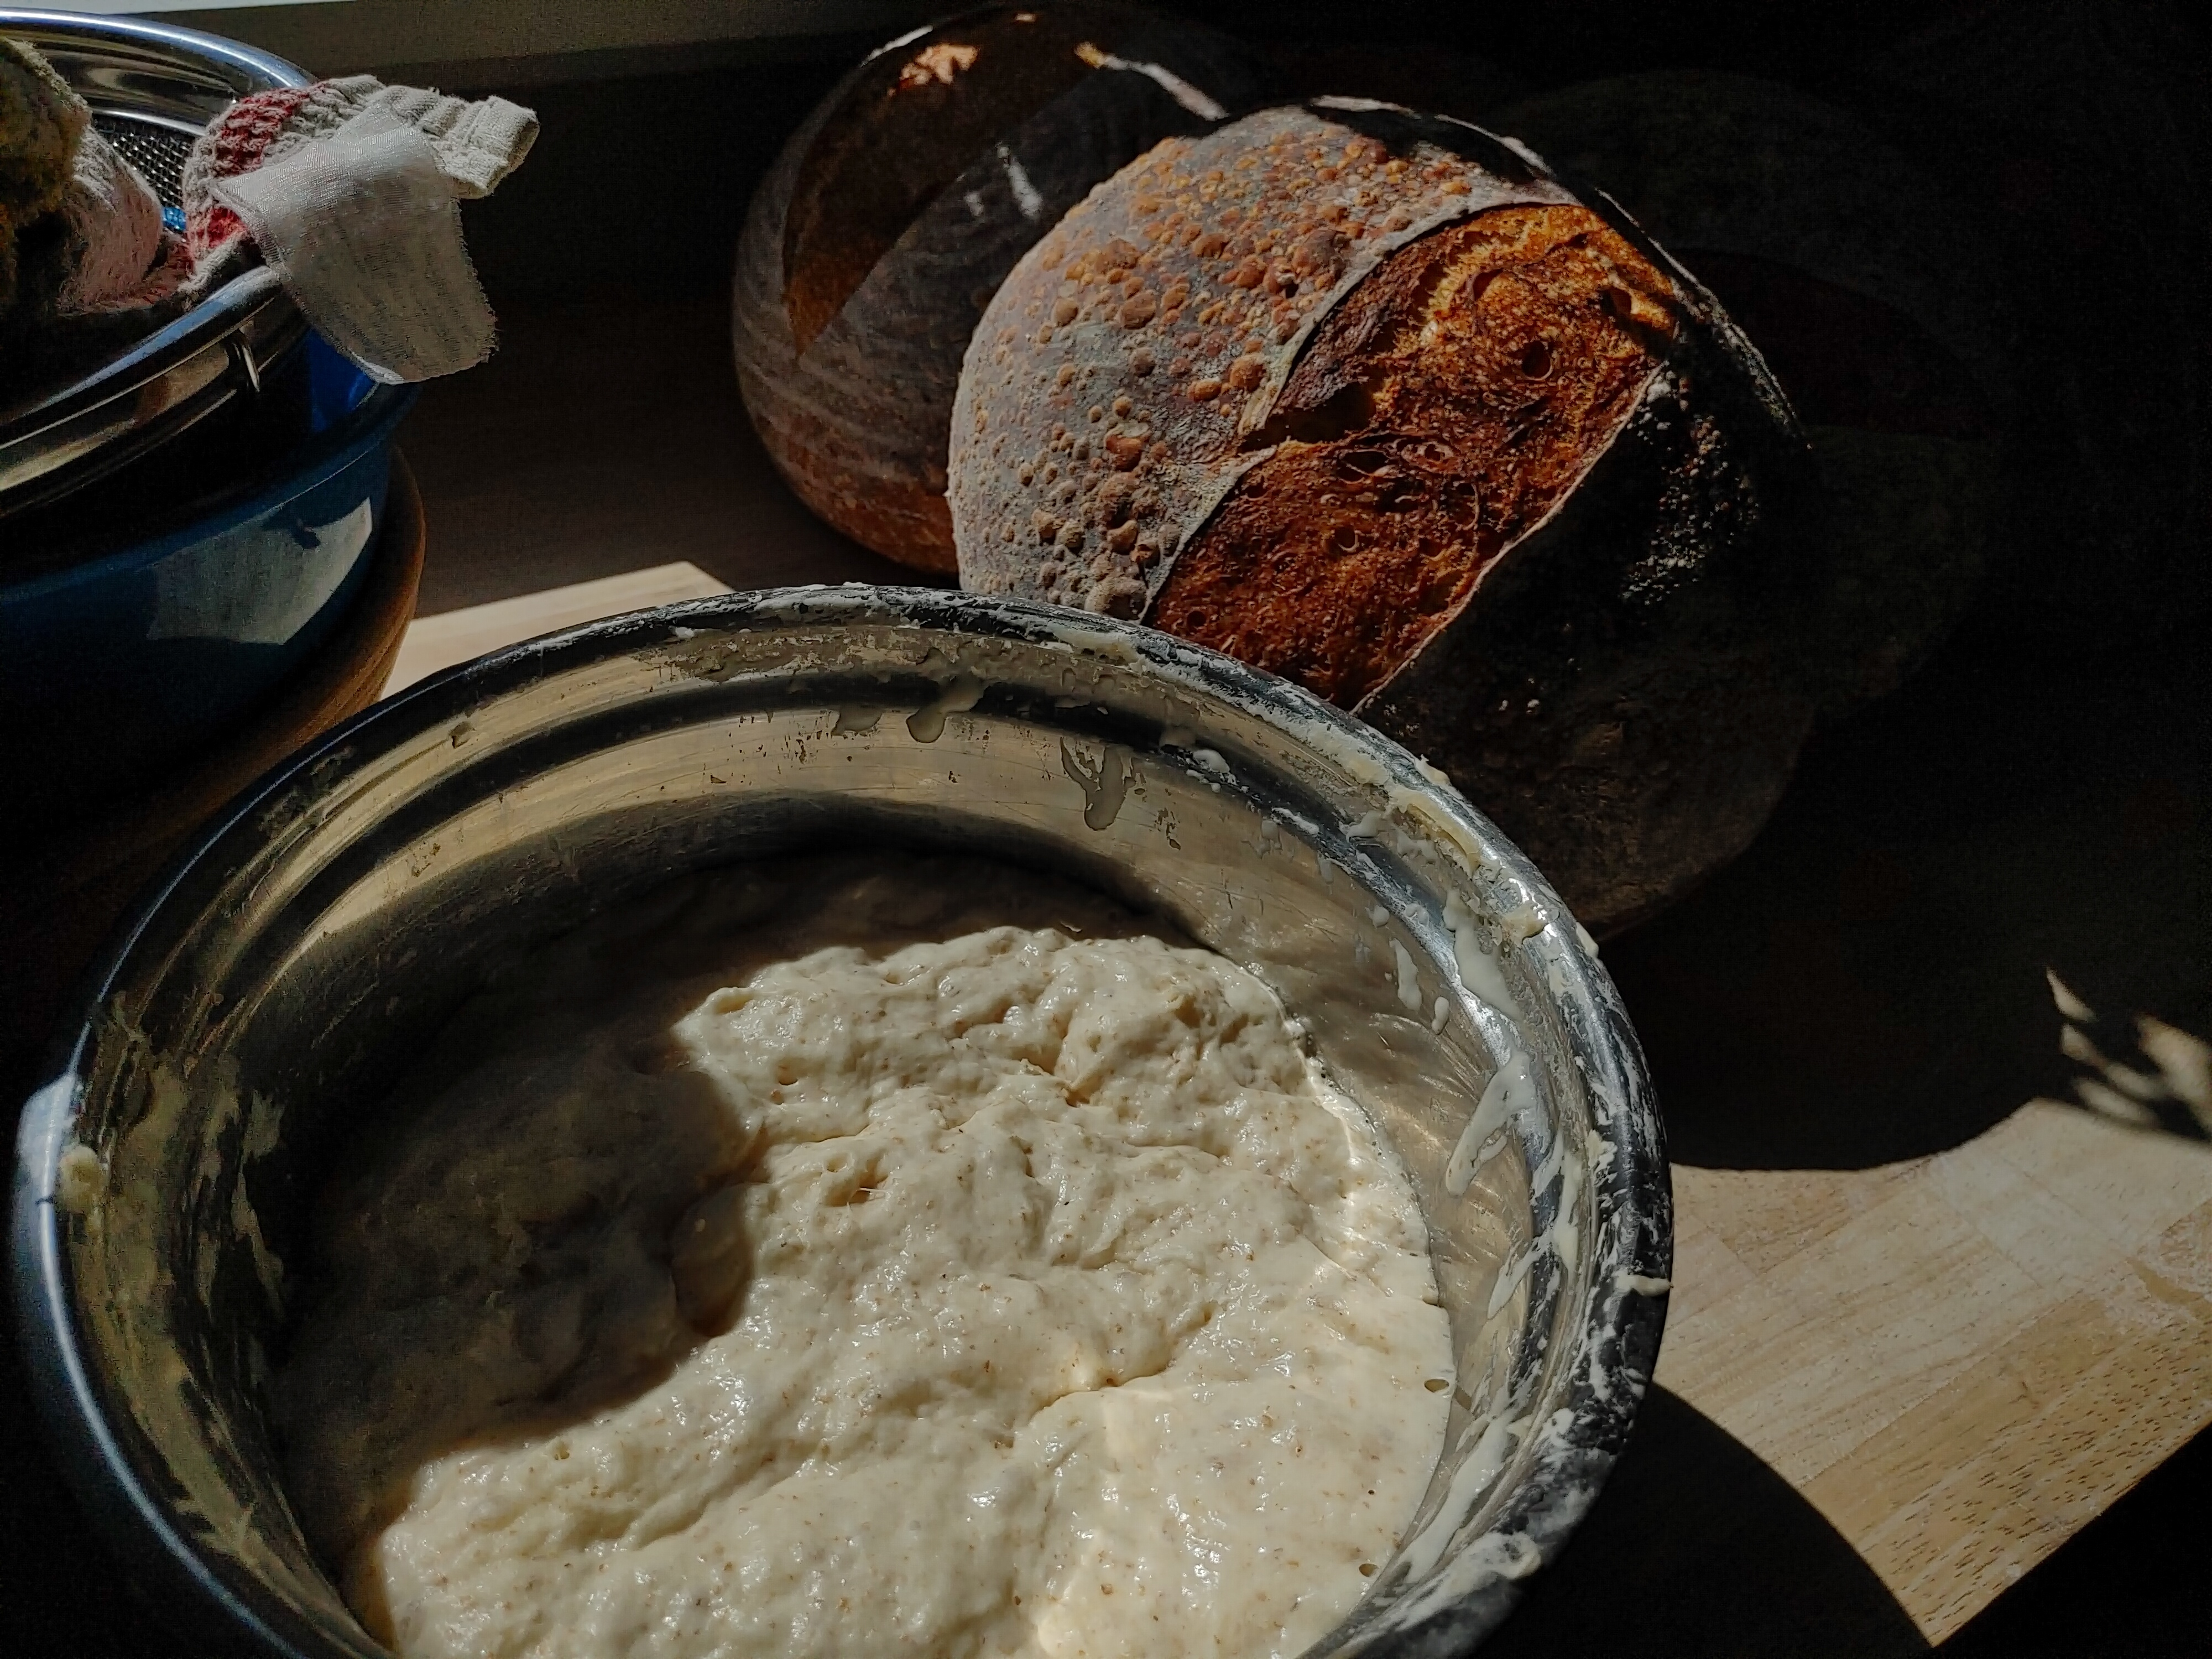
Well, this was unexpected. The picture above is just over 33 hours after my previous post. It's a little early for me to trust it, since this is after the first feeding. I'll keep feeding it until it gives a consistent rise, but this is a great sign! It's smelling deliciously sour.
Here's what it looked like before the feeding (the morning after my post, T+17hrs):
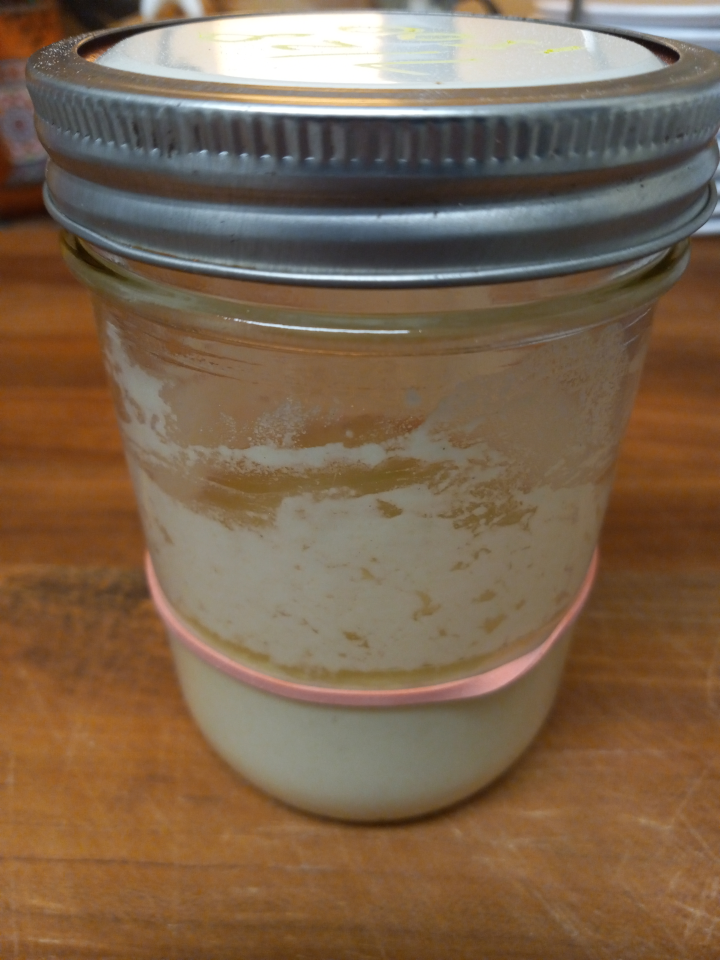
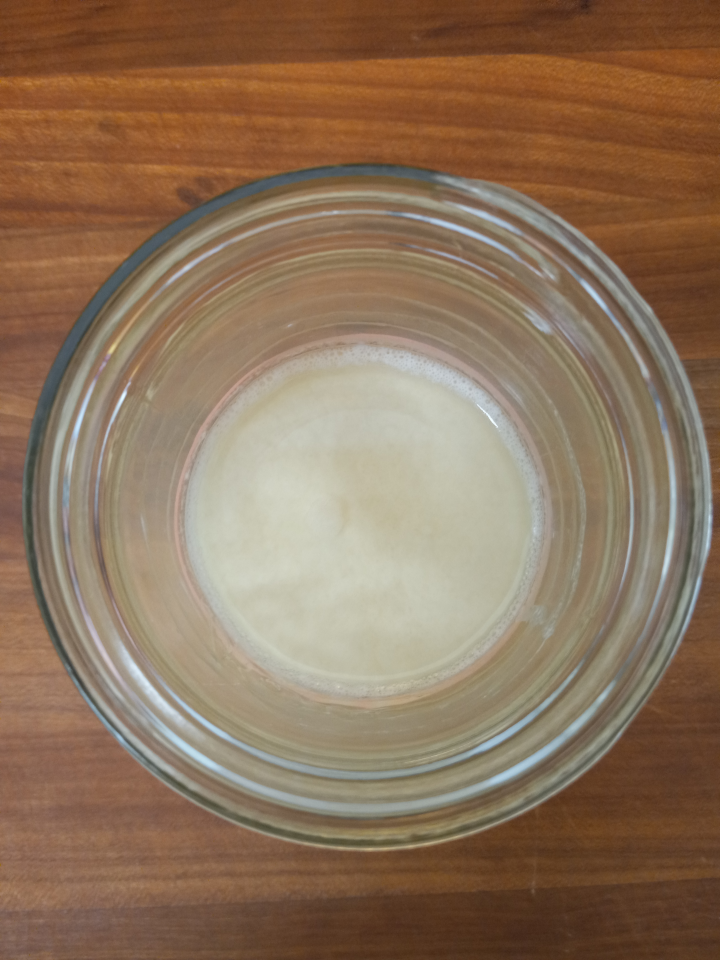
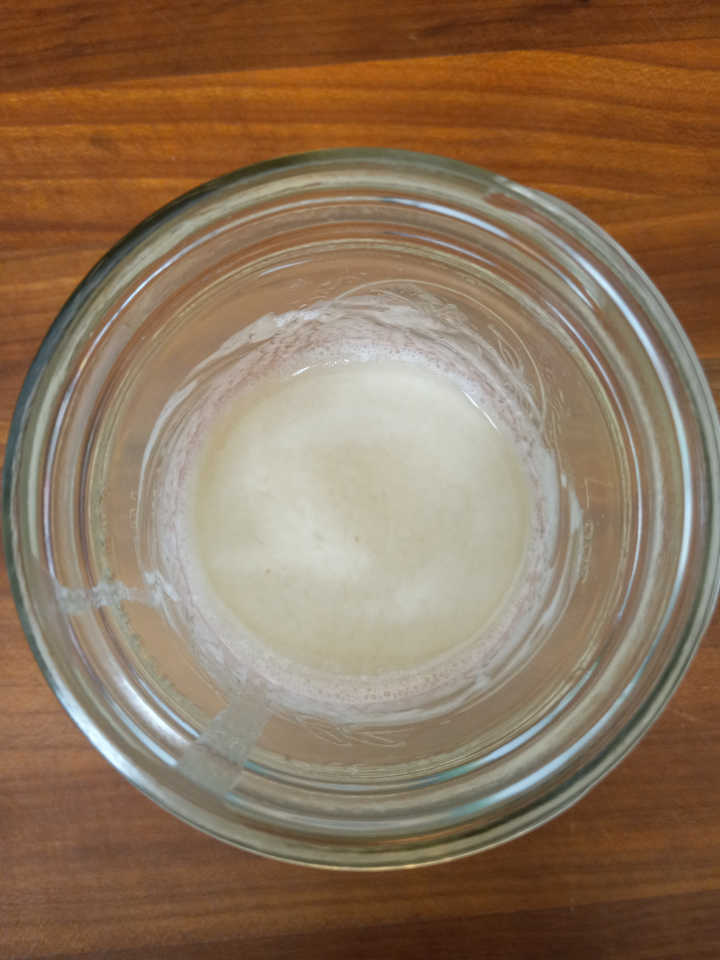
And then here's the top-down shot about 16 hours later:
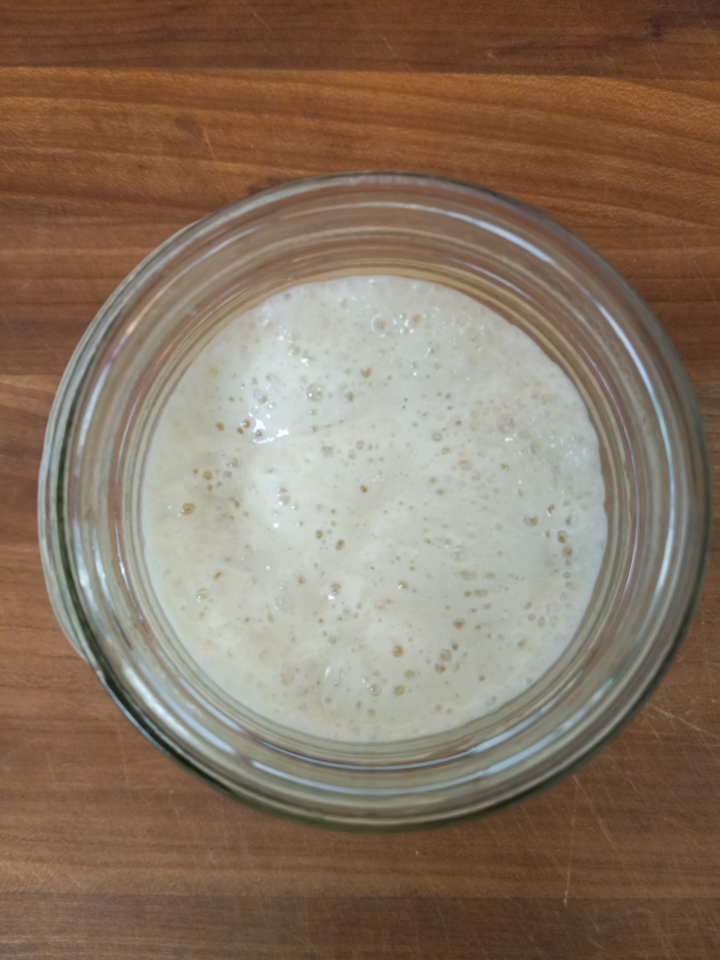
Nearly a full doubling, vigorous gas production. Just incredible.
Maybe it's a mistake, but I'll keep feeding it and posting the results.

10
Here I go again!
I'm creating a new sourdough starter from scratch, and I thought I should share the process. By "from scratch," I mean with just flour and water. I've seen recipes use active dry yeast, apples, grapes, or even 2 day old food, but your flour already has the yeast and bacteria you need. You just need to give them a hand! And be patient, as is the way of a good baker.
Recipe
pbv: part by volume
- 1 pbv flour (e.g. 1/2 c or 2.5 oz)
- 1 pbv water (e.g. 1/2 c or 4 oz)
- Thoroughly mix ingredients in a container and cover while still allowing air exchange (use a thin towel, paper towel, or an upside-down lid screwed on loosely).
- Let sit at room temperature for 12-24 hours.
- Mix up a new batch, stir old batch, add half the old to the new, and mix thoroughly.
- Repeat until starter doubles in volume between feedings.
- Refrigerate starter and feed weekly.
Comments
- Keep smelling the starter and keep a good eye on it. When done it should smell appetizingly sour.
- Warmer kitchens need more frequent feedings.
- This can take a week or two, and you can go through an entire bag of flour creating a new starter this way.
- Use the flour you're going to be baking with. If you want to bake with both whole wheat and unbleached, use 1/2 pbv of each. Using whole wheat also adds more food for different bacteria to eat.
- What we're doing here is cultivating all kinds of yeasts and bacteria that naturally occur on the flour and in your kitchen, and then we introduce them to a new environment full of food. Those yeasts and bacteria that eat the flour quickly should eventually win out, but that's not guaranteed.
- If you see mold or it smells like rot, discard and start over. You might need to feed more often.
Other Pics
11
Feel I still have a ways to go due to the darker spots on top but overall I’m pretty happy with this result! Because of timing issues, the dough sat for 2 days before baking.
The recipe is from Serious Eats- No Knead Pizza Bianca (https://www.seriouseats.com/no-knead-pizza-bianca)

12
This is my first focaccia made from Claire Saffitz's book Dessert Person. Here's a video with the recipe for those interested.


14
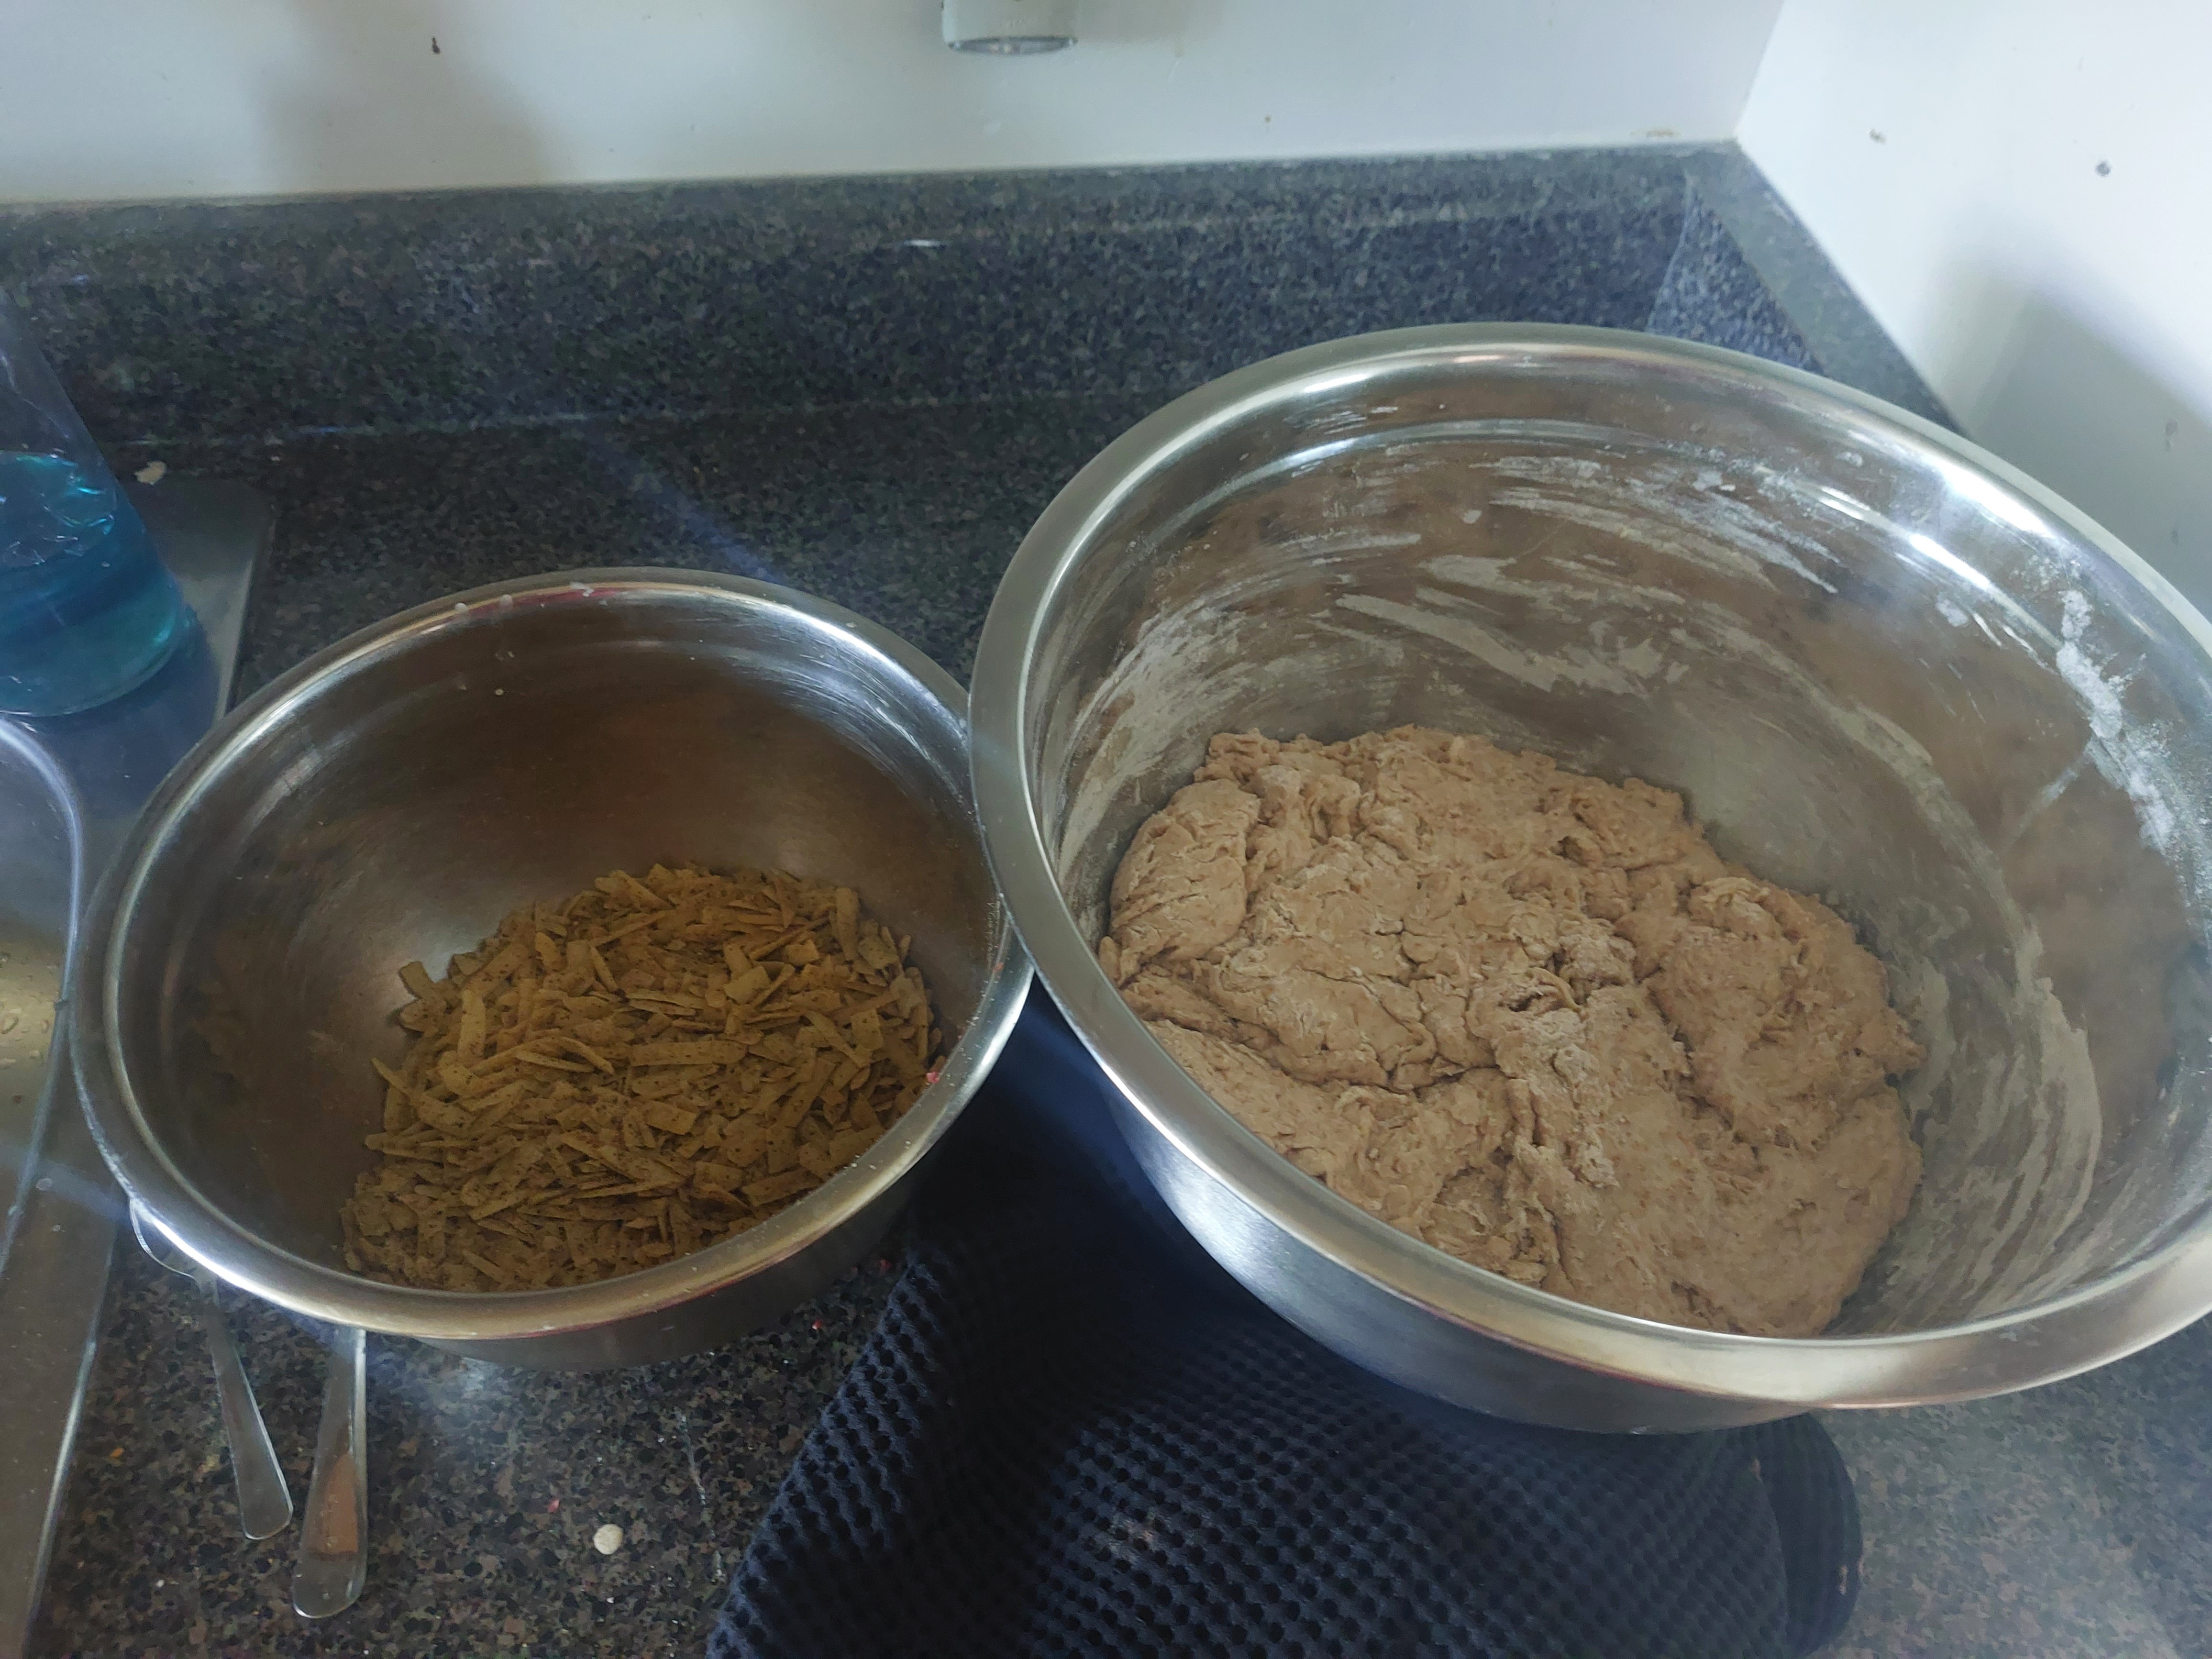
Relatively simple sourdough bread, wheat and rhye mix.

15
The smell of the roasted garlic was sooo good.

16
They might not be the most consistent, but I'm learning a lot! Recipe will come with the final total product photo tomorrow!
17
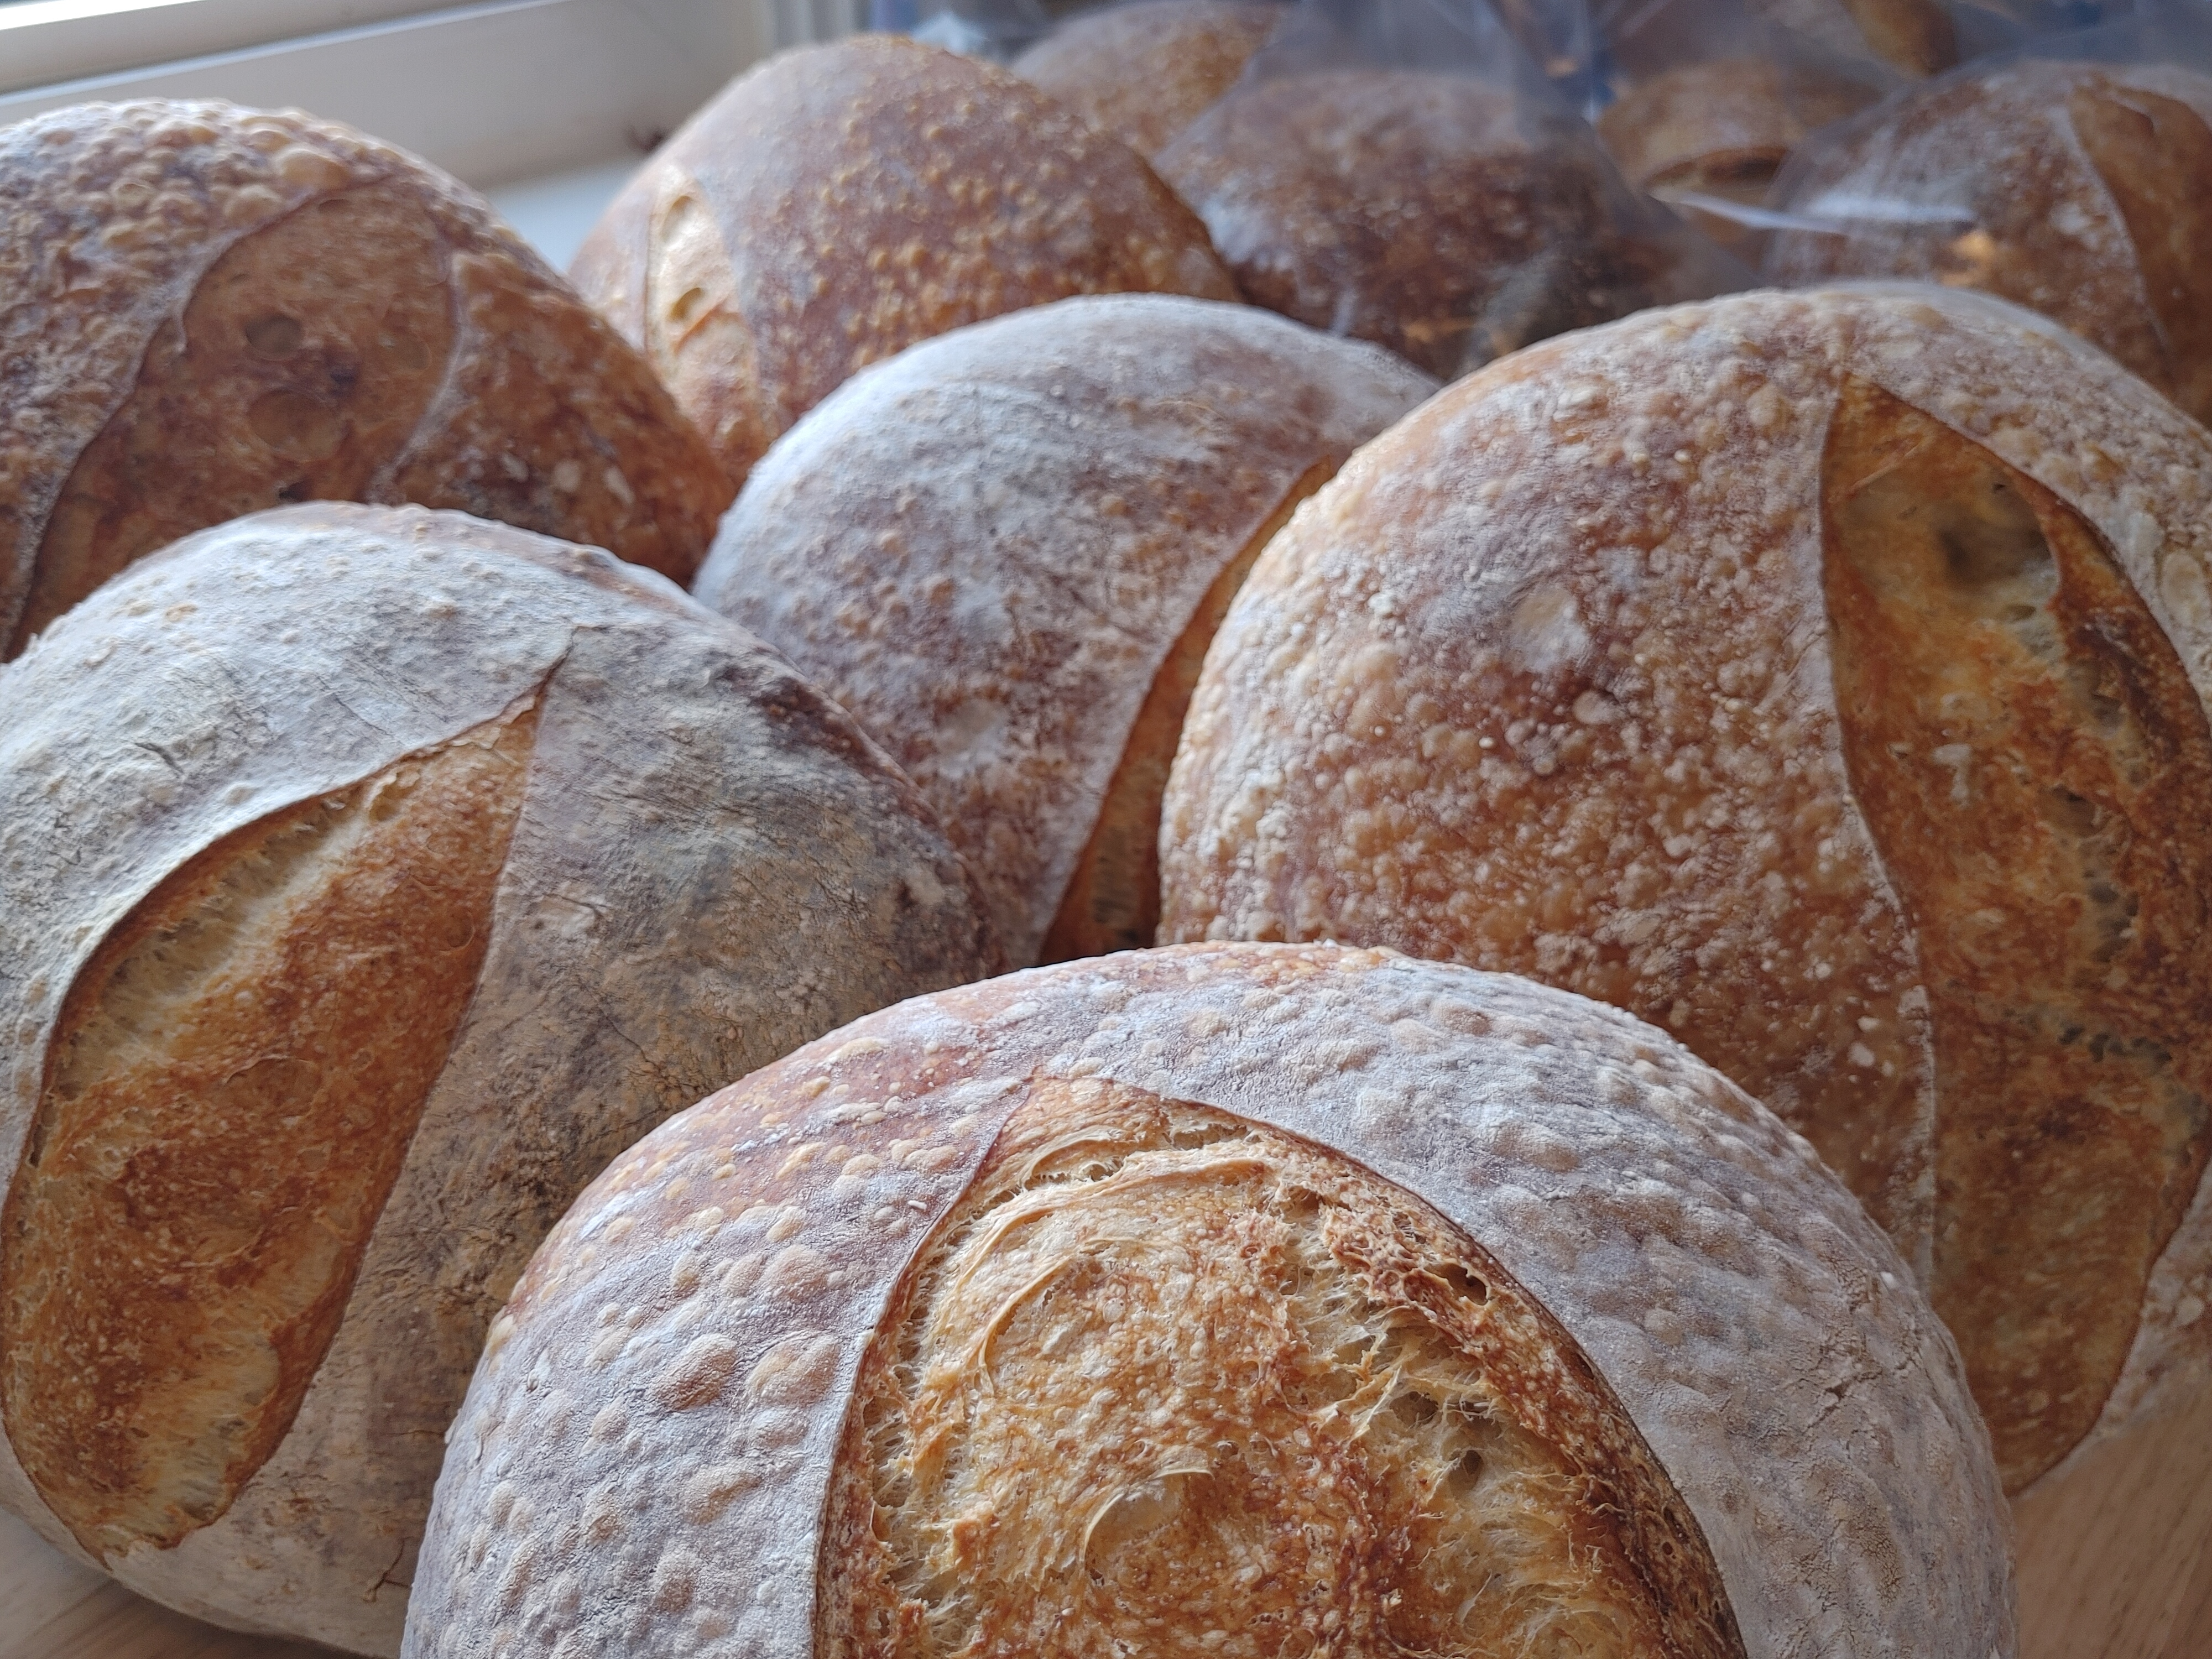
Starting my 3rd double recipe of Country Loaf for the weekend, goal is 4-5 or 16-20 loaves!

19
It's gonna be a busy production weekend for me. Putting that starter on double duty! Aiming for 8 loafs a day for the weekend, starting with an overnight retardation.
20
Recipe:
High quality bread flour: 375g
Garlic powder: 5g
Italian Seasoning: 5g

Water: 225g
Oil: 40g
Poolish: 200g (it's what I had on hand, I'm would normally have only used 100g)
Active Dry Yeast: 5g
Salt: 15g

1. Mix water with poolish and Oil
2. Mix salt in wet and combine with dry
3. Knead till a ball forms (skin will tear easily)
4. Rest in warm environment for 30 mins.
5. Knead into smooth ball, rest for 30 mins
6. Flour (or semolina) rolling surface and expand to two, 10 inch rounds. See tips after recipe
7. Build your pizzas and bake at 425 for 20ish mins
Pizza shaping tips!
-wet dough is harder to handle, but way easier to shape.
-equal parts semolina and flour is an awesome dust for your bench.
-tossing your pizza in the air is a great method to expand a soft and supple dough. It’s also real fun.
-let your dough balls rest for 15-20 mins before expanding.
-place your dough ball on the dusted bench and press from the inside out. Try to avoid breaking the skin!
-always rotate the dough while expanding it. Envision a circular rope around the outside of the crust that you are trying to stretch but not break. If you do this right you will be able to actually feel the gluten strands forming a circle around your dough.

21
Pepper-pepper-pepper asiago sourdough bread. 4% toasted and ground peppercorns, 20% asiago cheese, 1% garlic powder, generous pinch of Japanese shichimi (7spice) and red pepper flakes. Probably 85% hydration.

22
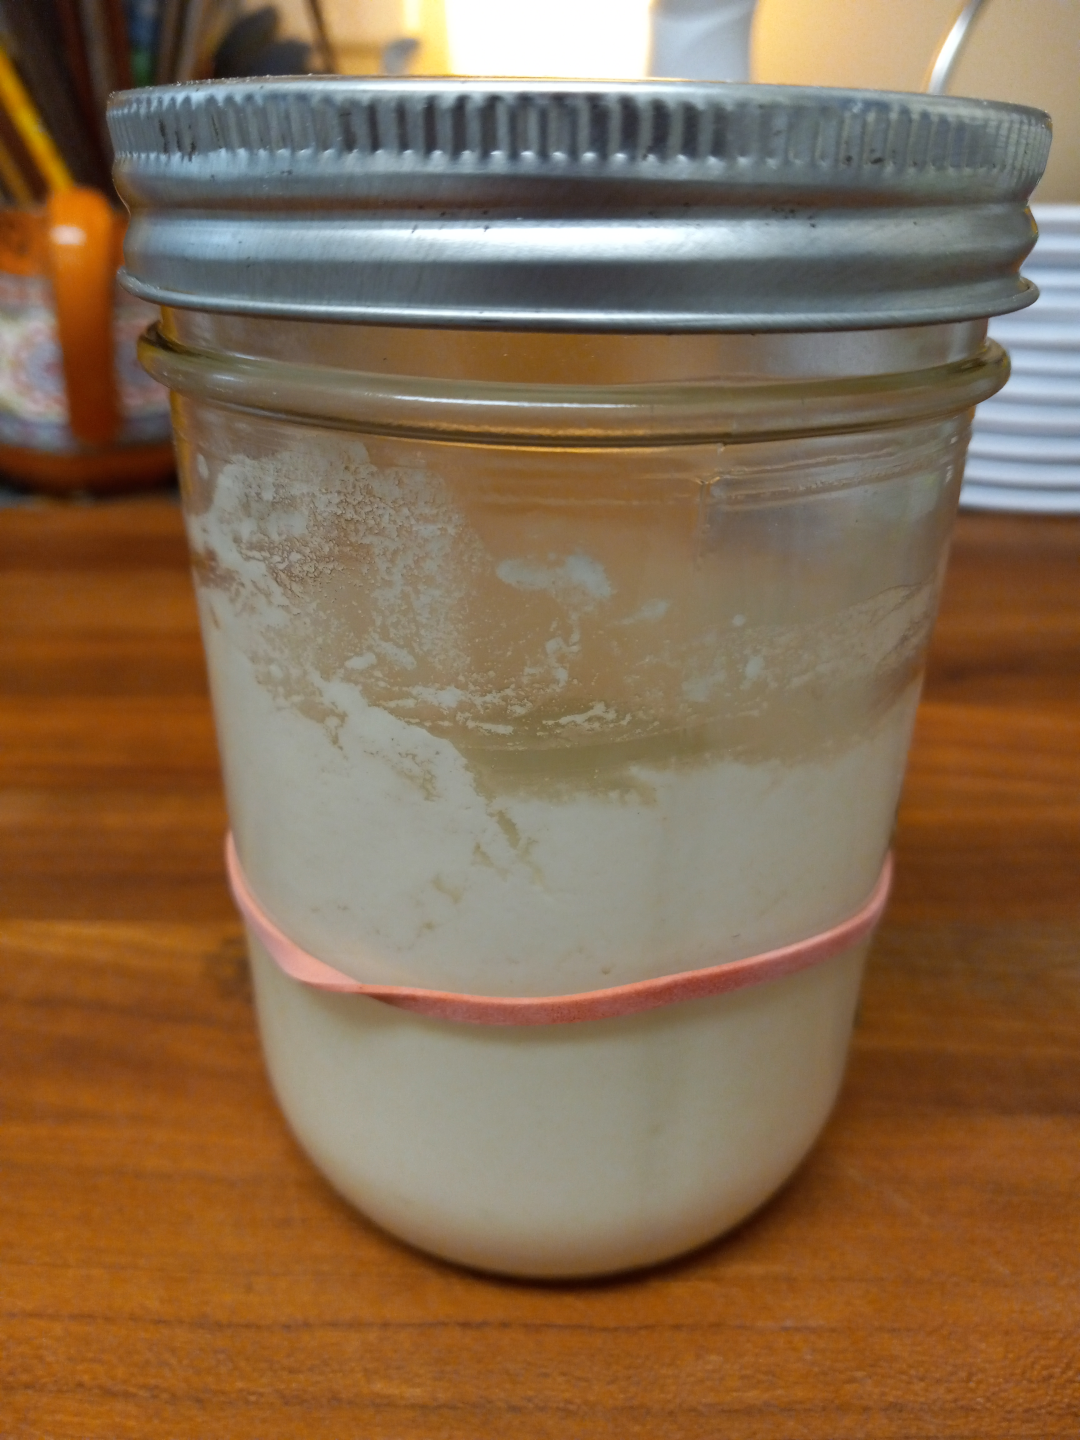
This is my unnamed sourdough starter blorping away on the counter in its charming green mason jar. About to go back into the fridge for two weeks.


23
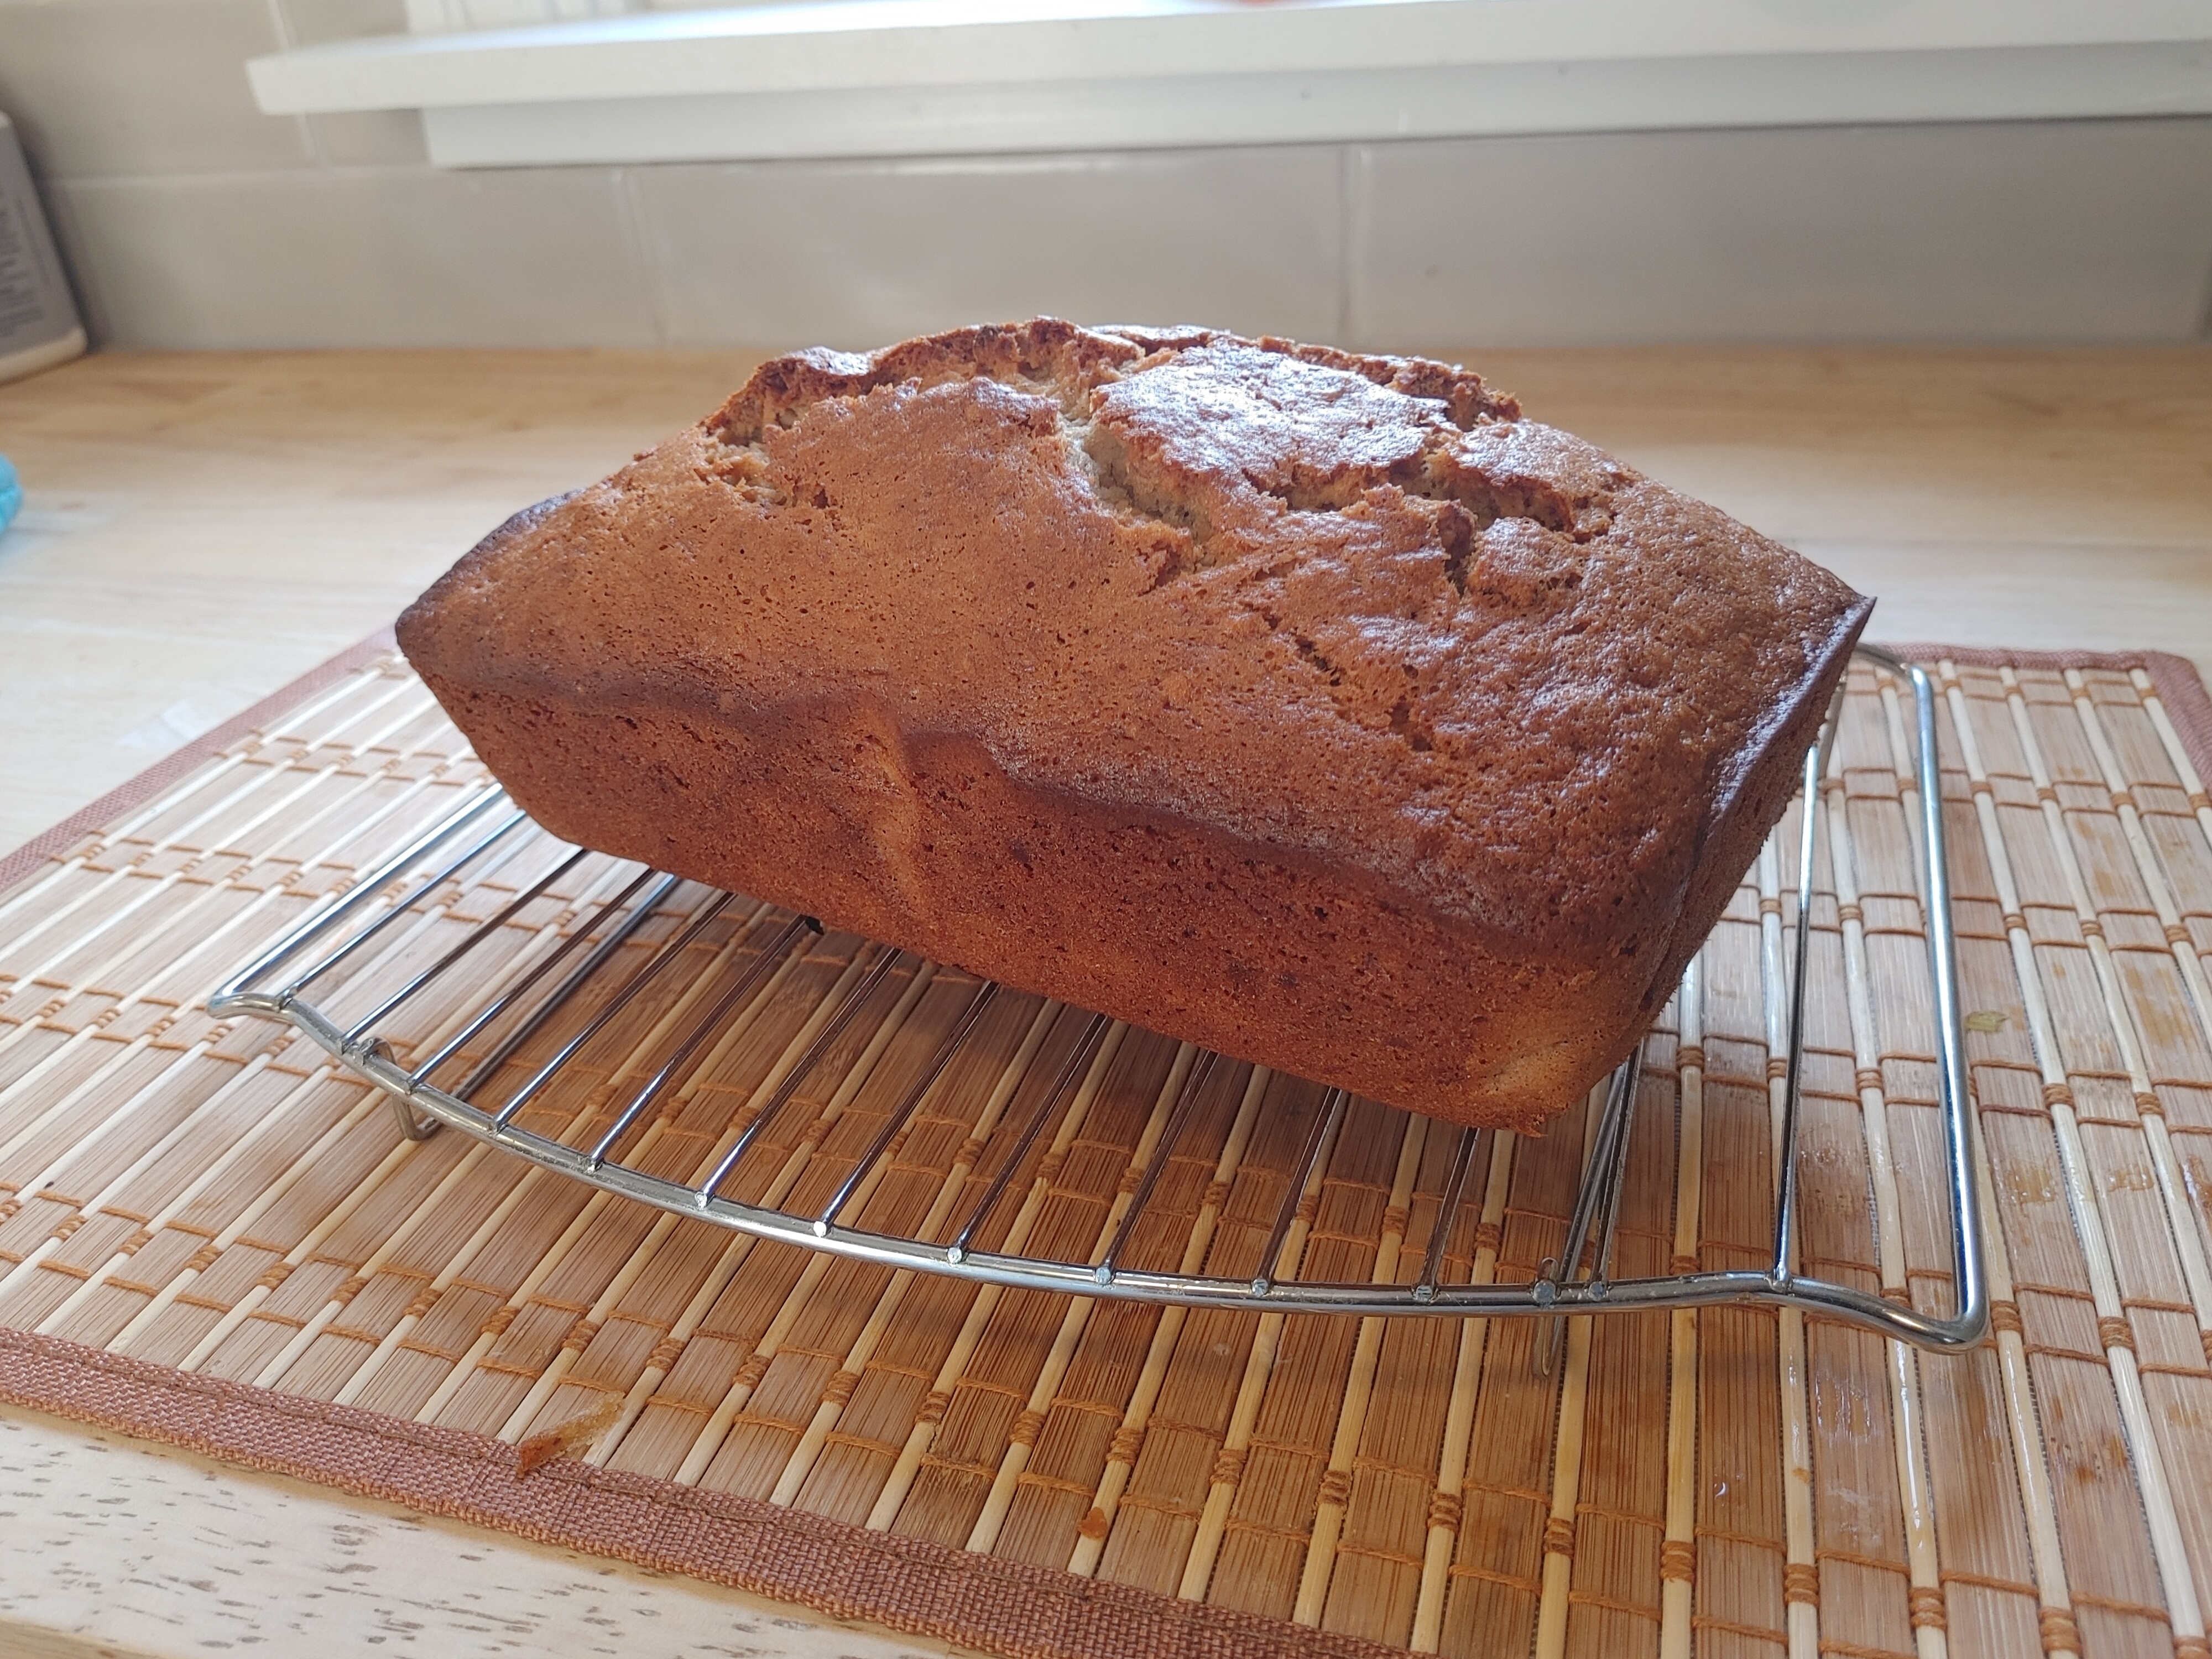
Recipe:
3 ripe bananas
1/3 melted butter
1 cup white sugar
1 egg
Vanilla

1-1/2 cups A.P flour or cake and pastry
1 tsp baking soda
Salt

1. Preheat oven to 350° f
2. Mash bananas and add wet.
3. Add dry, mix until just combined with no flour lumps. If using c+p flour sift first.
4. Transfer into parchment lines or well seasoned loaf pan.
5.Bake for 1h-1:30h depending on your oven. Start checking after an hour.
6.let cool in pan!
24
A friend of mine was celebrating his son's first birthday in his restaurant and asked me to make some bread for the event. So I decided to bake 7kg of a foccacia'esque flatbread.
100% 405 flour, basically AP I believe (didn't have that much time, so had to take what the supermarket gave me) 80% hydration 2% salt 0,75% fresh yeast
Knead in the big stand mixer till homogenous. Then ferment in fridge at 4-5 °C overnight. Put some baking paper in the trays, slather everything in a generous dose of extra virgin olive oil. Pour the dough into the trays, let rest, stretch a bit. Pour saturated salt brine on top and then off into the convection oven at 200°C till core temp reached 77°C. Let cool a bit, cut up and finish to order on the salamander.
I know, not the most beautiful bread. But it was the best I could offer in that quantity in that little time. Flour was definitely missing gluten and I would have preffered to have made it using 100% spelt flour.

25
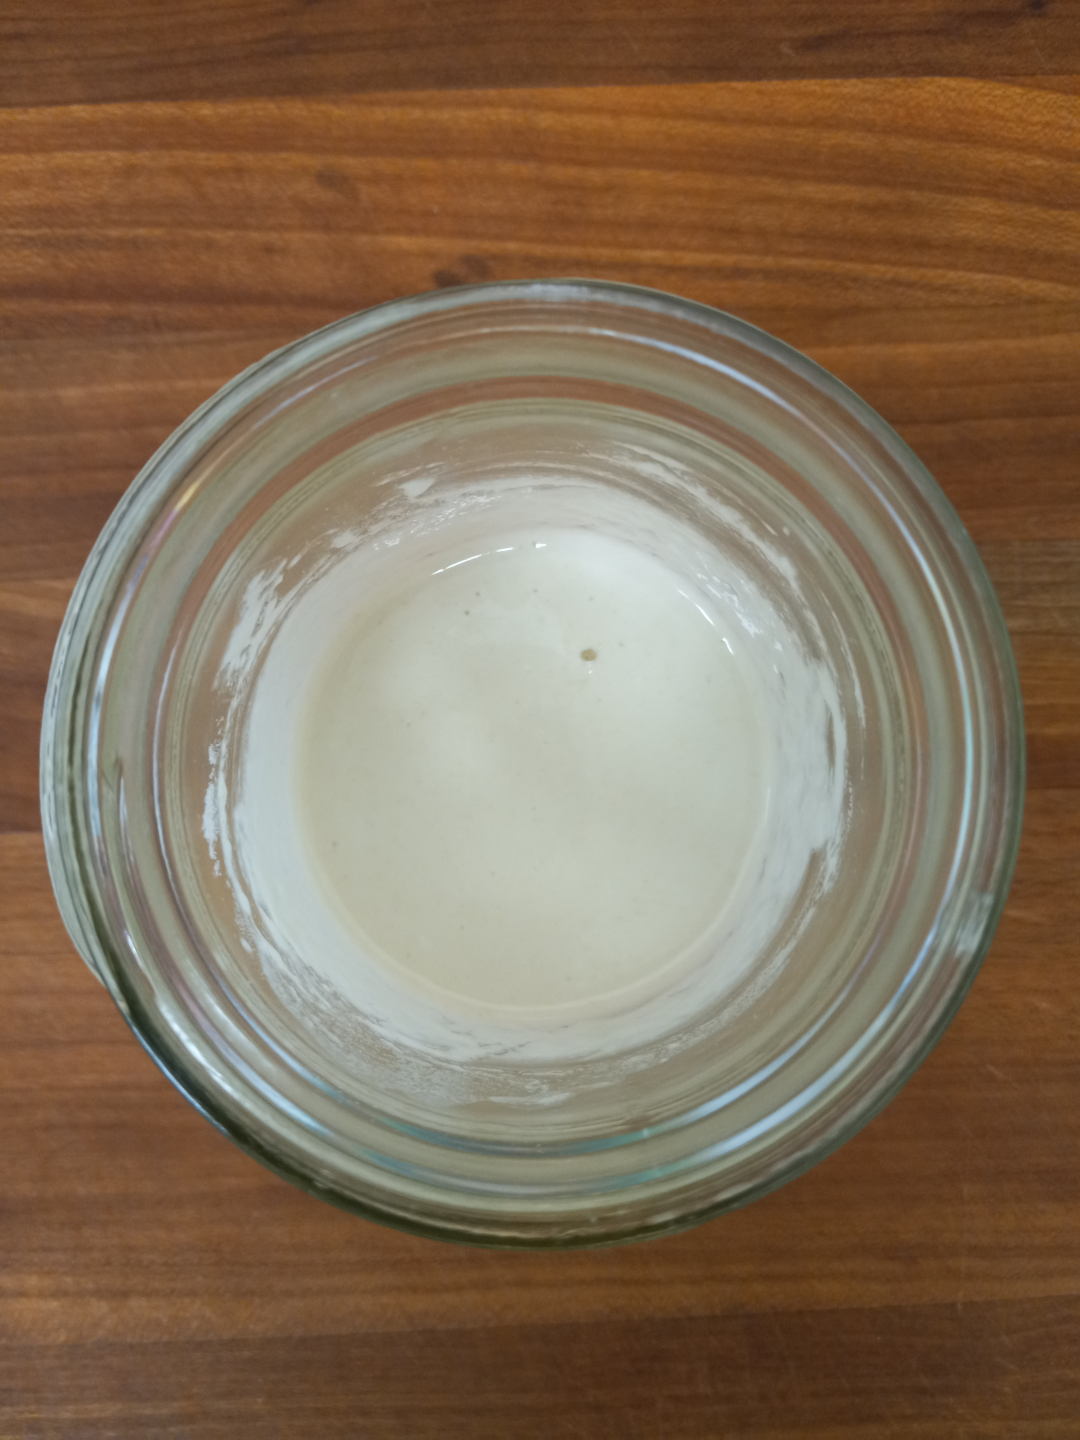
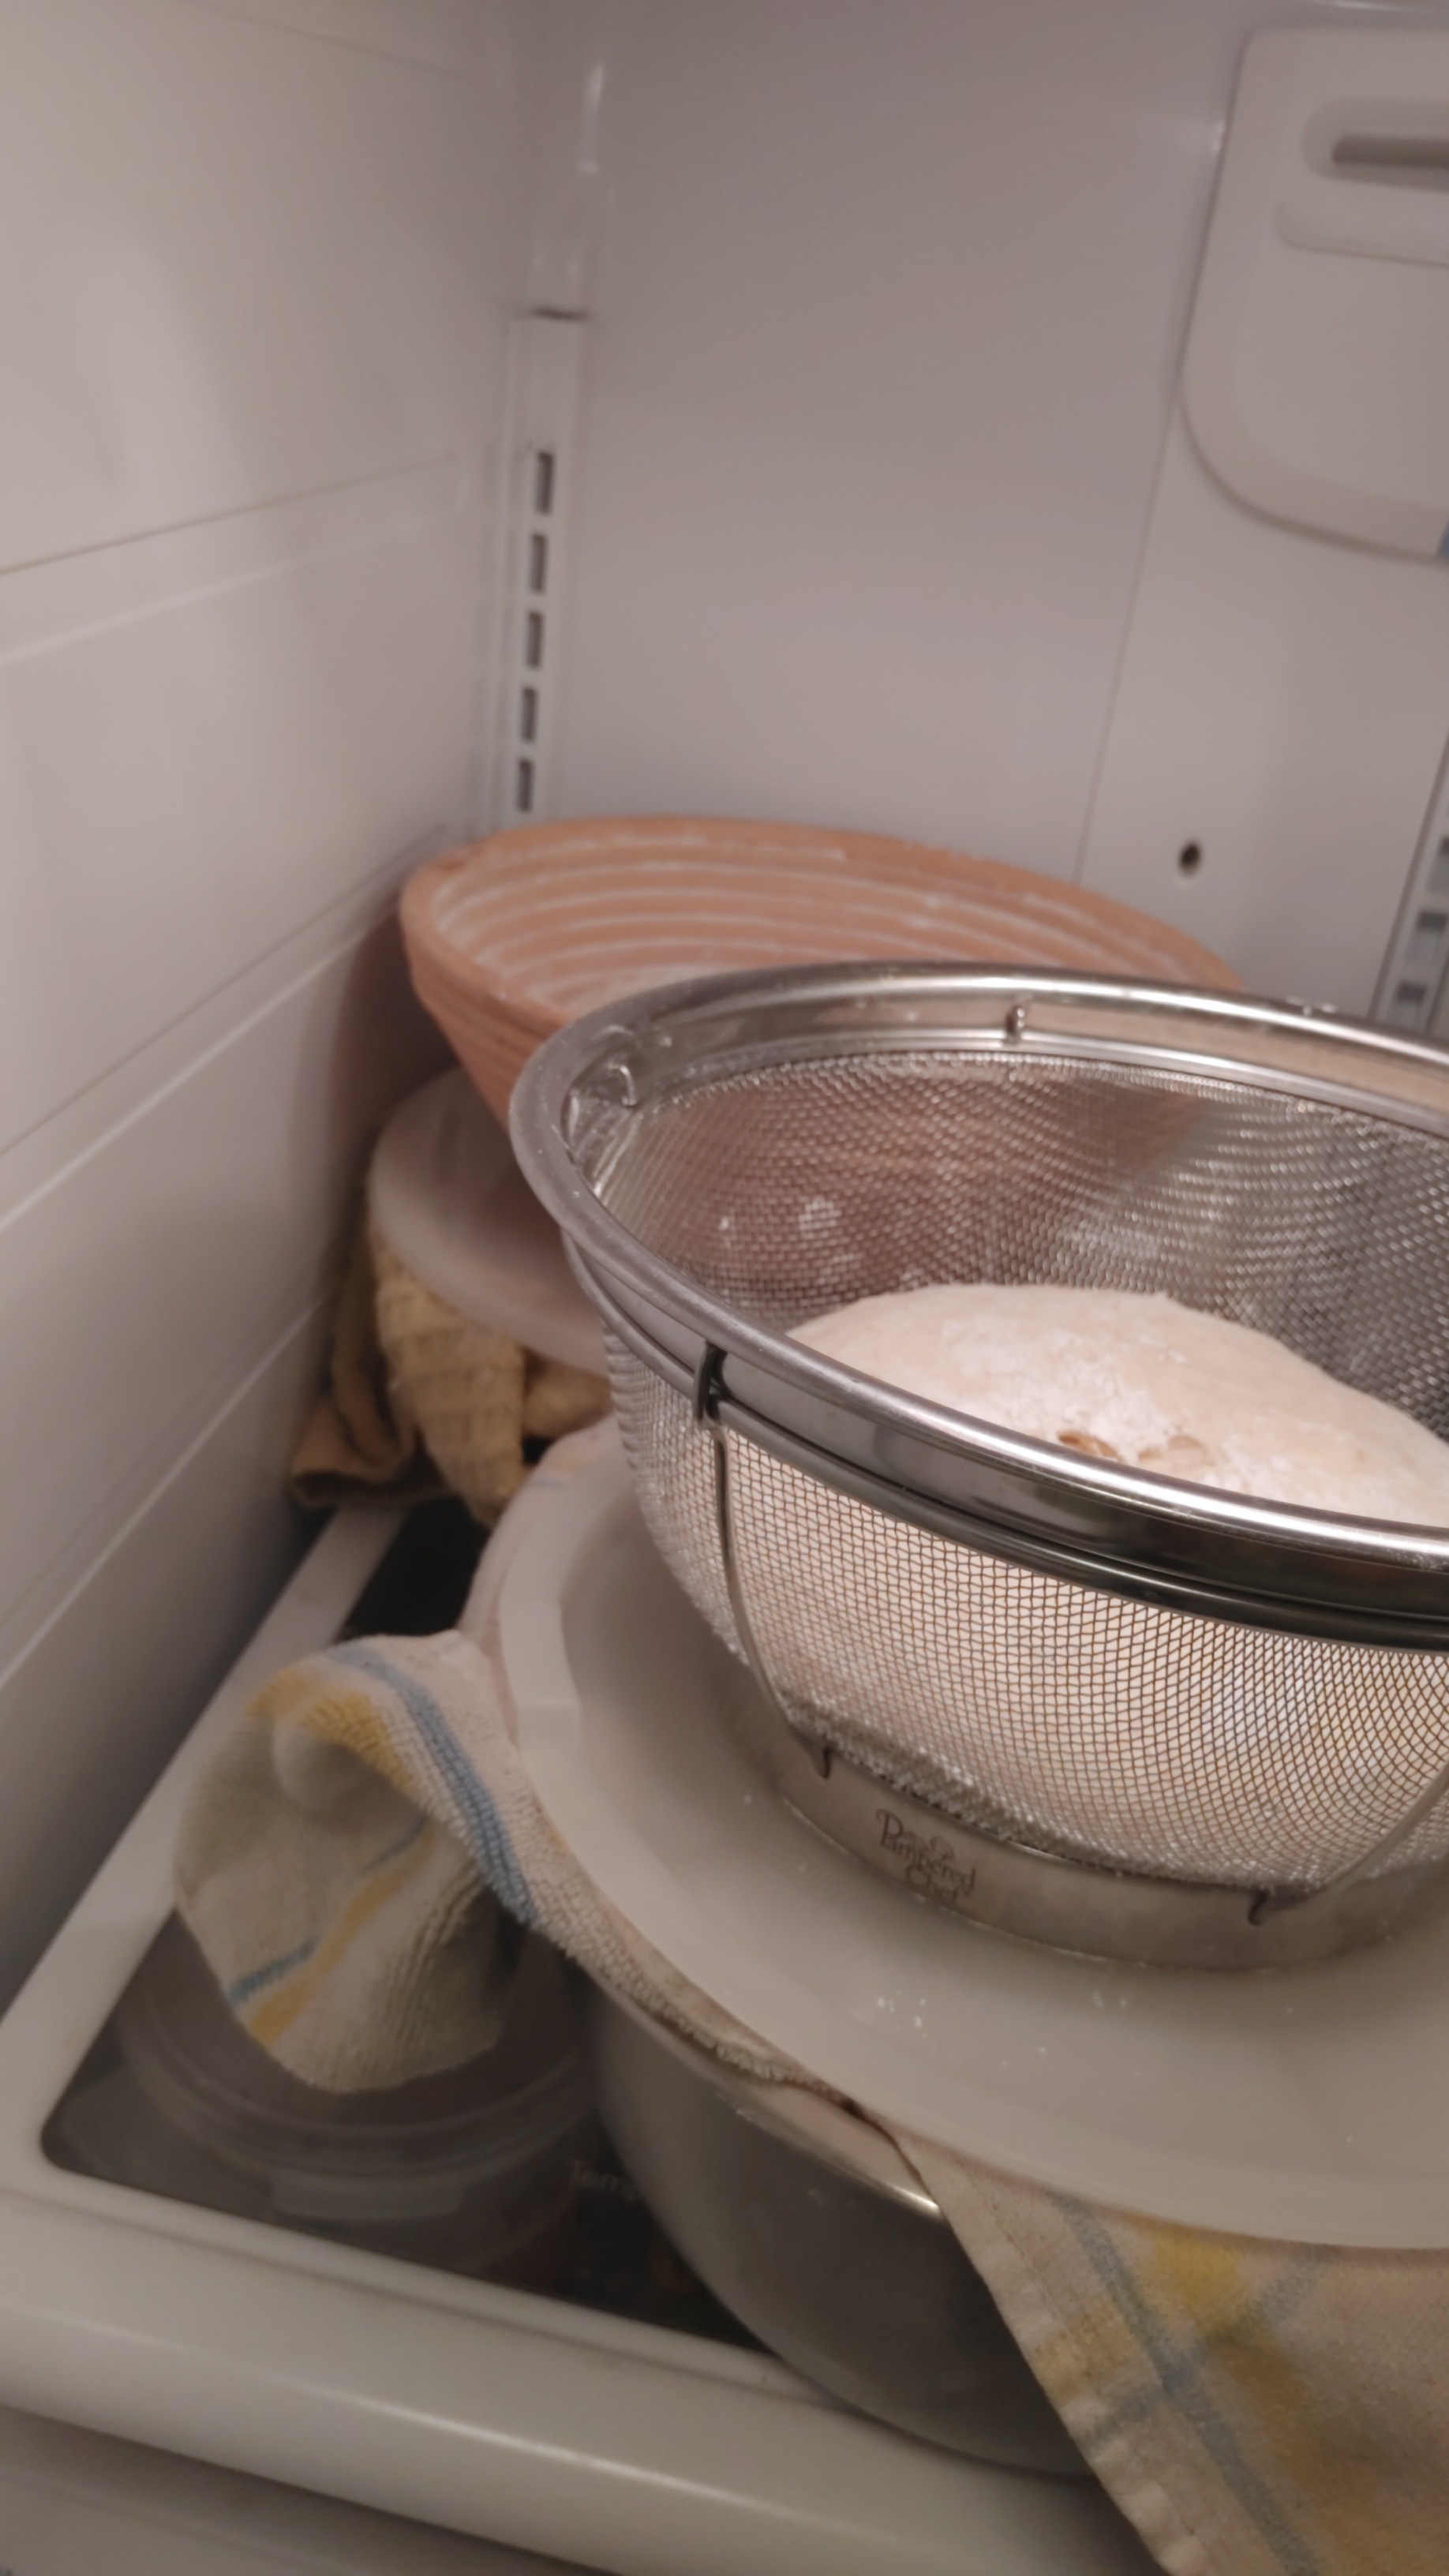
Fed yesterday, 2 hours at room temp and then in the fridge. She's actually got a bit bigger than I would like already so maybe straight in the fridge next time?

view more: next ›