51
75
submitted 1 month ago by [email protected] to c/[email protected]

Don't think I've seen this before. Don't even think the author has things for sale from what I can tell. Couldn't find an obvious option on any of my models to toggle this either.

Anyone know what's going on?

52
19
submitted 1 month ago by [email protected] to c/[email protected]

Total clog with prusament pla in line. Can't feed anything through even at high heat. Cold pull not possible / filament not making it into hot end to do this.

You can see little bit of filament sticking out in photo, but with pliers this just tears.

Should I try heating up the whole hot end tube with a soldering iron to see if I can liquify the clog out?
Any other ideas? I can't find many good resources about what to do in this situation online. Also, obviously needs to get cleaned up a bit, but does picture of my hot end tip look pretty ok? Do I need to bite bullet and get a new hot end? If so, are Amazon off brand replacements ok, or do I need to wait for one to get shipped from prusa?

Thank you

53
23
submitted 1 month ago* (last edited 1 month ago) by [email protected] to c/[email protected]

So I run a repair shop in Altamonte Springs, FL - Got a weird one that searching the internet only turned up 1 other instance of it happening, so I wanted to post some details on the repair in case someone else runs into it or in case Creality doesn't admit that it's a thing.

Creality K1 Max - Symptoms: Unable to finish initial calibration. X and Y Axis moving twice as far as commanded, auto leveling absolutely destroying the build plate.

Initial steps in fixing this were to replace the main board. Creality shipped some of these printers with some interference around the main board which could have screwed up the drivers. Many references to this across the internet.

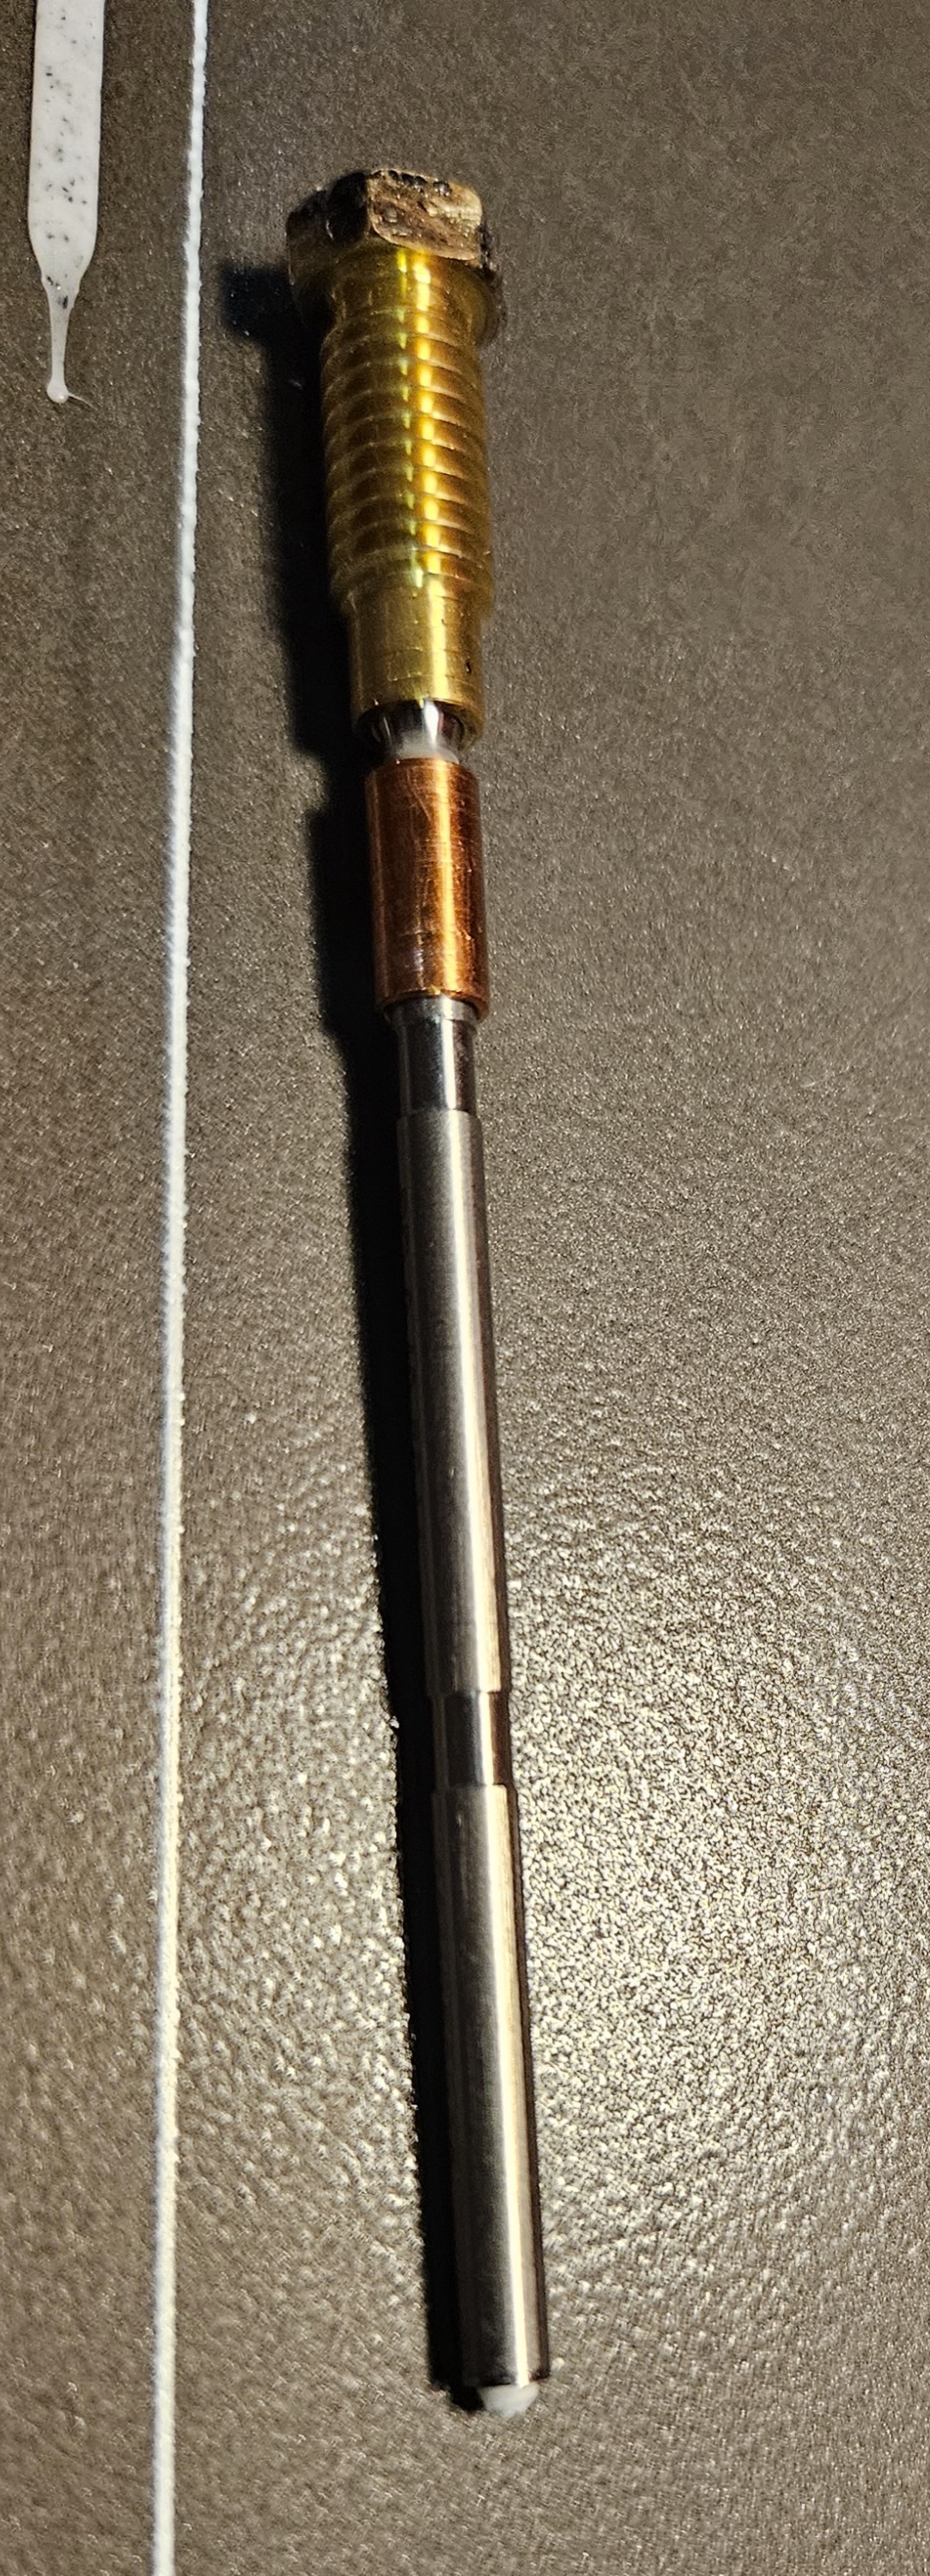
After replacing the main board, it still would not get past the input shaping setup, so the next thing to replace was the toolhead board on the K1. It seems the accelerometer on this one was either A: Damaged by the customer in their attempts to fix, or B: Faulty from the get-go.

After replacing the toolhead board, the machine would get past the initial input shaping, but it would do it in the back left corner of the machine (from experience, this should be done in the center of the plate). So upon homing, I also noticed that it wouldn't regularly go all the way to the front right of the machine. When commanded to go X negative, 10mm, it would go like 24mm instead.

In the end, I needed to: Replace mainboard, Replace toolhead board, let the machine crash into it self for 20+ minutes while going through Auto-leveling on the initial power on stage, connect it to your network, upgrade the firmware, DO NOT HEED the warning that you need to auto-calibrate again.

Follow this guide to root it: https://guilouz.github.io/Creality-Helper-Script-Wiki/helper-script/helper-script-installation/

THEN, after it's rooted, install Moonraker/Nginx, Moonraker or Fluidd, then connect to one of those interfaces, edit your printer.cfg and change rotation distance to 72 for this variation of machine.

If you notice that the sensorless homing is not acting perfectly due to the different step-size of this machine, driver_SGTHRS: 55 is the configuration option you're looking for, and you need to set it on both X and Y. 55 worked for me, but the default is 75. 0 is least sensitive, 255 is most sensitive. I had to set mine to be less sensitive to finally work.

Once you've made these changes, you can save/reboot and test out homing/movement once again. If everything seems okay, go ahead and run the self-test to complete the repair.

54
53
tiny desk shelves (files.catbox.moe)
submitted 1 month ago by [email protected] to c/[email protected]
55
132
submitted 1 month ago by [email protected] to c/[email protected]

Here is the reverse side:

For the long and short of what this is. I make 3D Printable e-reader cases that are held together by stitching cloth or leather. Up to now the cover had the magnet as a part of the design, but with no way to upgrade or change it out. This is my solution for that.

With 8 screws and a tight fit, the cover can be swapped out when you upgrade or change out your e-reader. That way you can keep the case itself and just upgrade the components you need when you need it.

Still testing it, but very happy with how it turned out.

56
120
submitted 1 month ago by [email protected] to c/[email protected]

I've been looking into this material due to the really nice surface finish and clean look (actually purchased some already 😅)

However I recently came across a video by CNC kitchen where he raised some potential health concerns relating to the fibers specifically inside the filament. One of the commenters mentioned they couldn't wash the fibers off their skin, and another likened it to the "3d printing equivalent of asbestos"

I don't plan to print with it just yet due to needing a hardened nozzle, and spare extruder parts. However when I do, i'm feeling a little worried about how safe it is - mainly whether the final printed part is fine for occasional skin contact, or whether this material should ideally be left to just cosmetic parts.

P.S. image not mine, taken from here

57
21
submitted 1 month ago* (last edited 1 month ago) by [email protected] to c/[email protected]

Short overview of how good the nesting capabilities of various 3D slicer are.

The task is simple: placing as many of these shapes on a 200x300mm printed as possible. Manual (quick and dirty for reference): 6 pcs.

Ranking:

  1. Ultimaker Cura: 7 pcs.
  2. human (me): 6 pcs.
  3. Orca slicer: 5 pcs.
  4. PrusaSlicer & BCN3D stratos: 4 pcs. By switching (for this particular part) from the worst (Prusa) to the best (Cura) slicer the nesting performance improved by a whopping 75%!

Ultimaker Cura:

Prusa:

BCN3D Stratos (forked from an old version of Cura):

OrcaSlicer:

58
84
DIY 3dprinted buggy (sh.itjust.works)
submitted 1 month ago by [email protected] to c/[email protected]

cross-posted from: https://sh.itjust.works/post/19906943

Had some left over rc junk, challenged myself to make it go without my usual over designing/thinking/planning procrastinating until I never even start. happy how it turned out! reminds me of a tyco bandit, probably shorten v2 even more and stick that bandit body on.

59
17
submitted 1 month ago by [email protected] to c/[email protected]

As the titles says, I tried to post a 2.2mb image and get a 413 error. Any help?

60
7
CR 6 Max extruder issue (lemmy.dbzer0.com)
submitted 1 month ago by [email protected] to c/[email protected]

I have a CR 6 Max and I took apart the extruder and now whenever I put it back there are always problems.

Firstly the spring is impossible to put back correctly so it never aligns perfectly.

When I managed to screw in the screws such that is was as good as I could make it, now the filament does not insert properly.

How do I proceed from here? Is there an easier way to put it back together? Is it possible to get another extruder that works differently but is compatible with the cr 6 max?

61
12
submitted 1 month ago by [email protected] to c/[email protected]

Is it possible for the leftover residue, of tape on a spool to be scraped into the feed? As the filament drags over the edges of the spool?

62
15
submitted 1 month ago by [email protected] to c/[email protected]
63
88
submitted 1 month ago by [email protected] to c/[email protected]

At least so far. The first go round had the nozzle crash into the tree support, resulting in a layer shift. The good news is that the print stayed very firmly stuck to the bed.

I've reset, lowered my extrusion multiplier a smidge, switched to a more traditional support pattern, and am going for it again. Wish me luck!

64
11
submitted 1 month ago by [email protected] to c/[email protected]

When printing on my Ender 3 Max Neo (stock except for a PEI bed), the right side of the bed is always printing too close. I manually leveled the bed, and then I run the auto-leveling sequence. I also have it set to run auto-level before every print, and confirmed that it's enabled using M420 S1 after the G29 in the opening gcode.

I also disabled it in one test with M420 S0 and confirmed that it is making a difference so it appears to be working, but the auto-level map seems to be incorrect every time. Any ideas?

65
95
submitted 2 months ago by [email protected] to c/[email protected]

Hey 3D printing fellas,

Are you worried about failures that can lead to disaster like printer catching on fire and burning down firniture and house? Do you use any kind of protection against fire?

I know metal enclosures are the best, but my printer is in the Ikea Lack enclosure. I checked connections and everything looks great, but I soldered cable on the heated bed anyway. Im not super worried tbh, but Im thinking about buying Stovetop Firestop and mounting it inside the enclosure just in case. This one is triggered with open flame only, so probably false activation is not possible. I would probably buy 2 more for kitchen.

There are also balls and other extinguisher shapes, but the one from the picture seems more recommended. Bad thing is I cant find that one availabls in europe. There are also smoke detectors, but they can only alarm you or cut the power.

What do you use? Can you recommend any good automatic extinguisher available in europe?

66
58
submitted 2 months ago by [email protected] to c/[email protected]

This might be a useful reference to be aware of for projects, especially for very small designs.

https://www.youtube.com/watch?v=TQiLLcumqDw

67
43
submitted 2 months ago by [email protected] to c/[email protected]

Hi guys, it's The Clog Guy, thought I'd try to share something other than problems...

Shortly before my printer went kaput again, I designed and printed a bracket to move my Bowden extruder to the hotend, making my printer a direct drive variant.

This posed an issue: I now needed to feed filament from the top of the printer rather than the side, where I previously mounted my filament holder.

I also have the issue many of you probably do where I am running out of room for my many filament spools.

Enter: The Rod. Two holes on either side of the enclosure, and I can hold probably 8 or so spools within the enclosure.

The Rod slides out on one end to allow for quick spool changes:

The Rod removed

And I even had the foresight to put a clamp on one end to prevent it from getting yanked out all the way:

The Rod clamped

I canabalized the filament guide from the printer to the top of the enclosure with one screw so it would swivel, put those thumb tacks in to keep it from spinning all the way around, and the enclosure is ready to go!

Now if only my printer worked...

68
145
submitted 2 months ago by [email protected] to c/[email protected]
69
37
submitted 2 months ago by [email protected] to c/[email protected]

Ok guys, I'm breaking down and posting here to see if anyone has any ideas. I'm greatful for any advice.

I have an upgraded flsun SR. I recently lost my computer (psu issue, waiting for replacement) and I took this opportunity to switch from Cura to Orcaslicer.

Over-all I'm very happy, and getting some good speeds, but I just cannot remove stringing no matter what I try:

  • Retraction from 0-7mm. After about 3mm, no further effect
  • Retraction speed from 30mm/s-50mm/s. No noticable effect
  • Travel speed and acceleration both high (up to 350mm/s and 6000 accel. No effect
  • Temp from 205-215 with no effect
  • Dried filament and different colours, no effect
  • Wipe on retract on and off, up to 2mm wipe distance and 100% retraction. No effect
  • Messed with scarf seams on and off, no effect
  • No effect from layer heights

My setup:

  • Printer - FLSun SR running klipper with a speede pad
  • Filament - Esun PLA+
  • Upgrades - Deported fans, OMG v2 extruder, volcano hotend and high flow cht nozzle
70
25
submitted 2 months ago by [email protected] to c/[email protected]

Hi guys. Please check my previous post for any background questions, I don't have it in me to go over everything again.

Long story short, I was having issues with clogging that were being caused by my hotend not reaching the reported temp. After a few days of troubleshooting and diagnosing the motherboard and Klipper settings, I gave up and decided the motherboard was faulty (even though I could not perform any tests to determine in) and bought an SKR mini. I got that all set up, and the printer has been working flawlessly since then.

Until now.

Same exact problem; one print goes perfectly fine, next print, failing to extrude by the 4th layer. I removed the clog, restarted the print, now can't even extrude the priming line. Fearing the worst, I disassemble the hotend, try hand feeding filament, and once again I am unable to push more than a few centimeters through before it gets clogged up. A probe thermometer reads ~160C while Klipper reports 200C.

What could possibly be happening here? The board is an aftermarket replacement from a completely different company, so I doubt it's a recurring manufacturer defect, but I have no idea what else can be causing this.

At this point I've spent so much time and money trying to fix this printer that I could almost buy a new one, but at this point I'm not convinced even that would solve the problem.

71
32
submitted 2 months ago by [email protected] to c/[email protected]

Hi - Tenlog TLD3-Pro, printing with branx new Overture PLA+, printing an OpenSCAD exported STL sliced with Cura 5.7.1 (most recent as of yesterday).

I'm printing first level at 0.3mm thickness, but the print is irregularly too thick in height -- and not by a little bit, a lot. I've lowered the temperature to 190. I've physically lowered the bed to the point that the skirt didn't print, then raised it just barely back. I've reduced the flow rate to 85%, and I'm still getting the same results. I've lowered the build plate temperature, no change.

The skirt might be a tough high in spots, but I'm ending up with the first level of a prime tower that looks like this.

Any ideas? What else can I try?

72
69
submitted 2 months ago* (last edited 2 months ago) by [email protected] to c/[email protected]

As I'm graduating college in a few weeks, I'll be losing access to my university's free printers and filament. I'm going to build up a home lab with a couple printers where I can make goofy little mechanical projects as well as some components for my cars and stuff.

Who's your go-to for PLA and ABS/ASA filaments? Those will be my primary print jobs in any serious volume. I know our college's club has had hella problems with random chinese brand filaments not printing consistently but I also don't want to spend $30+ per kg for something like Prusament.

73
442
submitted 2 months ago by [email protected] to c/[email protected]
74
50
submitted 2 months ago by [email protected] to c/[email protected]

Made a FreeCAD tutorial for making this container: https://makertube.net/w/mg7rdKStSUua7AhnAt1RoM I have to warn you that I made a bunch of mistakes and it may be really hard to follow.

75
56
submitted 2 months ago by [email protected] to c/[email protected]

This is a follow up from my spaghetti post a few days ago.

Good news: I caught the nozzle catching on the infill during travels. The infill must have been curling up ever so slightly. Turning z-hop on solved this. I also bumped my nozzle to 255 based on a temp tower, but I don't think my original issue was flow related.

Bad news: this brought me to the failure above - evidently my chamber temps are too low for this size of ASA part and it warped. Maybe the higher nozzle temp contributed. Maybe this size of ASA part is unrealistic despite not having sharp corners. Maybe it's the fact that it's continuous from side to side. I am still going to attempt to print a hollow cylinder to go between this piece and another similar piece in ASA, so I guess we'll find out!

Good news: the part did not let go of the build plate. I'm pretty happy about this. My first layer is not overly squished, I've never used any adhesion aids (glue stick, hair spray, ASA slurry, etc), etc. Tuning my print_start sequence is resulting in a very consistent first layer.

Bad news: the build plate came up with the print. Holding the build plate down with binder clips or the like would probably just make something else fail.

Good news: I had enough PETG in stock to use that instead. Zero warpage, so great success. I had to go a bit slower because a flow test showed that I'm limited to around 25 mm^3 for PETG before the extrude motor started misstepping, despite bumping temp to 255 °C. I limited flow to 20 mm^3 to be safe. The print's a success so meh.

view more: ‹ prev next ›

3DPrinting

14841 readers
10 users here now

3DPrinting is a place where makers of all skill levels and walks of life can learn about and discuss 3D printing and development of 3D printed parts and devices.

The r/functionalprint community is now located at: [email protected] or [email protected]

There are CAD communities available at: [email protected] or [email protected]

Rules

If you need an easy way to host pictures, https://catbox.moe may be an option. Be ethical about what you post and donate if you are able or use this a lot. It is just an individual hosting content, not a company. The image embedding syntax for Lemmy is ![](URL)

Moderation policy: Light, mostly invisible

founded 1 year ago
MODERATORS