1
31
submitted 4 hours ago* (last edited 4 hours ago) by [email protected] to c/[email protected]

Everything is Sitka. Back and sides will follow shortly. I’m what you might call a professional.

2
73
submitted 10 hours ago by [email protected] to c/[email protected]

I've got my work cut out for me, there's a decent amount of flattening needed on a few strips, and the planer I have access to is abut rough around the edges, so not all the joints are perfect, but it's alright overall.

Once it's flattened and cleaned up, the remaining aesthetic flourishes are to use walnut/sapele to put an edge around it or just cap the ends, then ease the edges and router handles into the ends. I was looking at the boos block website, and they offer the option to put the finger grooves in the middle or in the bottom edge and I really like the functionality of having them on the bottom

3
85
So it begins (lemmy.world)
submitted 1 day ago by [email protected] to c/[email protected]

First off, boy did I underestimate how much wood a butcher block cutting board this size (approx. 15×20×2) would end up using.

The joints also aren't perfect, but I don't have the time or energy for perfection at the moment, this one is kind of a functional proof of concept. I'm going to give it to a friend of mine, but I've been upfront that it will not be perfect.

The next one, that will be made from the same beam, but MUCH cleaner, straighter-grained wood, will be more precise, more consistent color, probably marginally stronger because of the grain, just better in every way

But this only took two days and like three hours of work to go from a massive, rough-cut hunk of maple to this, so I'm pleased with it

4
19
submitted 2 days ago by [email protected] to c/[email protected]

Hello Lathe Ladies, Mitre Mates, and Plywood Pals!

I've been tracking my kids' heights on a wall for several years but I'd like a prettier solution. Something I can screw on the wall and mark their heights on (maybe temporarily and then go back with a wood burner or something). Ideally, sometime that's two identical adjacent pieces that I can give them if I'm ever lucky enough to be a grandparent.

A straight 7' board with a cutout for the moulding and burnt or painted 6" increments is the simplest solution, but can y'all think of anything nicer? I would prefer to keep it on a semi visible wall instead of the laundry closet.

Thanks friends.

5
72
submitted 3 days ago* (last edited 3 days ago) by [email protected] to c/[email protected]

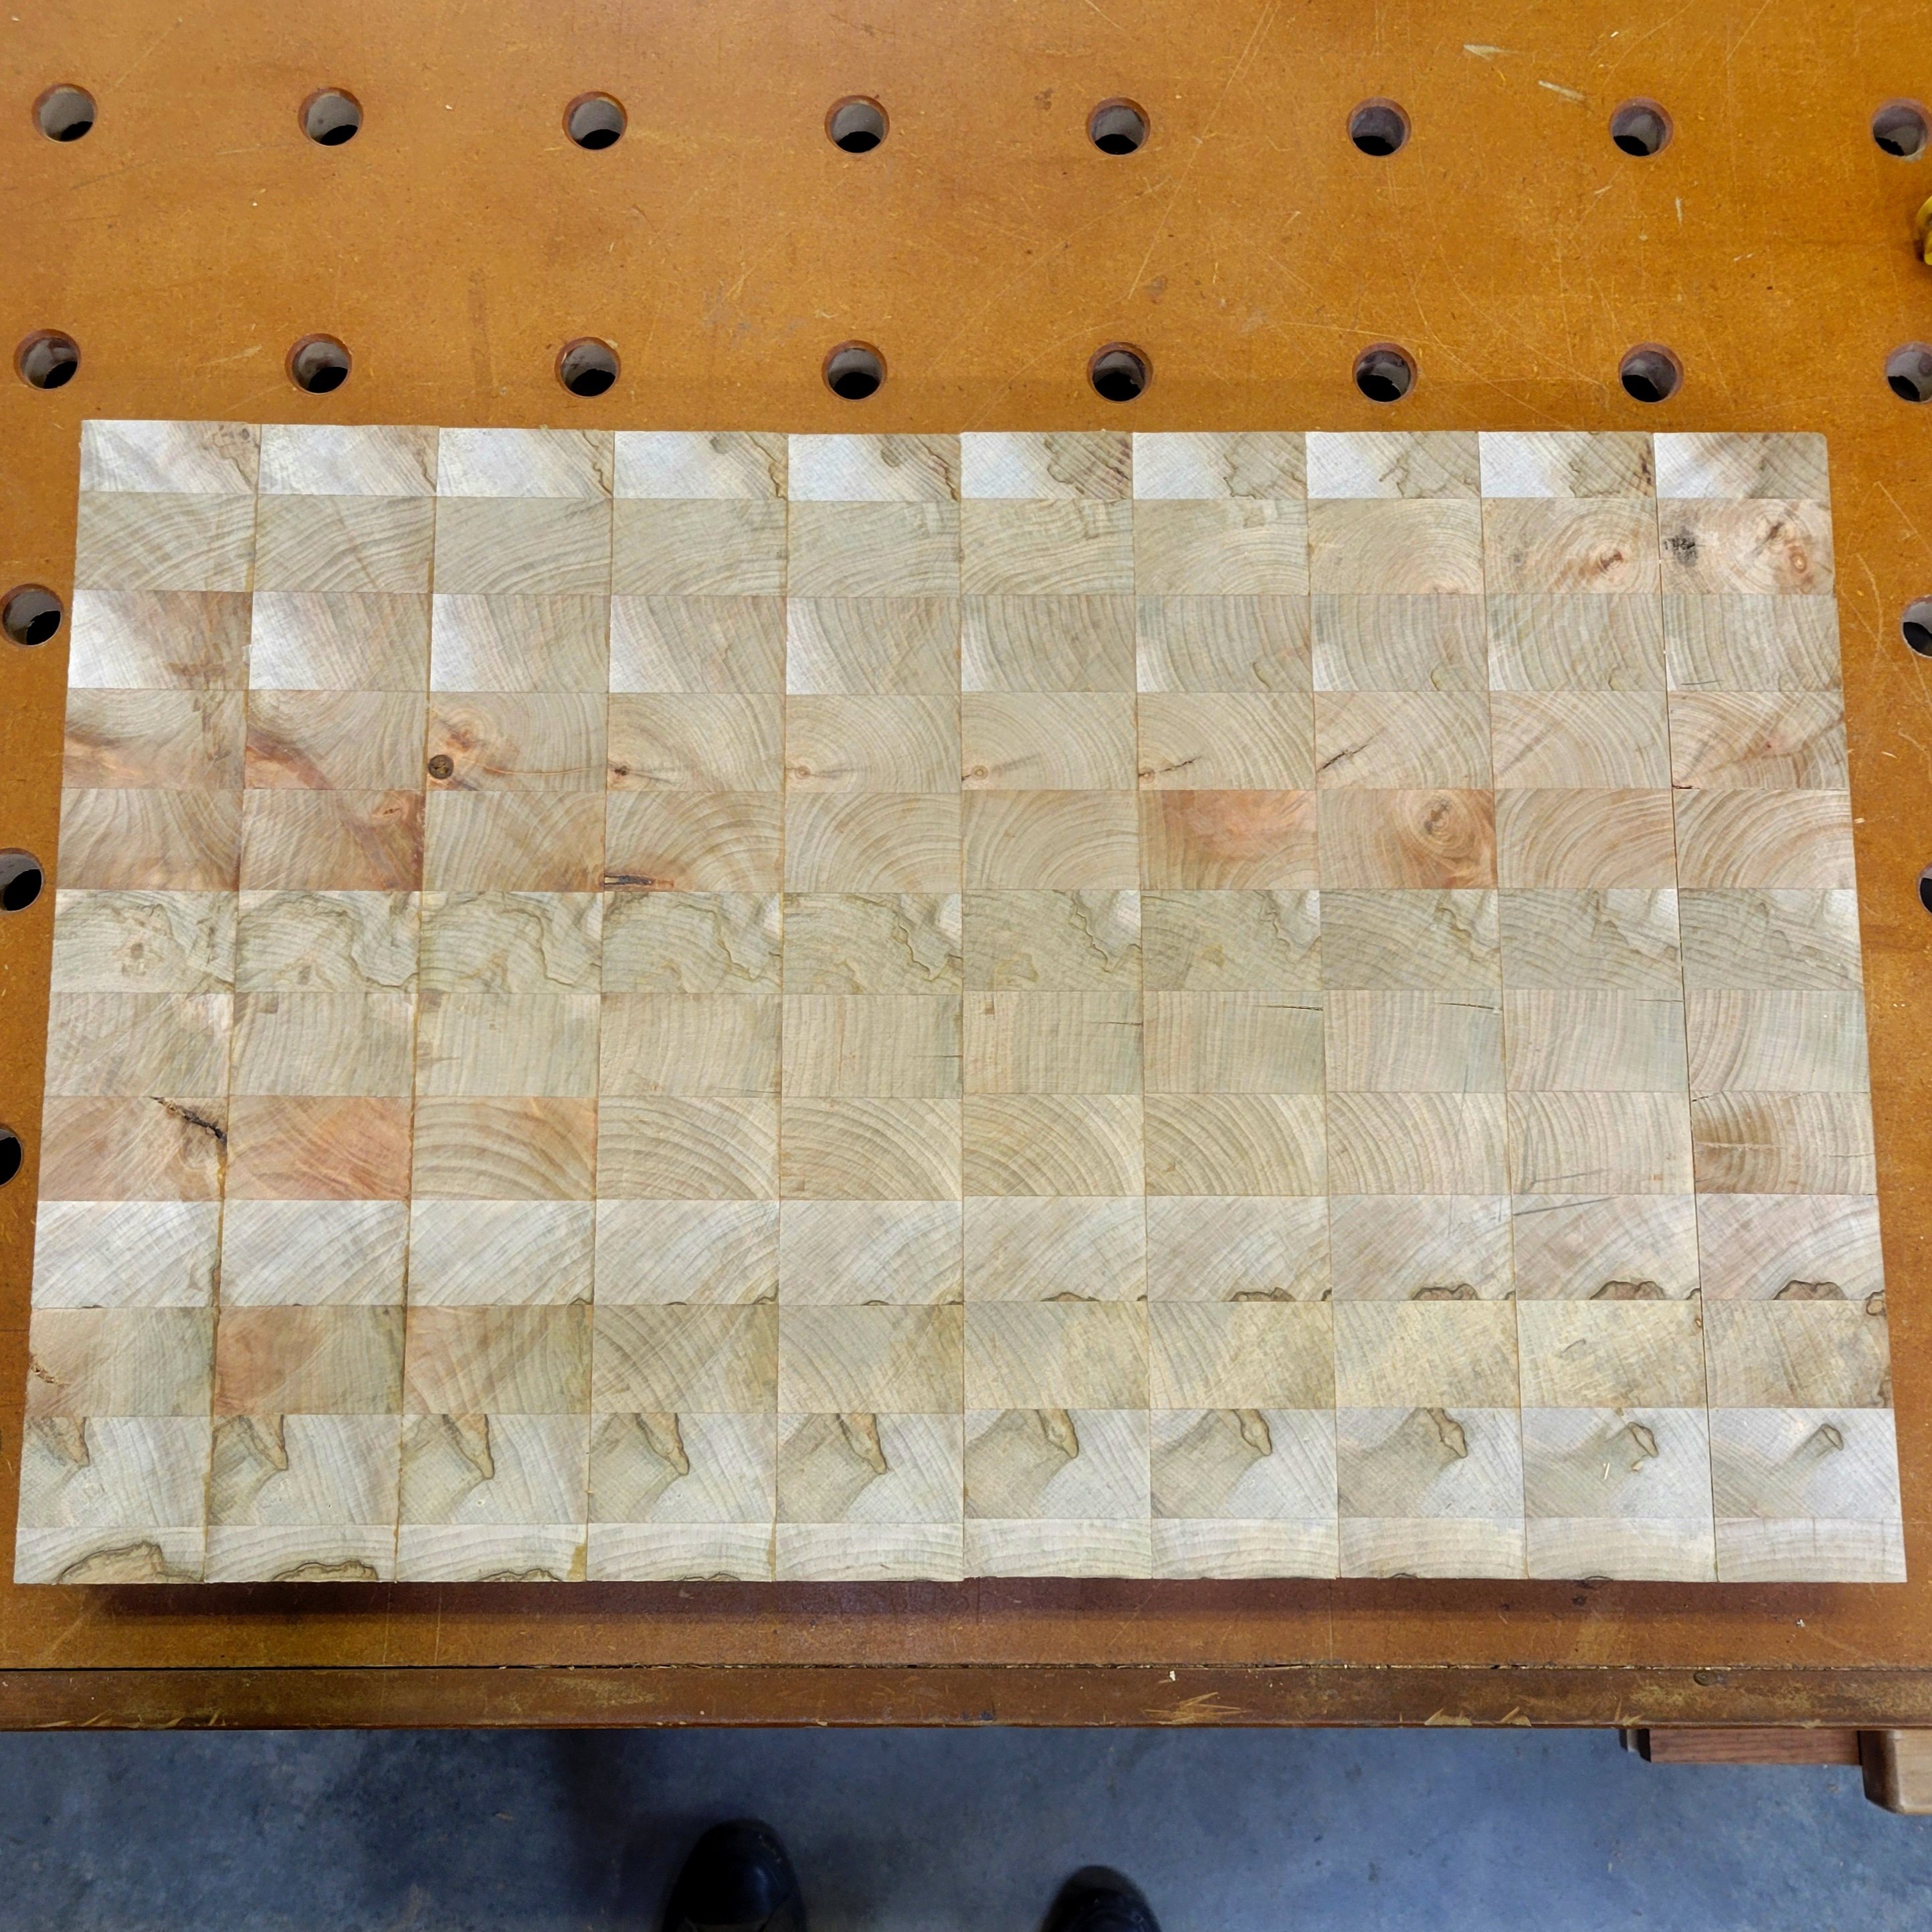
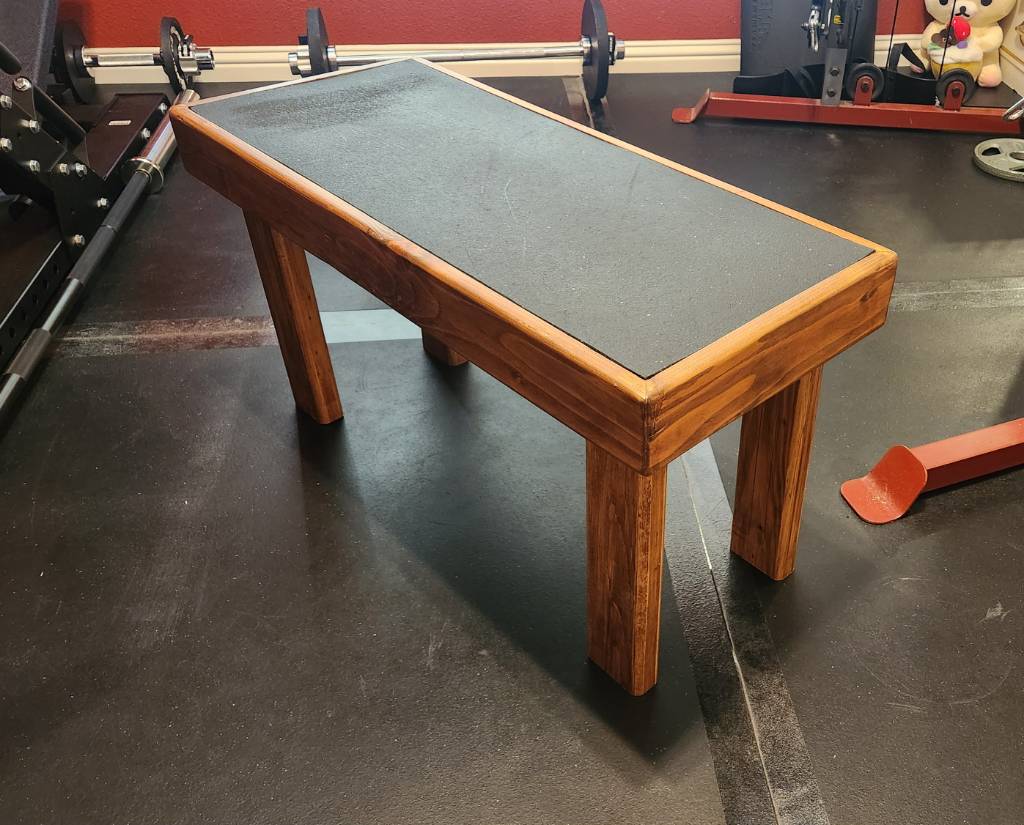
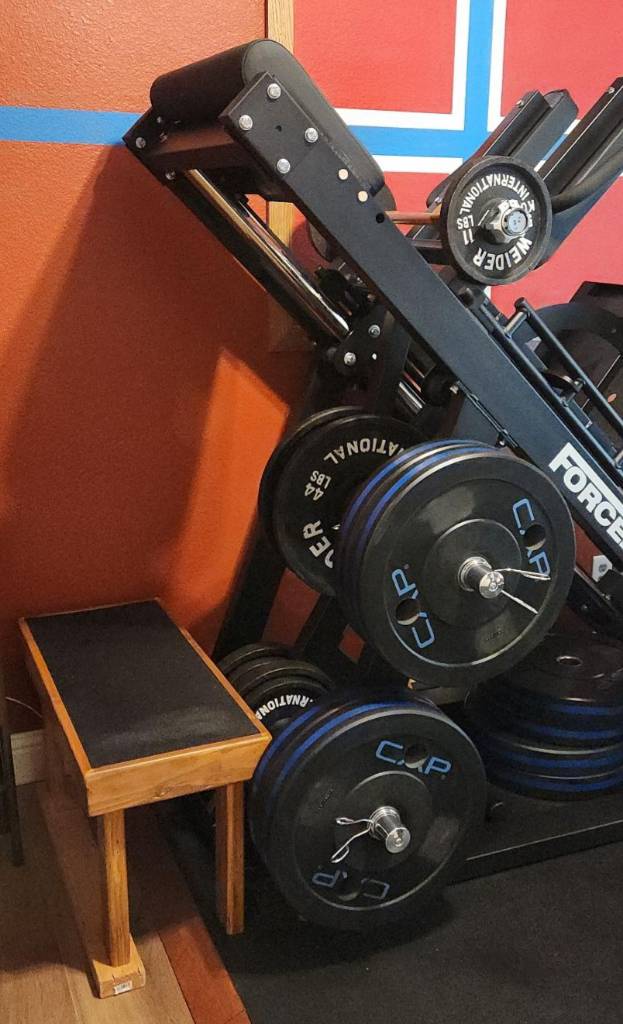
This entry of mine will not match the customary craftsmanship found in this community, but seeing as this was formerly a pile of miscellaneous, warped scrap 2x4 segments recovered from old pallets, I think I've made a reasonable show of things.

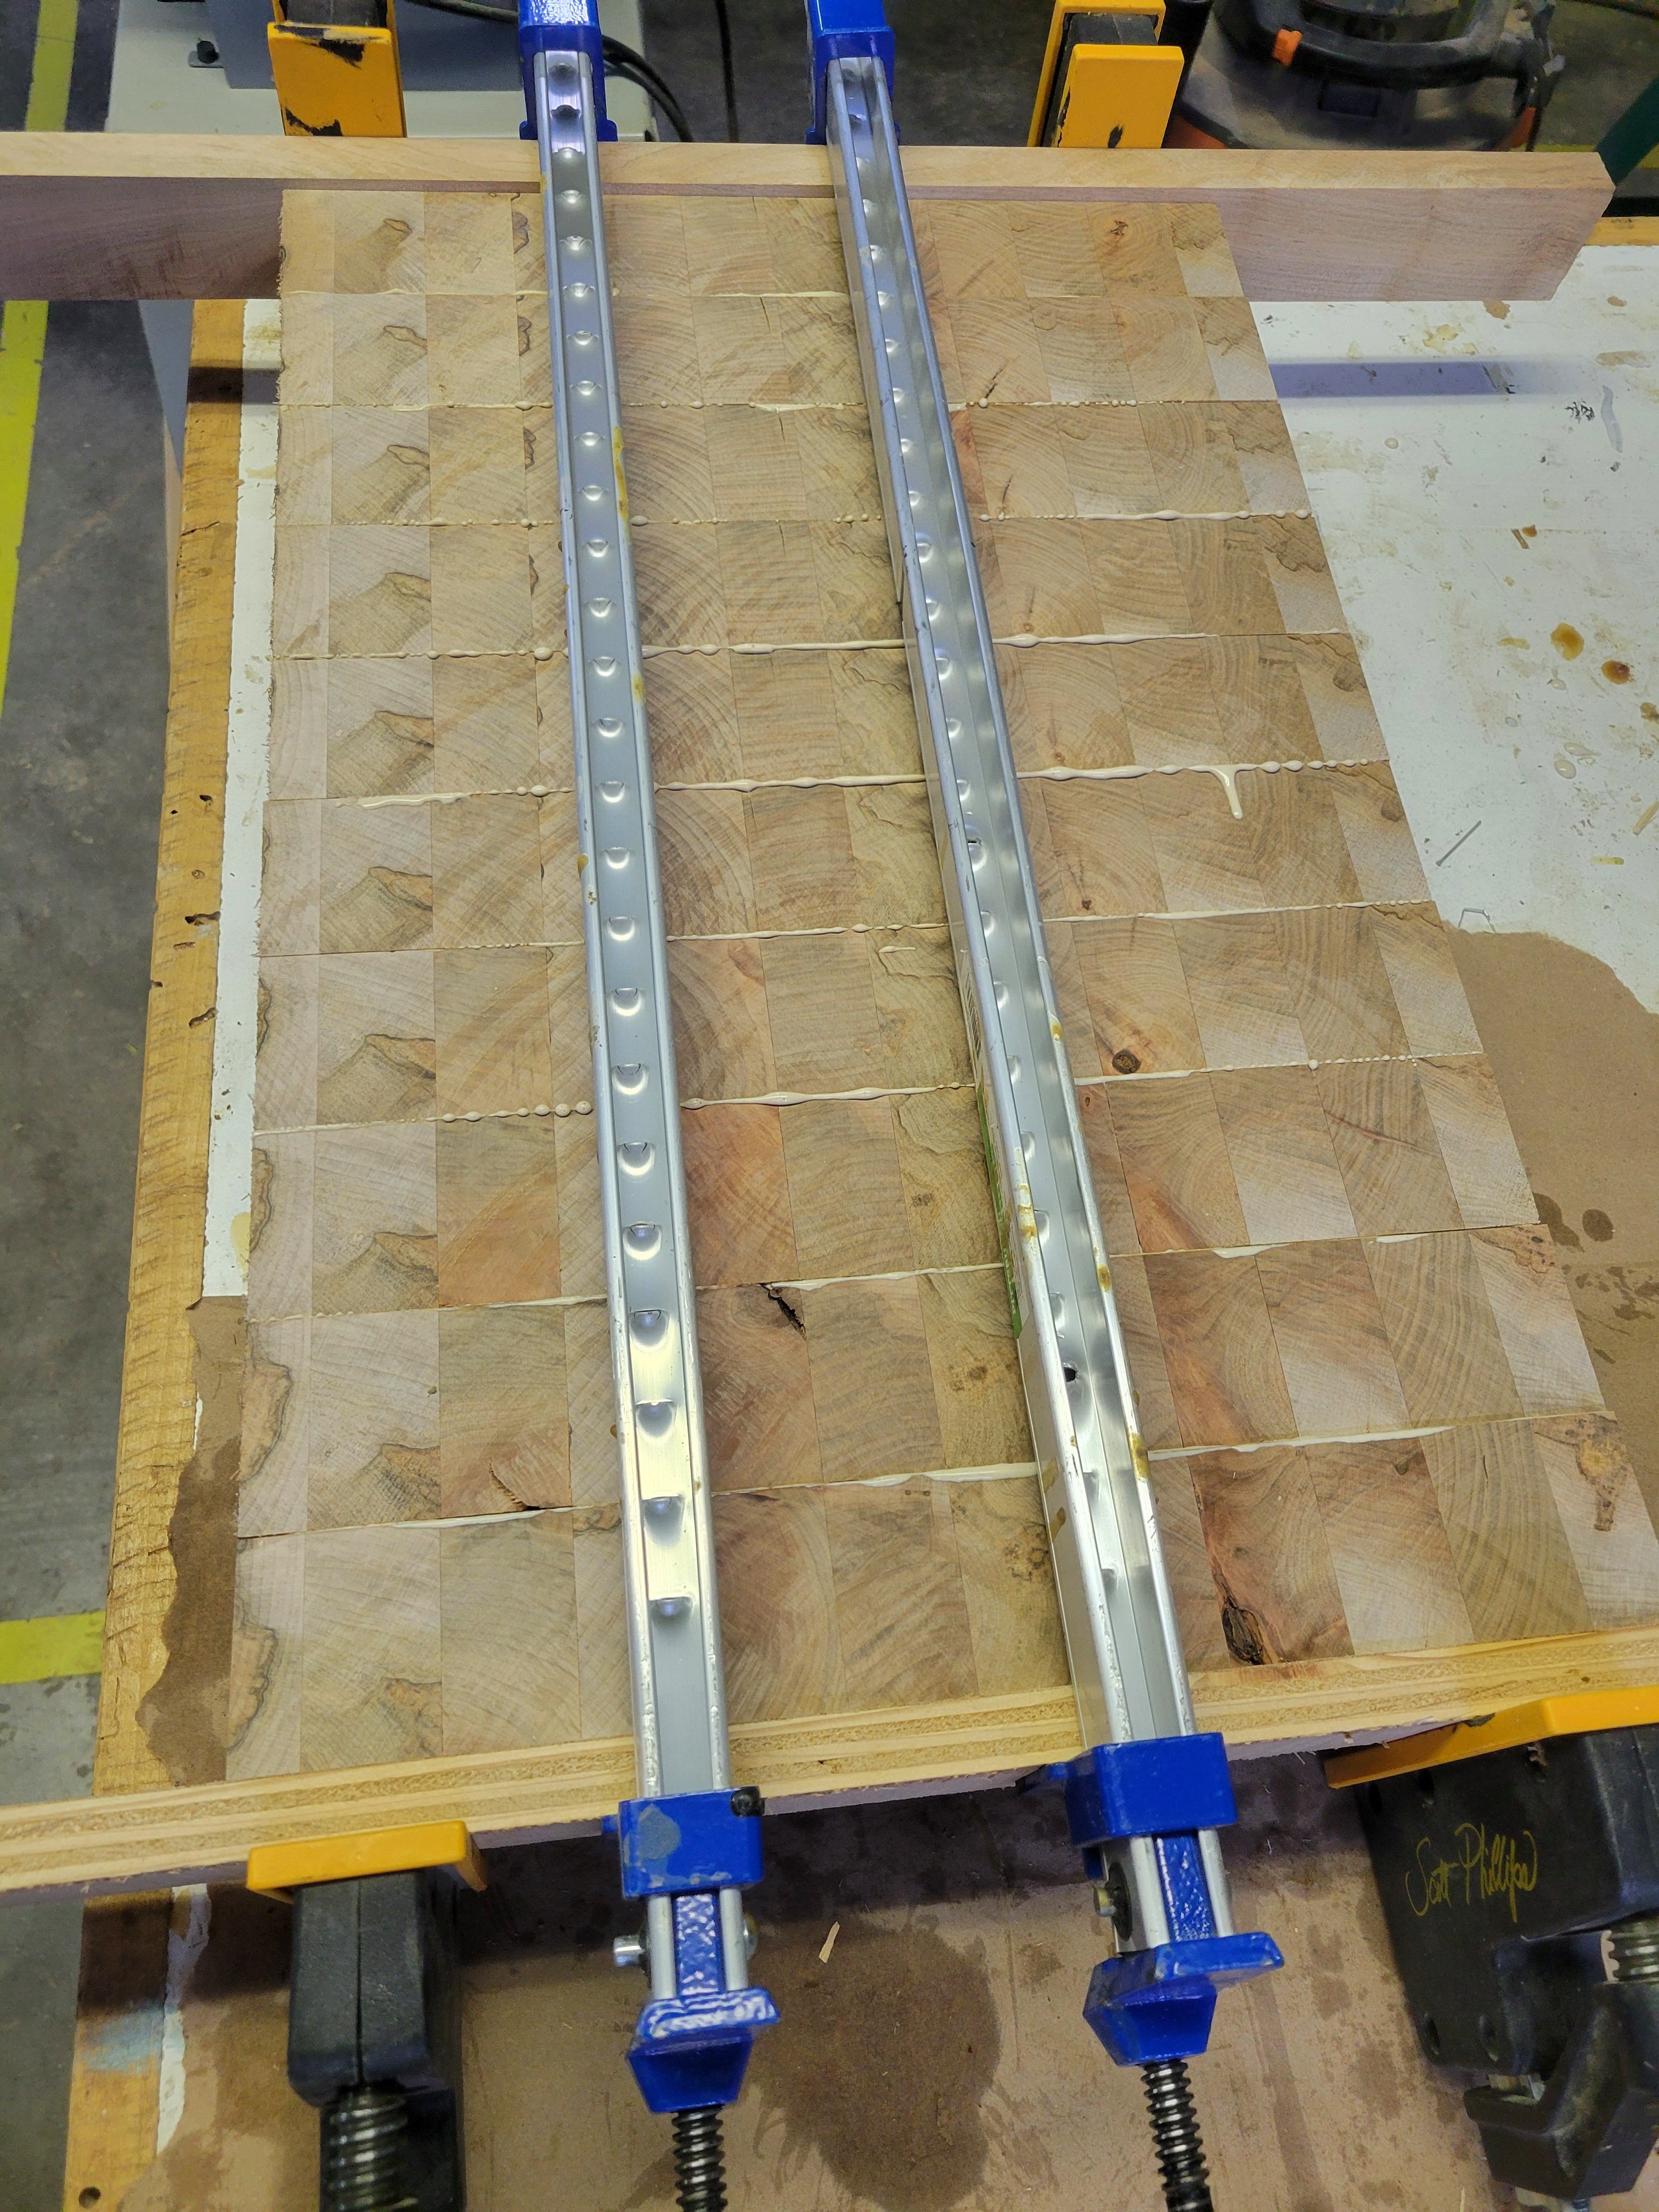
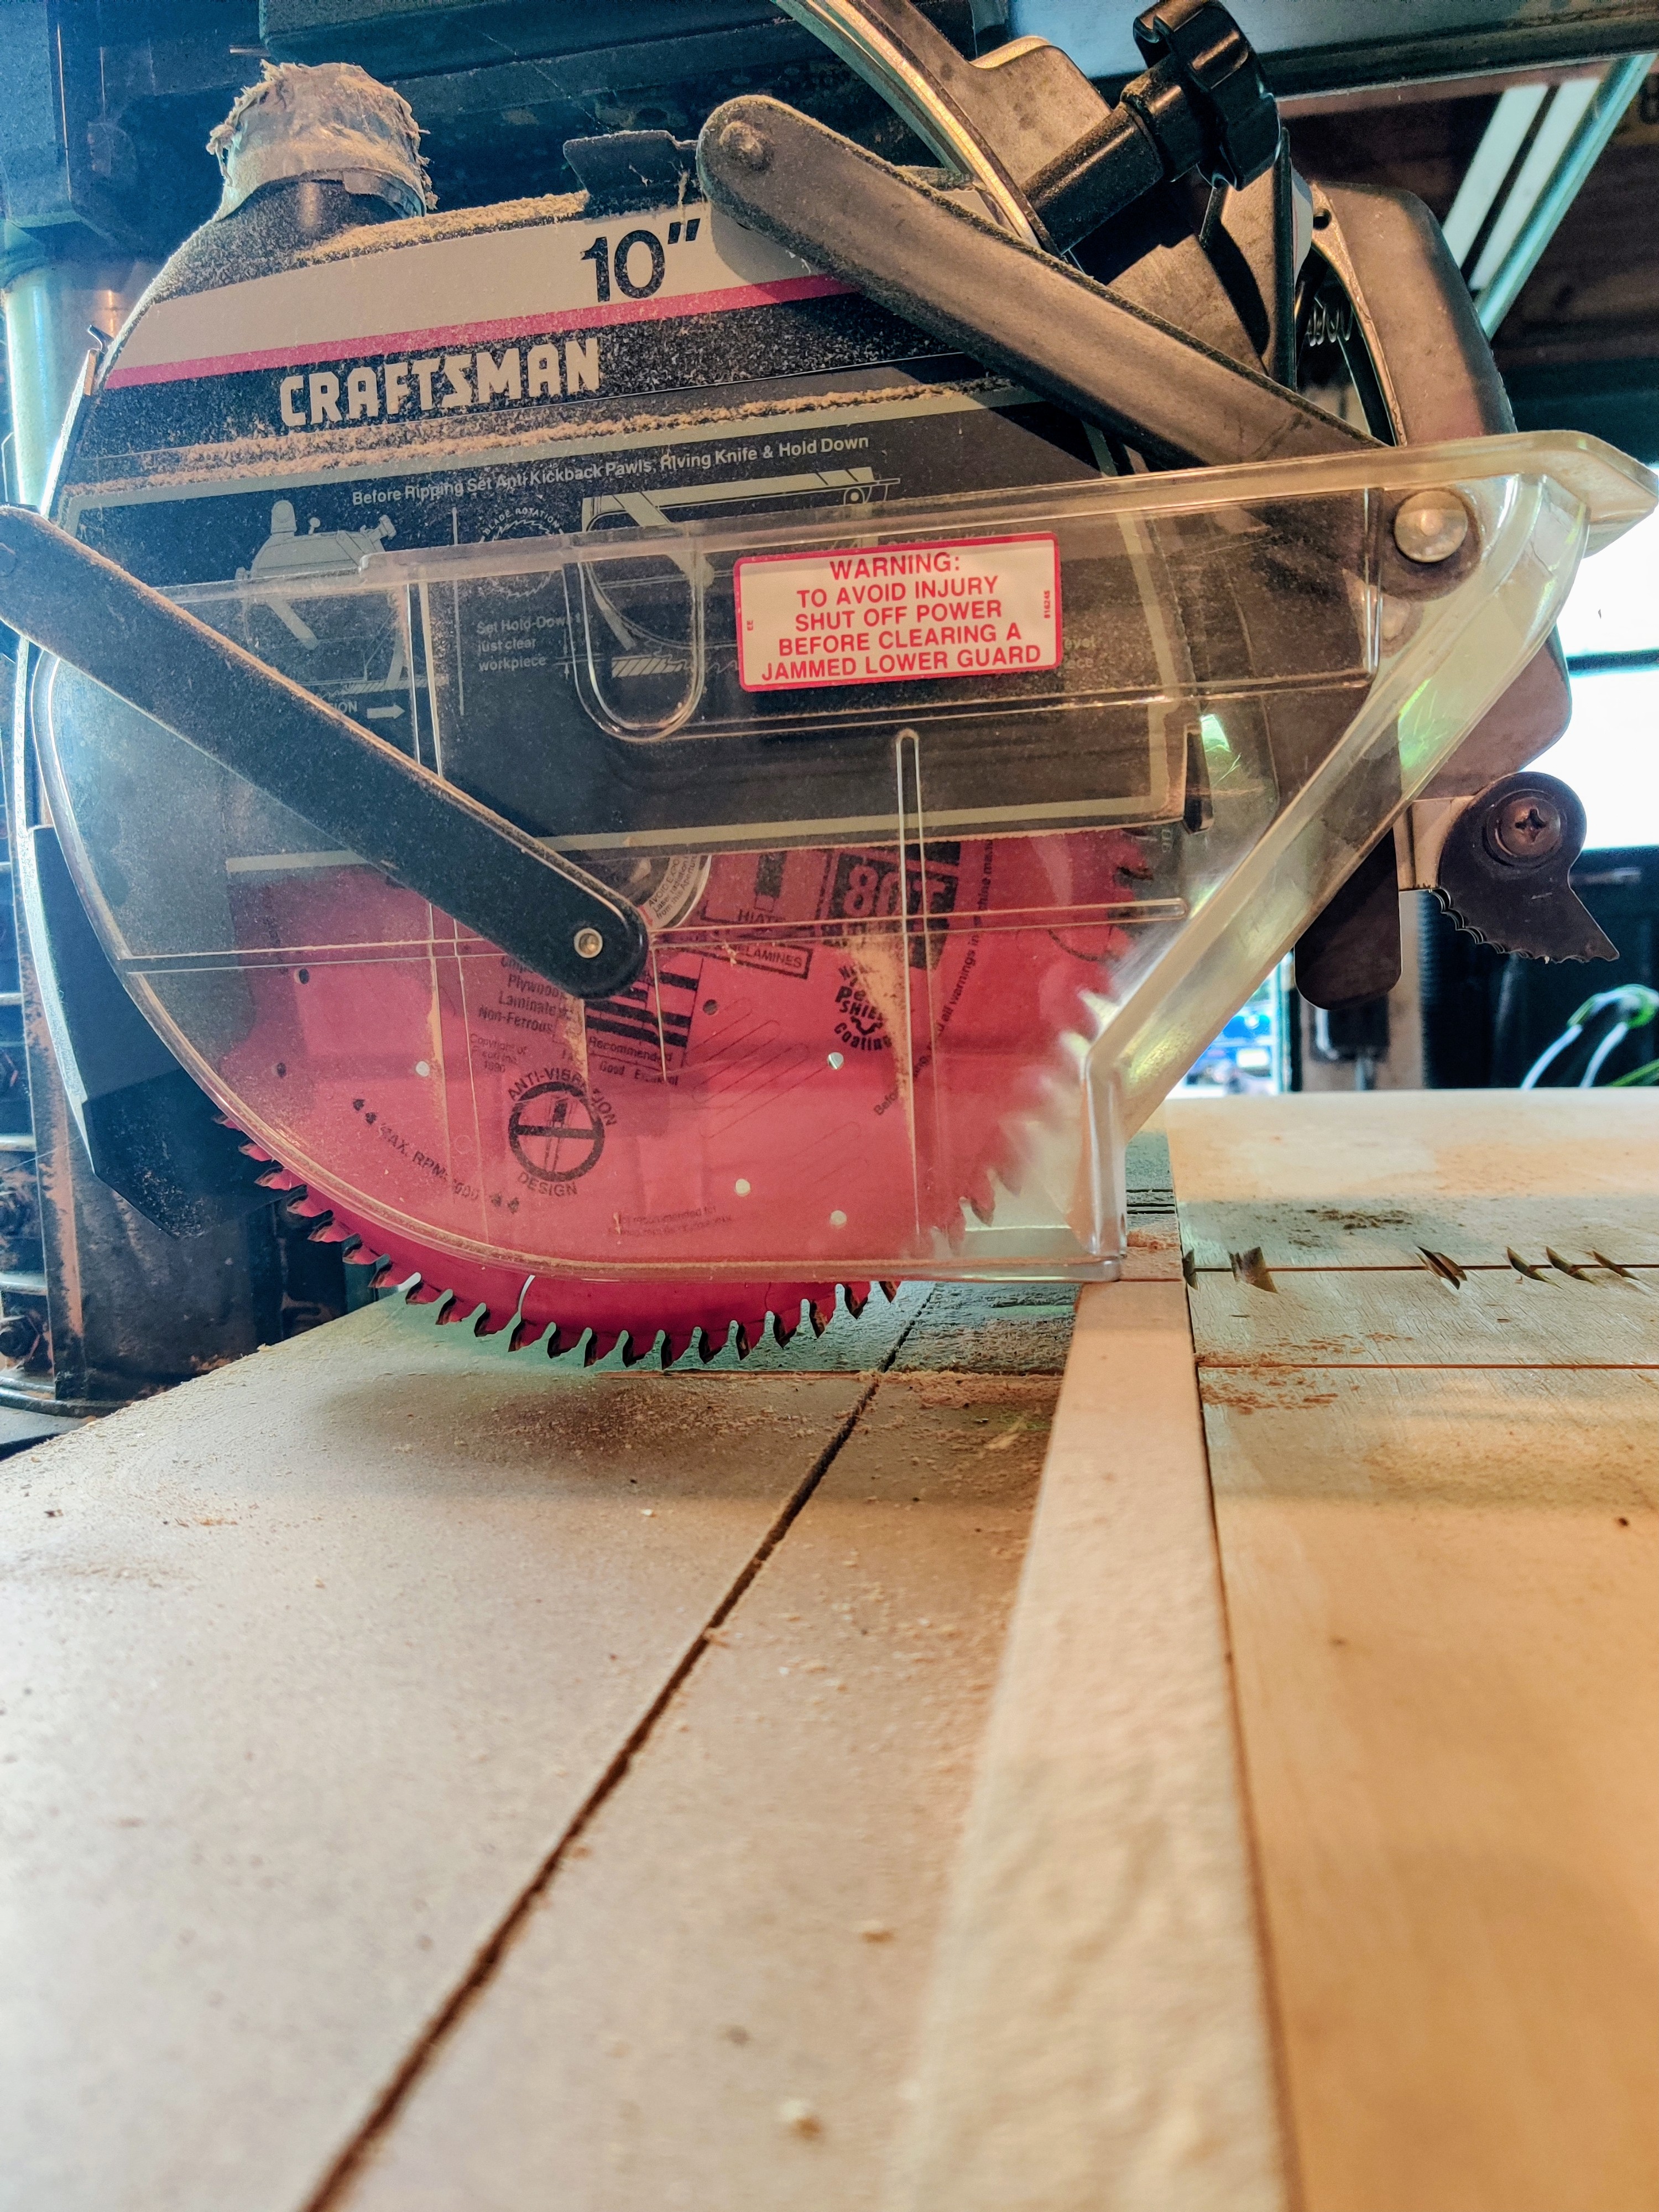
This bench is for my homegym, designed to be stood upon, which is why there's a rubber mat inlaid on the surface, a leftover of the gym floor. My design criteria called for even the edge of the top surface to support weight, so the main "box" of the bench uses 2x4 segments mitered (badly) together at 45 degrees, held together with wood glue.

I then routed the inner edge to support a 1/2" plywood sheet, which is screwed into the box. And then the rubber mat is glued down to the sheet, so there are no visible screws.

Finally, the legs are also 2x4 segments, cut so the bench sits 43 cm (~17 inch) from the floor; this is only coincidentally similar to the IPF weightlifting bench standards. I used screws instead of glue, just in case the legs needed to be shortened later.

All edges were rounded over with a 1/2" bit, as the bench is expected to be picked up and moved frequently. And everything stained in cherry and clear-coated.

Some of the annoyances from using scrap included:

  • Stripping old paint off. Awful chemicals, awful scrubbing, awful disposal.
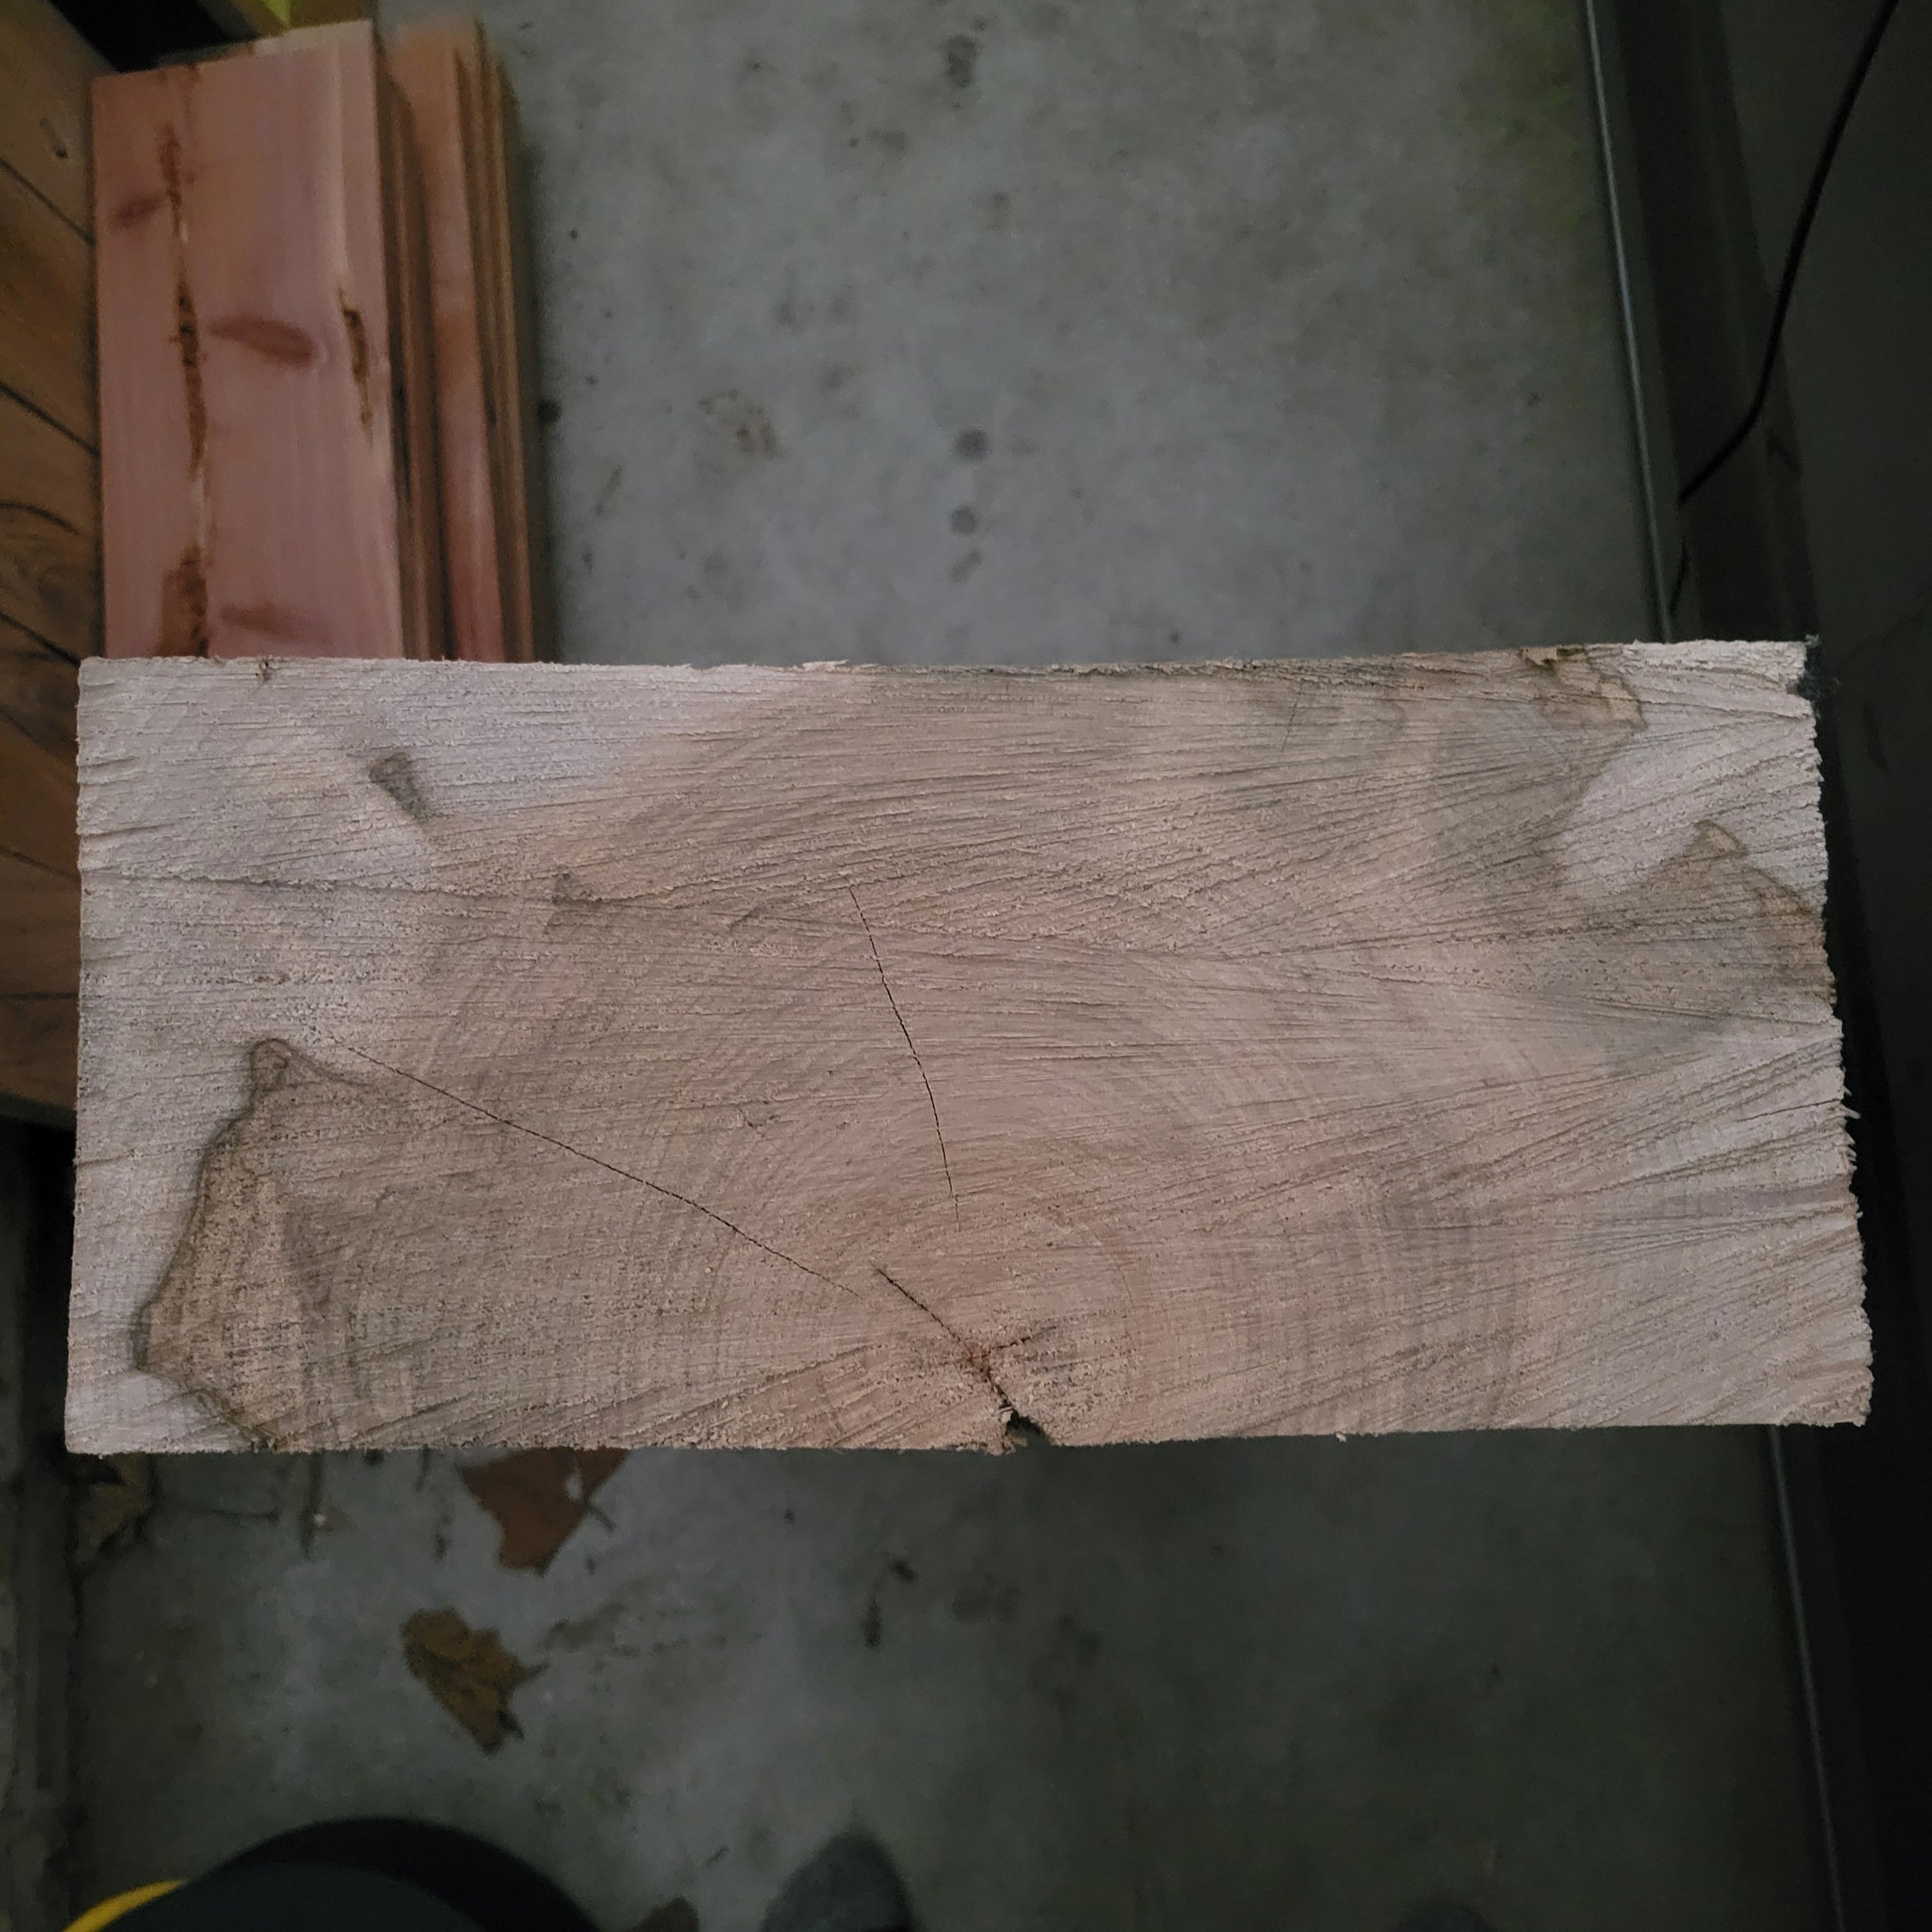
  • Sanding away twists along the 2x4 segments
  • Filling nail holes or arranging them so they don't draw attention
  • My lack of experience with clamping and gluing wood that's not dimensionally consistent

wood bench beside a leg press

If I were to do this again, I'd figure out a way to reduce the amount of routing needed for the inner edge, since I essentially removed 0.75 inch by 1.5 inch of material all around the edge. This took forever, and perhaps a CNC machine would have simplified things, in addition to squaring and planing the surfaces before mitering.

6
55
submitted 3 days ago* (last edited 3 days ago) by [email protected] to c/[email protected]

So I just picked up this 12"×6"×10' maple beam at an auction today and had to chop off two feet of it to fit it in my car. I'm thinking of making a couple end-grain carving boards for friends with what was cut off.

I'm tentatively thinking of just slicing it into 2" cookies and gluing them together, but I've never seen a cutting board like this that wasn't a collection of like 1" pieces glued together. Is there any reason not to use larger pieces when gluing up a cutting board? Thanks in advance

This is the face that was cut today, feels bone-dry

7
19
Olive wood uses? (lemmy.world)
submitted 5 days ago by [email protected] to c/[email protected]

In a couple days, I'll be the proud new owner of a big-ass maple mantle and 22 square feet of olive, which I've never worked with before

I'm tossing around the idea of using the olive for a table top, but that's far from certain, as I haven't seen any of it in person yet.

What experience do y'all have with olive and what do you recommend?

8
380
submitted 1 week ago by [email protected] to c/[email protected]

This is my first piece of furniture with hand-cut mortise-and-tenon joinery. It's far from perfect, but I managed to hide most of the imperfections inside the frame.

I finished it with 50/50 beeswax and mineral oil.

I think the table top and long aprons are cherry, with two strips of what may be oak in the table top? It was in the miscellaneous pile at my community workshop, so your guys is as good as mine. The legs and short apron are sapele, which is probably my favorite wood when it's finished, it's unbelievably lustrous in person.

Happy to answer an questions, otherwise, I just wanted to share the first thing I've ever made that I didn't finish and immediately tear apart all the mistakes I made, I'm genuinely pleased with this one!

9
12
submitted 2 weeks ago by [email protected] to c/[email protected]

Hey, I'm just wondering if any of you have built your own cooler slideout for your vehicle's cargo area or could recommend some good plans to go by.

10
90
submitted 2 weeks ago by [email protected] to c/[email protected]

Thank you technomad and dubyakay for inspiring our third woodworking contest here. This contest will be to build a planter box or I guess a plant pot would work too.

Submit your work as a post in this community by August 1 at the latest, and the post with the most votes will win. The image will be our new thumbnail picture and the user will be credited on our sidebar.

I’ve noticed that posts often collect votes for up to like 3 days so I will wait until August 4 or something to announce the winner just to make sure everyone has had a chance to vote.

Good luck everyone!

11
68
submitted 3 weeks ago by [email protected] to c/[email protected]

Just a test for my new CNC machine. I got the file from here: Scantheworld and turned it into a relief using ZBrush and Photoshop. The wood I used is cherry and the sice of the carving is roughly 60x50mm.

12
320
submitted 3 weeks ago by [email protected] to c/[email protected]
13
158
submitted 3 weeks ago by [email protected] to c/[email protected]

And toolmaking, the gouge was hand-fashioned from some vanadium steel.

14
77
submitted 3 weeks ago by [email protected] to c/[email protected]

I’m not active enough of an internet guy to remember to actually post stuff - so we’re going back 6 months…

I surprised my daughter (and the entire family) on Christmas morning when they found this waiting in the living room. I hadn’t told my partner I’d been working on anything, kept it quiet.

It’s all just pine, dressed all round. Had to go buy a cheap and nasty jigsaw to cut the doors and opening between floors since my coping saw broke whilst trying to work this (handle snapped clean off, thanks Stanley)

The roof- cut at an angle, turned one piece over and glued it. Then stood like a statue holding it for half an hour pressing it against the ground until it dried enough. Couldn’t think of any other way to hold it tight at that angle -_-

The floors and balcony are all slotted into through dados. Cut, chiseled and then cleaned up a bit with trim router. And I hate so much working pine with chisels! (I’ve since got a bigger router bit that would have made this much easier)

Finished with water based Jarrah stain, with water based acrylic paint on the roof and “bathroom”. Some of that finish is really sloppy, I was still out there late on Christmas Eve trying to get the last few coats on.

A leftover sheet of mdf (think about 5mm) just painted and nailed in as the back wall.

There’s a little set of stairs on the ground floor finished with dark carnauba wax. There’s also a little rope ladder going up to the top floor - was from our pet bird who had left us recently.

A whole mish mash of different ideas here, but I just wanted to make something fun and interesting for my daughter.

For what I wanted to do for her first big Christmas (just turned 3), this turned out better than I thought I could do.

15
69
submitted 3 weeks ago by [email protected] to c/[email protected]

It's super cool and all, but also kind of ominous? I feel like something more inviting might be a better fit.

16
56
submitted 3 weeks ago by [email protected] to c/[email protected]

I'd really love to start making something, even if it's basic. Any tips on where to start? Tools, wood, etc?

17
23
submitted 3 weeks ago by [email protected] to c/[email protected]

I got a good deal on some pecan and i was planning to use it to build patio furniture. I don't know much about pecan and I'm having trouble finding much info about it. Is this a good wood for outdoor use or should i find an indoor project for it?

18
75
submitted 4 weeks ago* (last edited 4 weeks ago) by [email protected] to c/[email protected]

I decided to sand down the top, drawer front, and low shelf edges, but leave the spindles alone. I tried to match the stain but the one I bought (and tried on a hidden area) came out too red, so I skipped staining. Luckily several coats of poly ended up close enough.

Before (previous post):

top before refinishing

19
48
submitted 1 month ago by [email protected] to c/[email protected]

... they will send your wireless earbuds flying into the dirtiest corners of your work area if you're not careful with the elastic straps.

20
34
submitted 1 month ago by [email protected] to c/[email protected]

It has seen some water damage and the varnish is flaking off (especially on the top). But I don't necessarily have the time/energy for a full strip/sand/refinish, especially as this may get dinged up; I'm just looking for a reasonably pleasing look.

Looking at the bare wood that was between assembled pieces, it looks like the piece was stained and then varnished. What's a good way to get the old flaking varnish off without messing up the stain -- Citristip, just sanding? Thinking I'll just put some coats of new polyeurethane varnish on as the new finish. Most instructions I see online are for a really thorough refinishing, so I'm wondering if there's some middle ground that will clean up the worst of the water damage and protect the wood, even if it doesn't look like new.

Closer view of the top:

21
75
submitted 1 month ago by [email protected] to c/[email protected]

cross-posted from: https://pixelfed.crimedad.work/p/crimedad/705187000877520551

Is this correct for the updated blade guard on a radial arm saw?

The carriage doesn't go back far enough for the blade guard to fall down behind the fence. I thought the guard was supposed to keep the carriage in the home position until the user lifts it with the lever on the handle. I'm wondering if I did something wrong. Any RAS users know what I'm talking about?

#woodworking #RadialArmSaw #SafetyFirst

@[email protected]

22
86
submitted 1 month ago by [email protected] to c/[email protected]

Another angle below. Very dinged up and the end and legs were missing, but seemed like to much hardwood to pass to.

another angle

23
69
submitted 1 month ago by [email protected] to c/[email protected]

I'm guessing this is the result of layers of slathering a fresh layer of finish on these tables. To be honest, I kind of like the look. Any idea what type of finish this might be?

Here's a slightly different angle:

24
22
submitted 1 month ago by [email protected] to c/[email protected]

Hi, I'm currently carving a bear out of a maple burl. I'm getting to fine details such as teeth and claws. Does anyone have any recommendations as to how I can stabilize these pieces so they are less likely to break?

25
98
submitted 1 month ago by [email protected] to c/[email protected]

A little beer boat, HV Kaljaasi, made for the summer cottage and warm summer days, when you can sit in the lake and enjoy the sun.

Made from various little pieces of wood, sticks, glue and rocks inside the hull for steadying the boat. Swims well, even if it tilts little to the left.

view more: next ›

Woodworking

5895 readers
91 users here now

A handmade home for woodworkers and admirers of woodworkers. Our community icon is a box made by @paddythegeek, the winner of our woodworking contest. Congratulations!

founded 1 year ago
MODERATORS