1
Woodworking
5988 readers
3 users here now
A handmade home for woodworkers and admirers of woodworkers. Our community icon is a planter box made by @Captain Aggravated, the winner of our summer '24 woodworking contest. Congratulations!
founded 1 year ago
MODERATORS
2
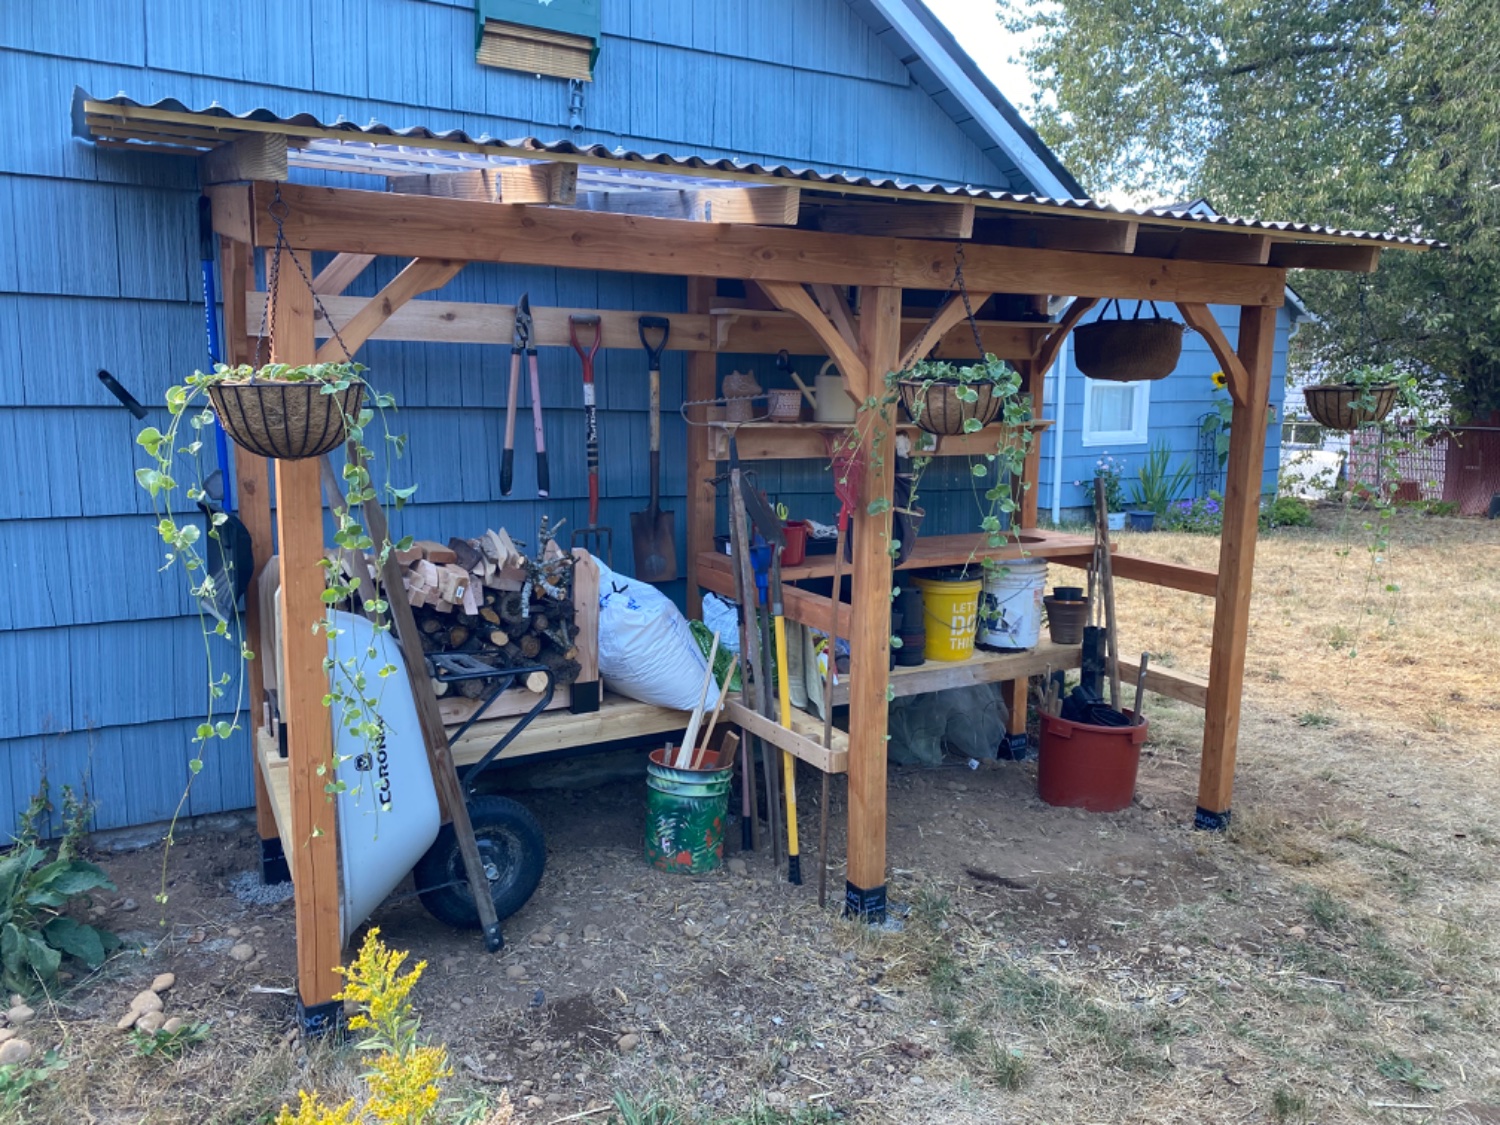
The potting bench has a hole so that soil can be brushed into the bucket below. I was able to salvage some of the older boards from the old pile of junk that stood there before, which are in the roof. Speaking of the roof, see how some of it is clear? I’m going to build a cold frame into that part of the roof for hardening off plants! I’m having a hard time deciding how to do that but though.
The wife wants gravel on the ground but I’m not so sure. I think that the gravel will just end up filling with dirt and debris and weeds. I think I might prefer to just leave it bare earth. What do you think?
3
38
With their 'Tale of the Cedar Planter Box.' This beautiful planter is now the new icon for our community and they are credited on our sidebar! Question for the winner: what would you choose for our next theme if we do another contest in the fall or winter?

4
5
33
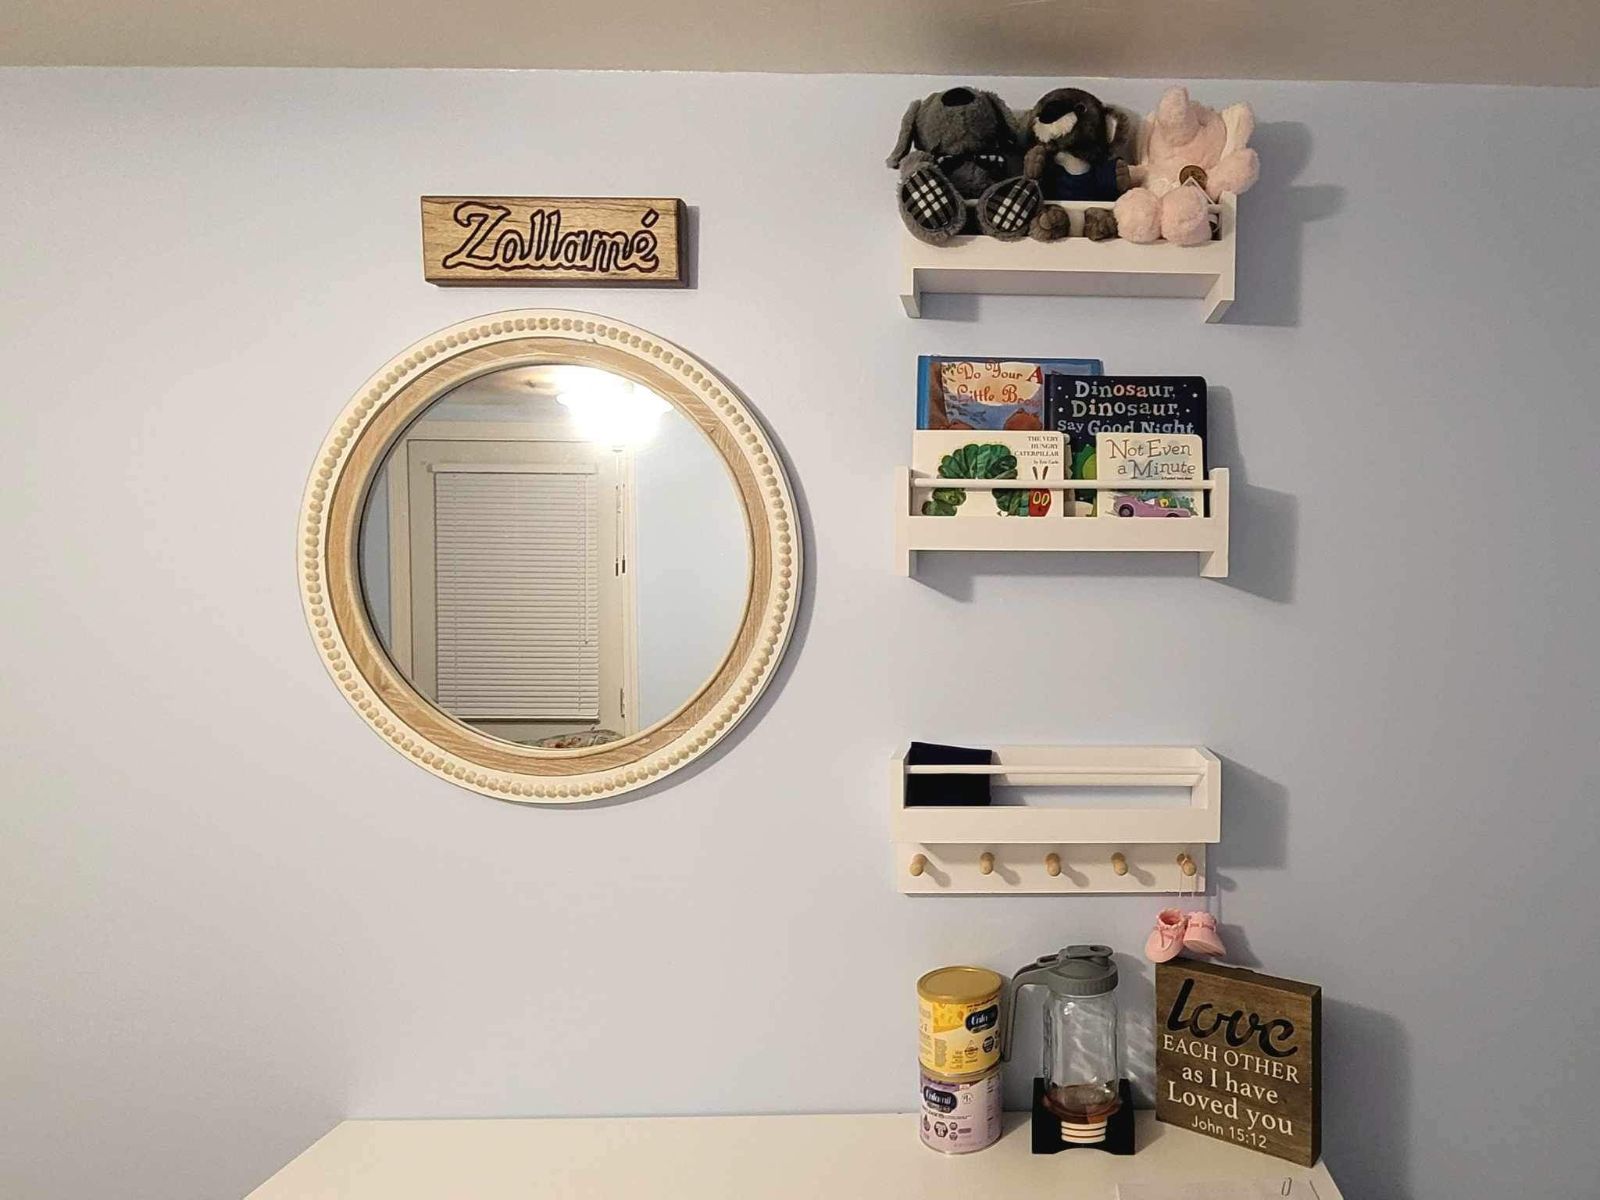
Baby Shower gift. Kid won't be able to read for a long time but I think it turned out nice.
(sh.itjust.works)
Thin pieces of white limba and purple heart laminated to a piece of walnut and then hand routed with a v groove bit. Put a chamfer on all the edges to give it a purple heart border and then I think I finished this one with Polycrylic. Pounded a v tooth wall hanger into the back and called it good.

6
I had to show off my newest acquisition. Picked up an old Rockwell 22-650 planer from a guy on Craigslist. I replaced the knives, greased it, and dialed it in. It works great! If I ever have to move it again, I'll get someone with a tractor to help. Still not sure how I managed to muscle all 400+ lbs of it into the basement by myself. I was dumb enough to try that once but not enough to do it twice.

8
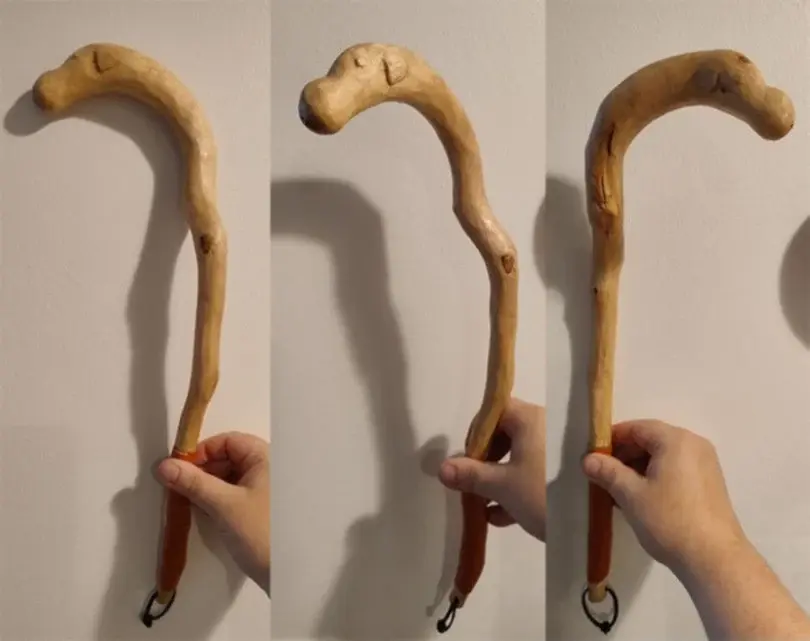
A pain hook (self-use massage device for the neck and back) made from a pine branch. Snoopy-like dog appeared from the branch while whittling, hence the name.
Lightly stained with walnut colour stain and a light beeswax layer on top of that so it feels smooth on the skin. Handle made from old repurposed leather belt strips.
These pain hooks are an old Finnish and Karelian thing for massaging one's neck and back, and I was wondering if these sort of self-care "devices" are known and in use in other cultures?
9
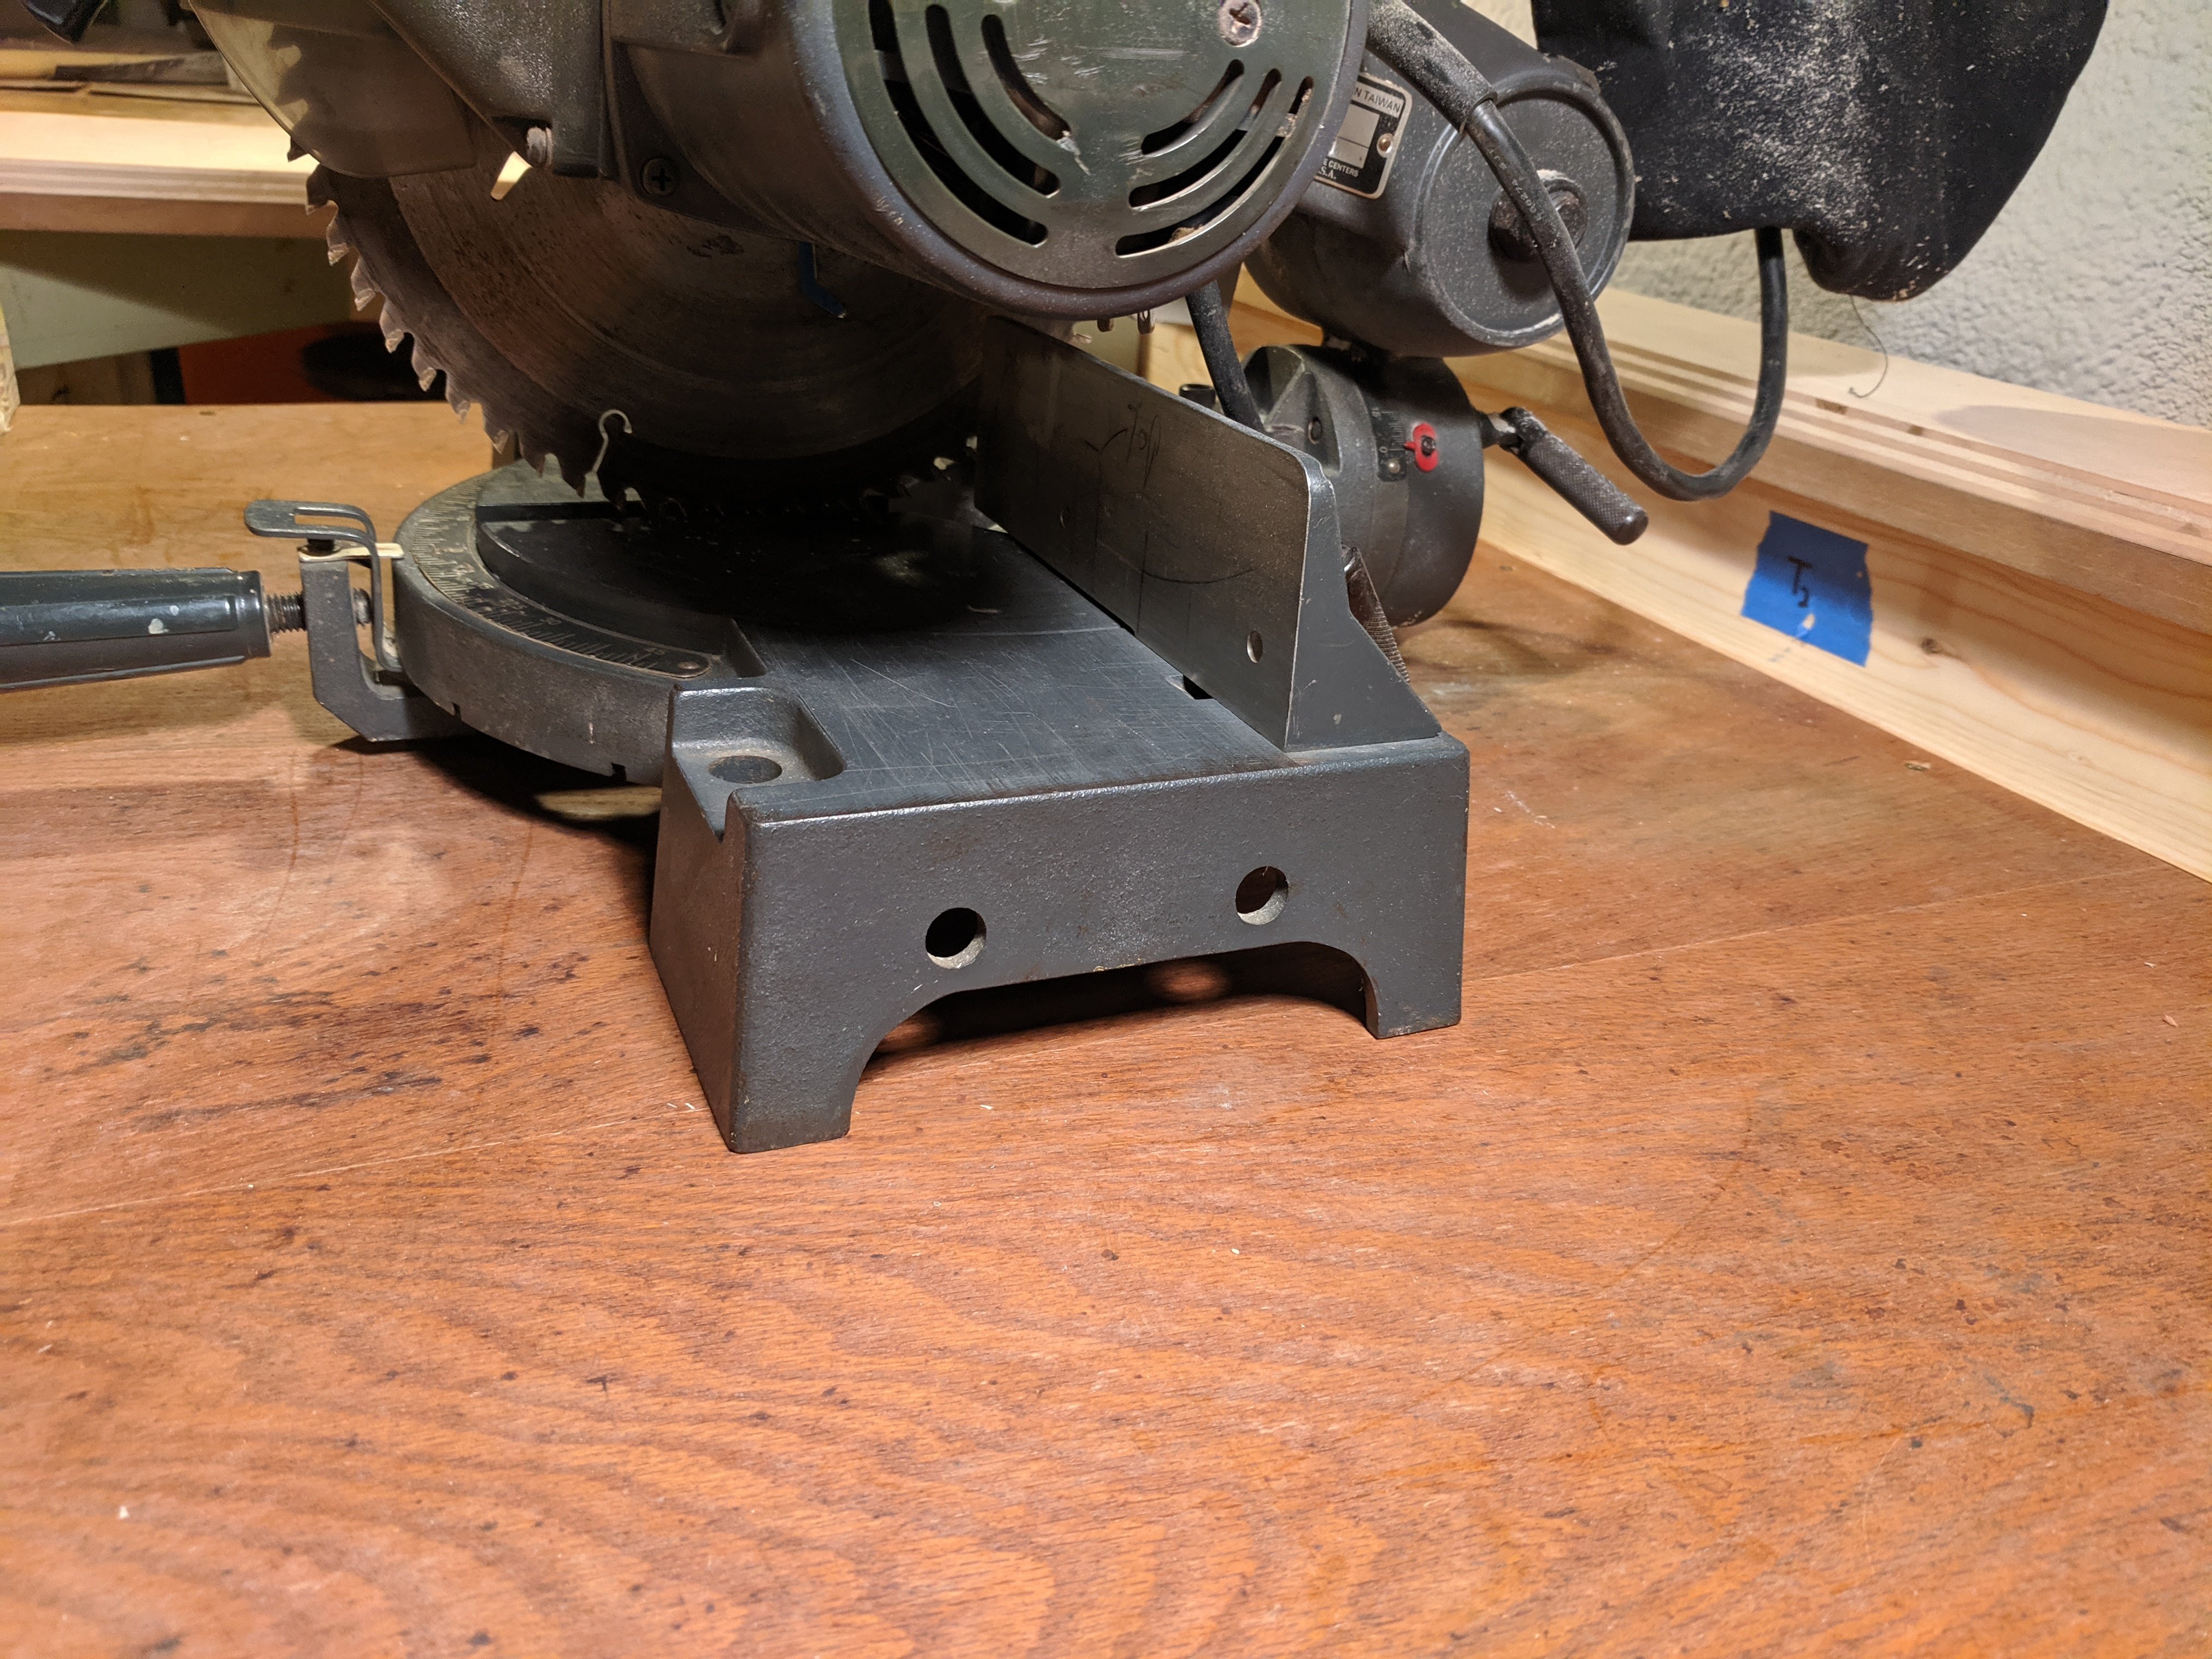
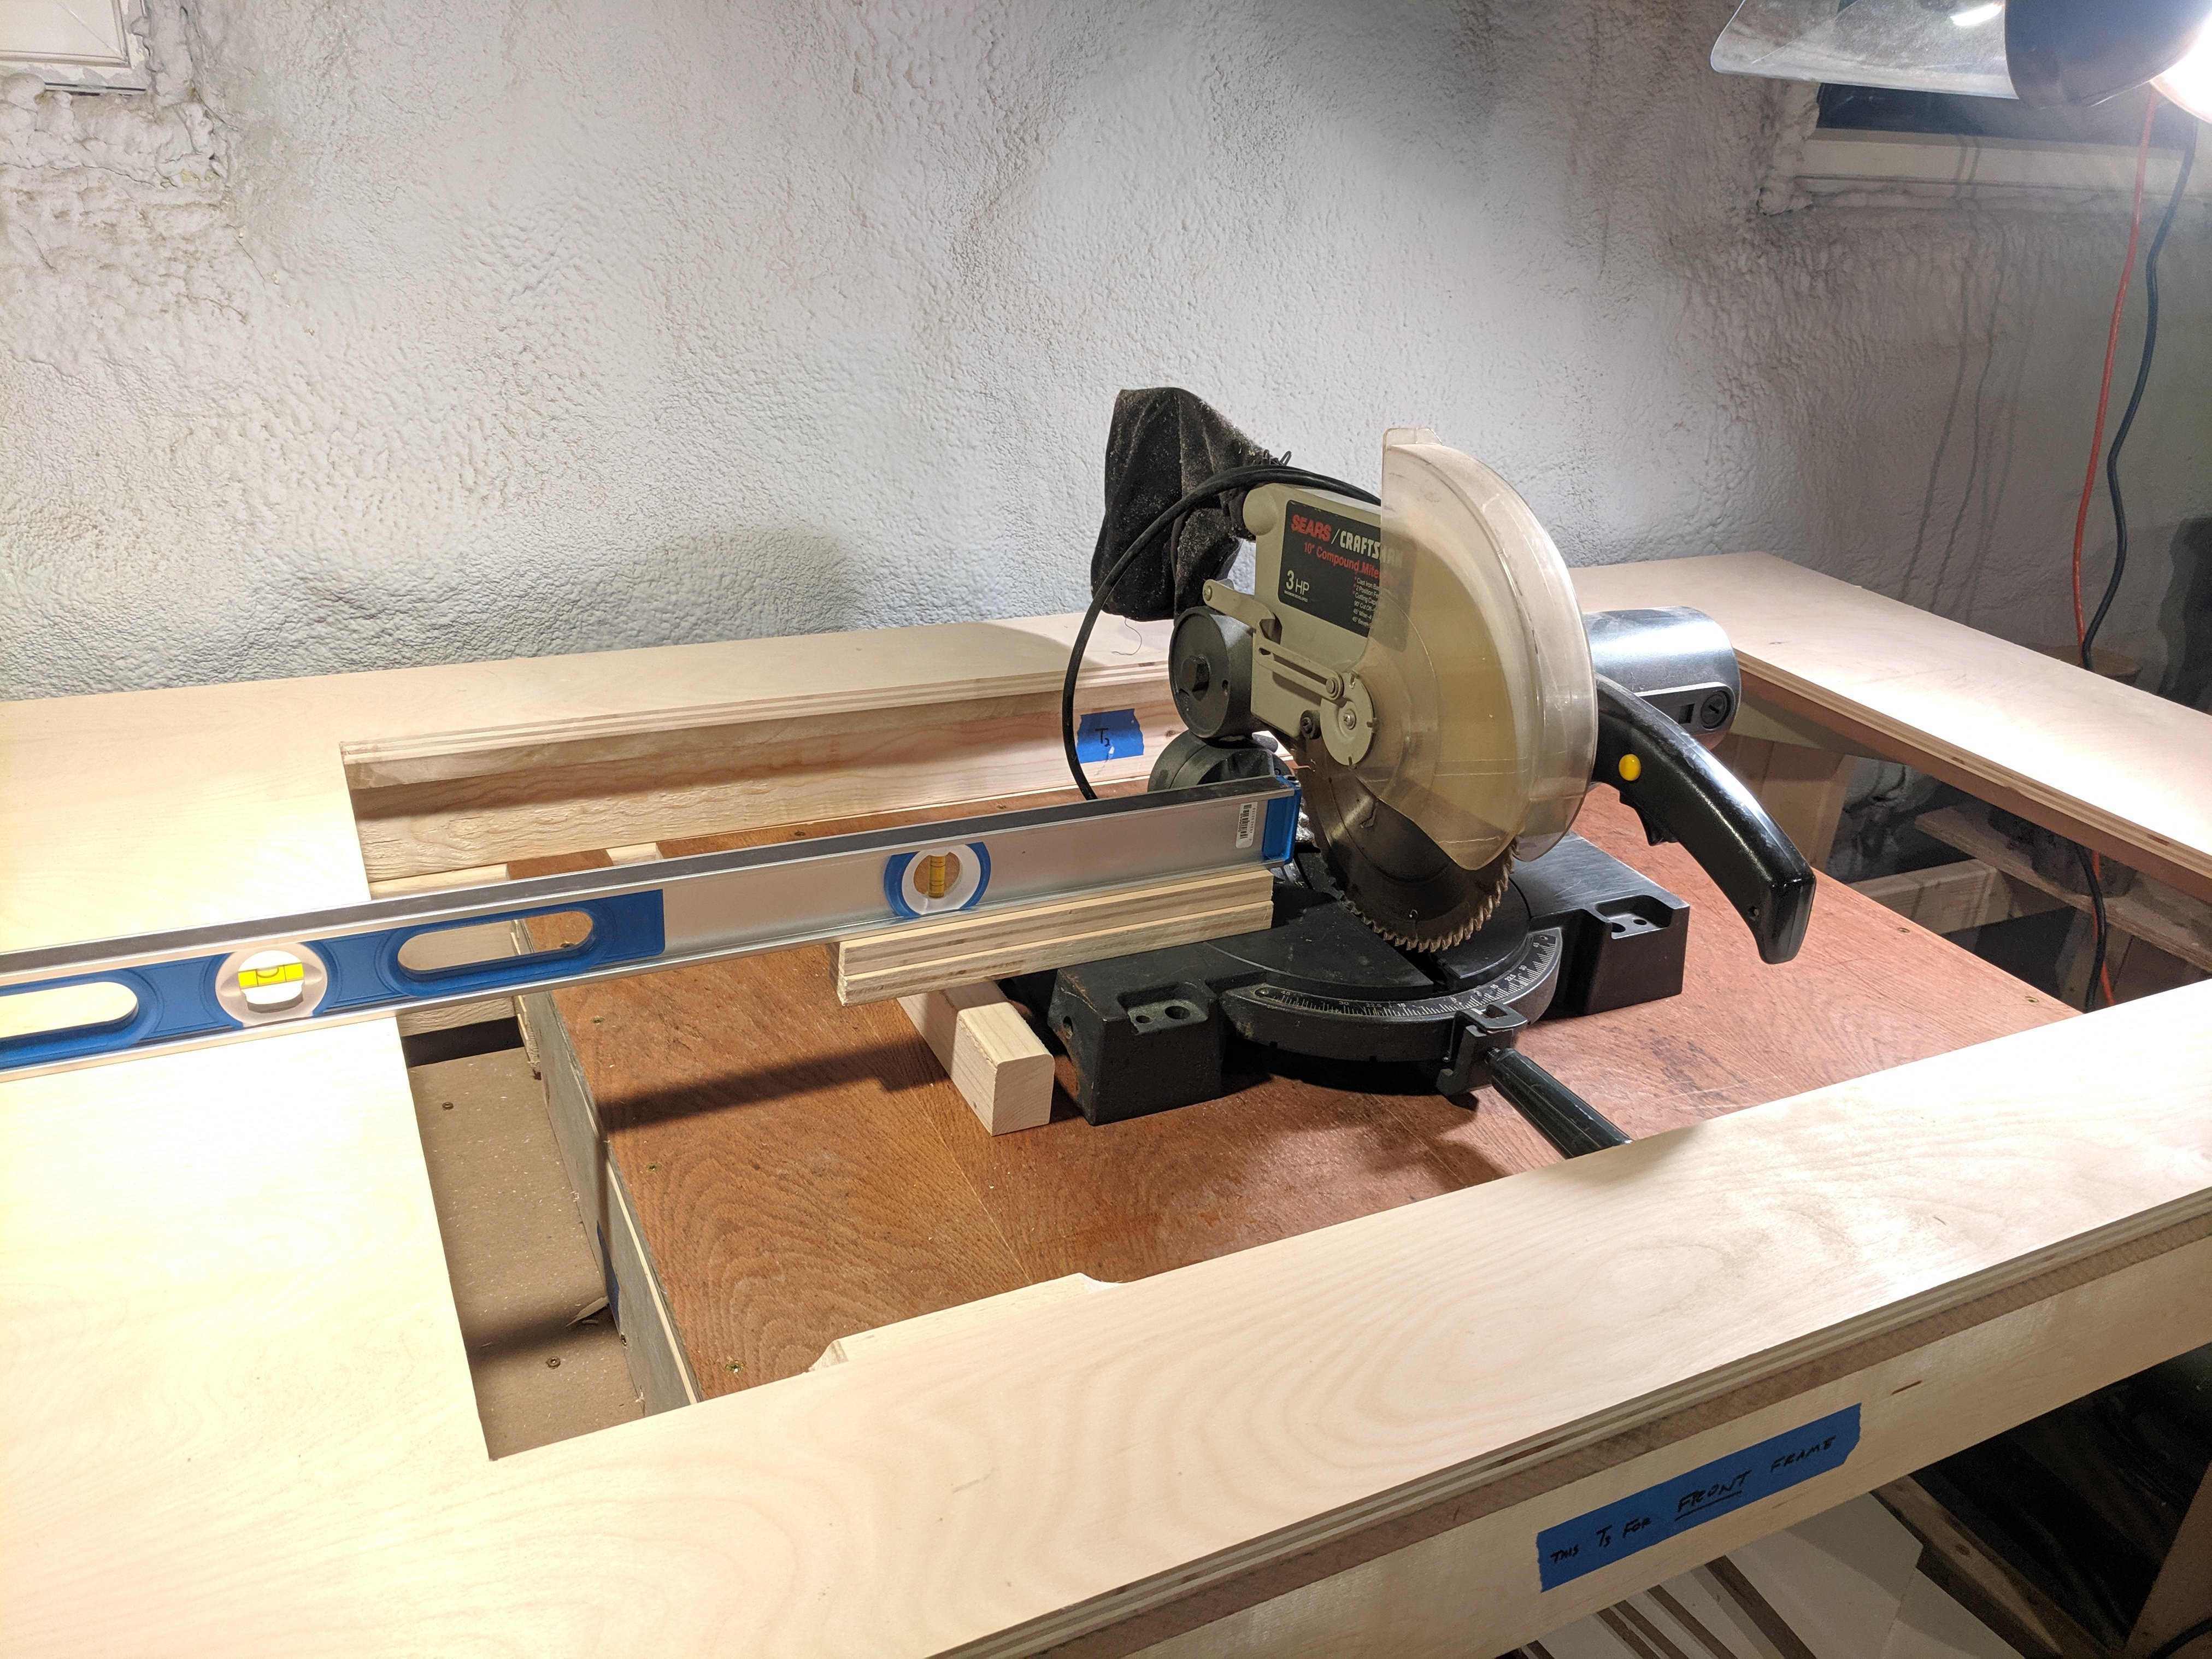
I've built the section of the table that flips. On the saw side, I have 1-1/2" to build up so the bed of the saw is flush with the rest of the table. How would you attach the saw so it's secure to flip upside down?
The top only has holes at the front, for inserting a side clamp.
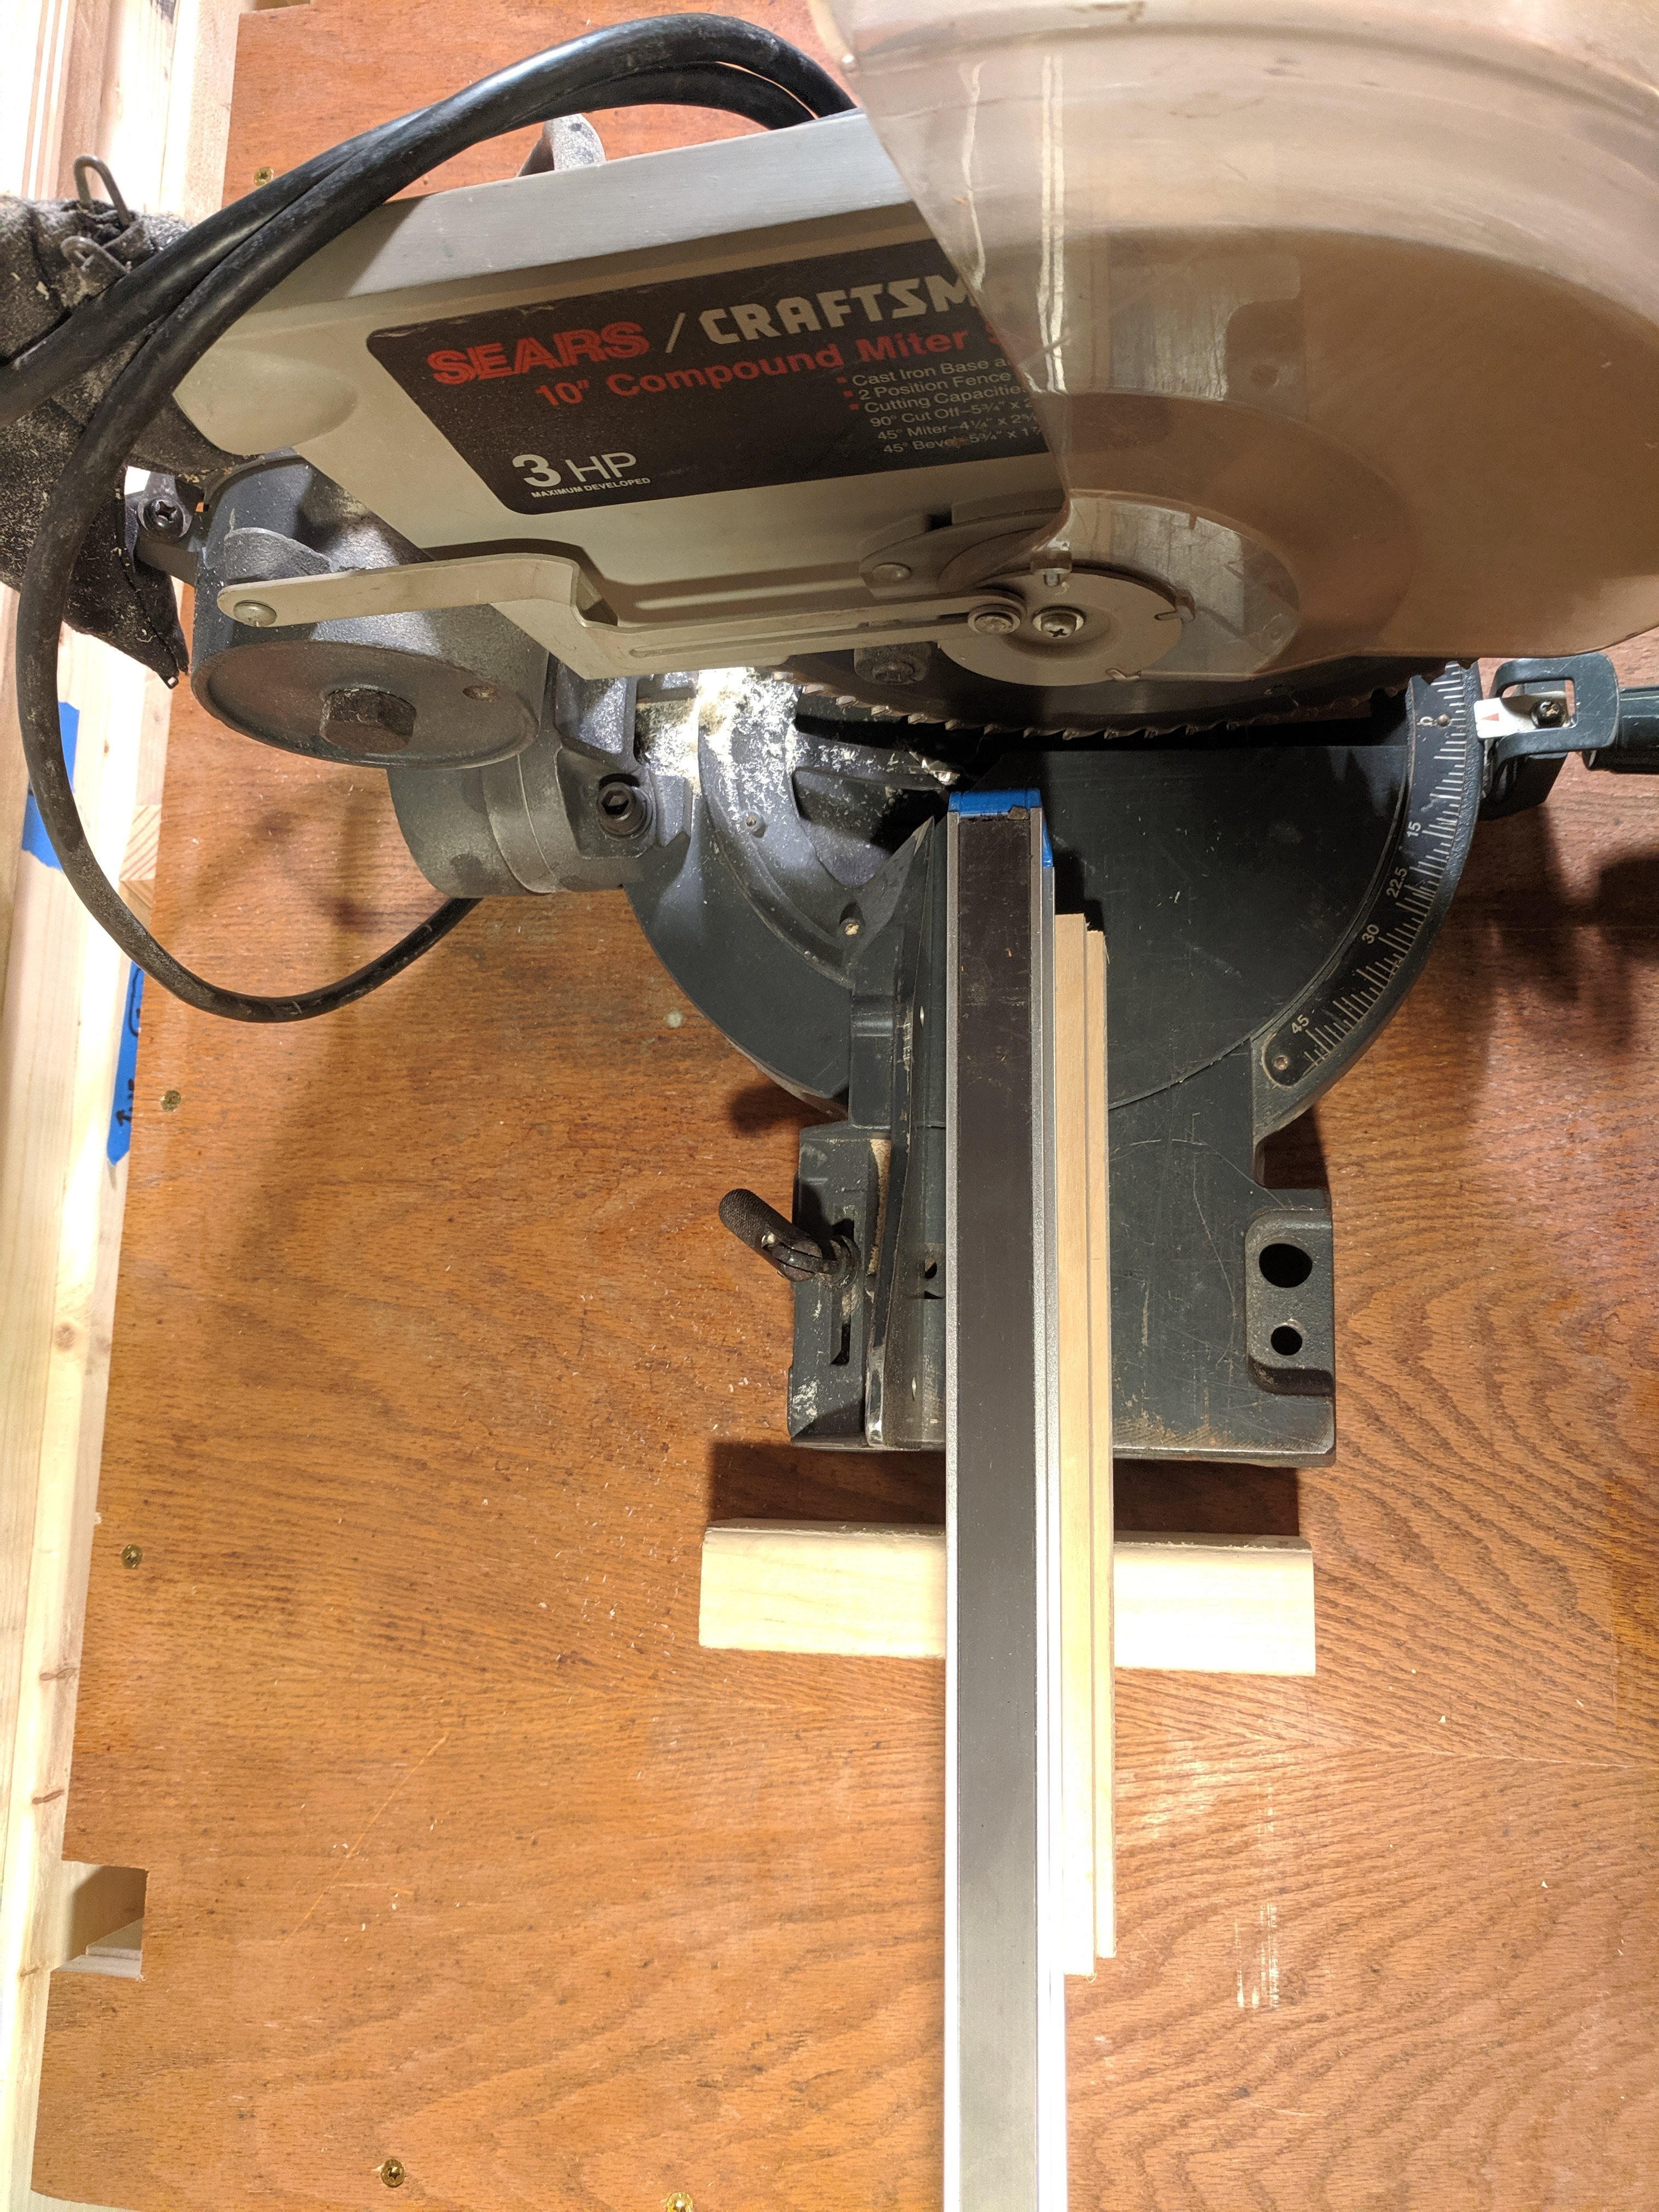
Maybe bolt through the ends into a block underneath?
10
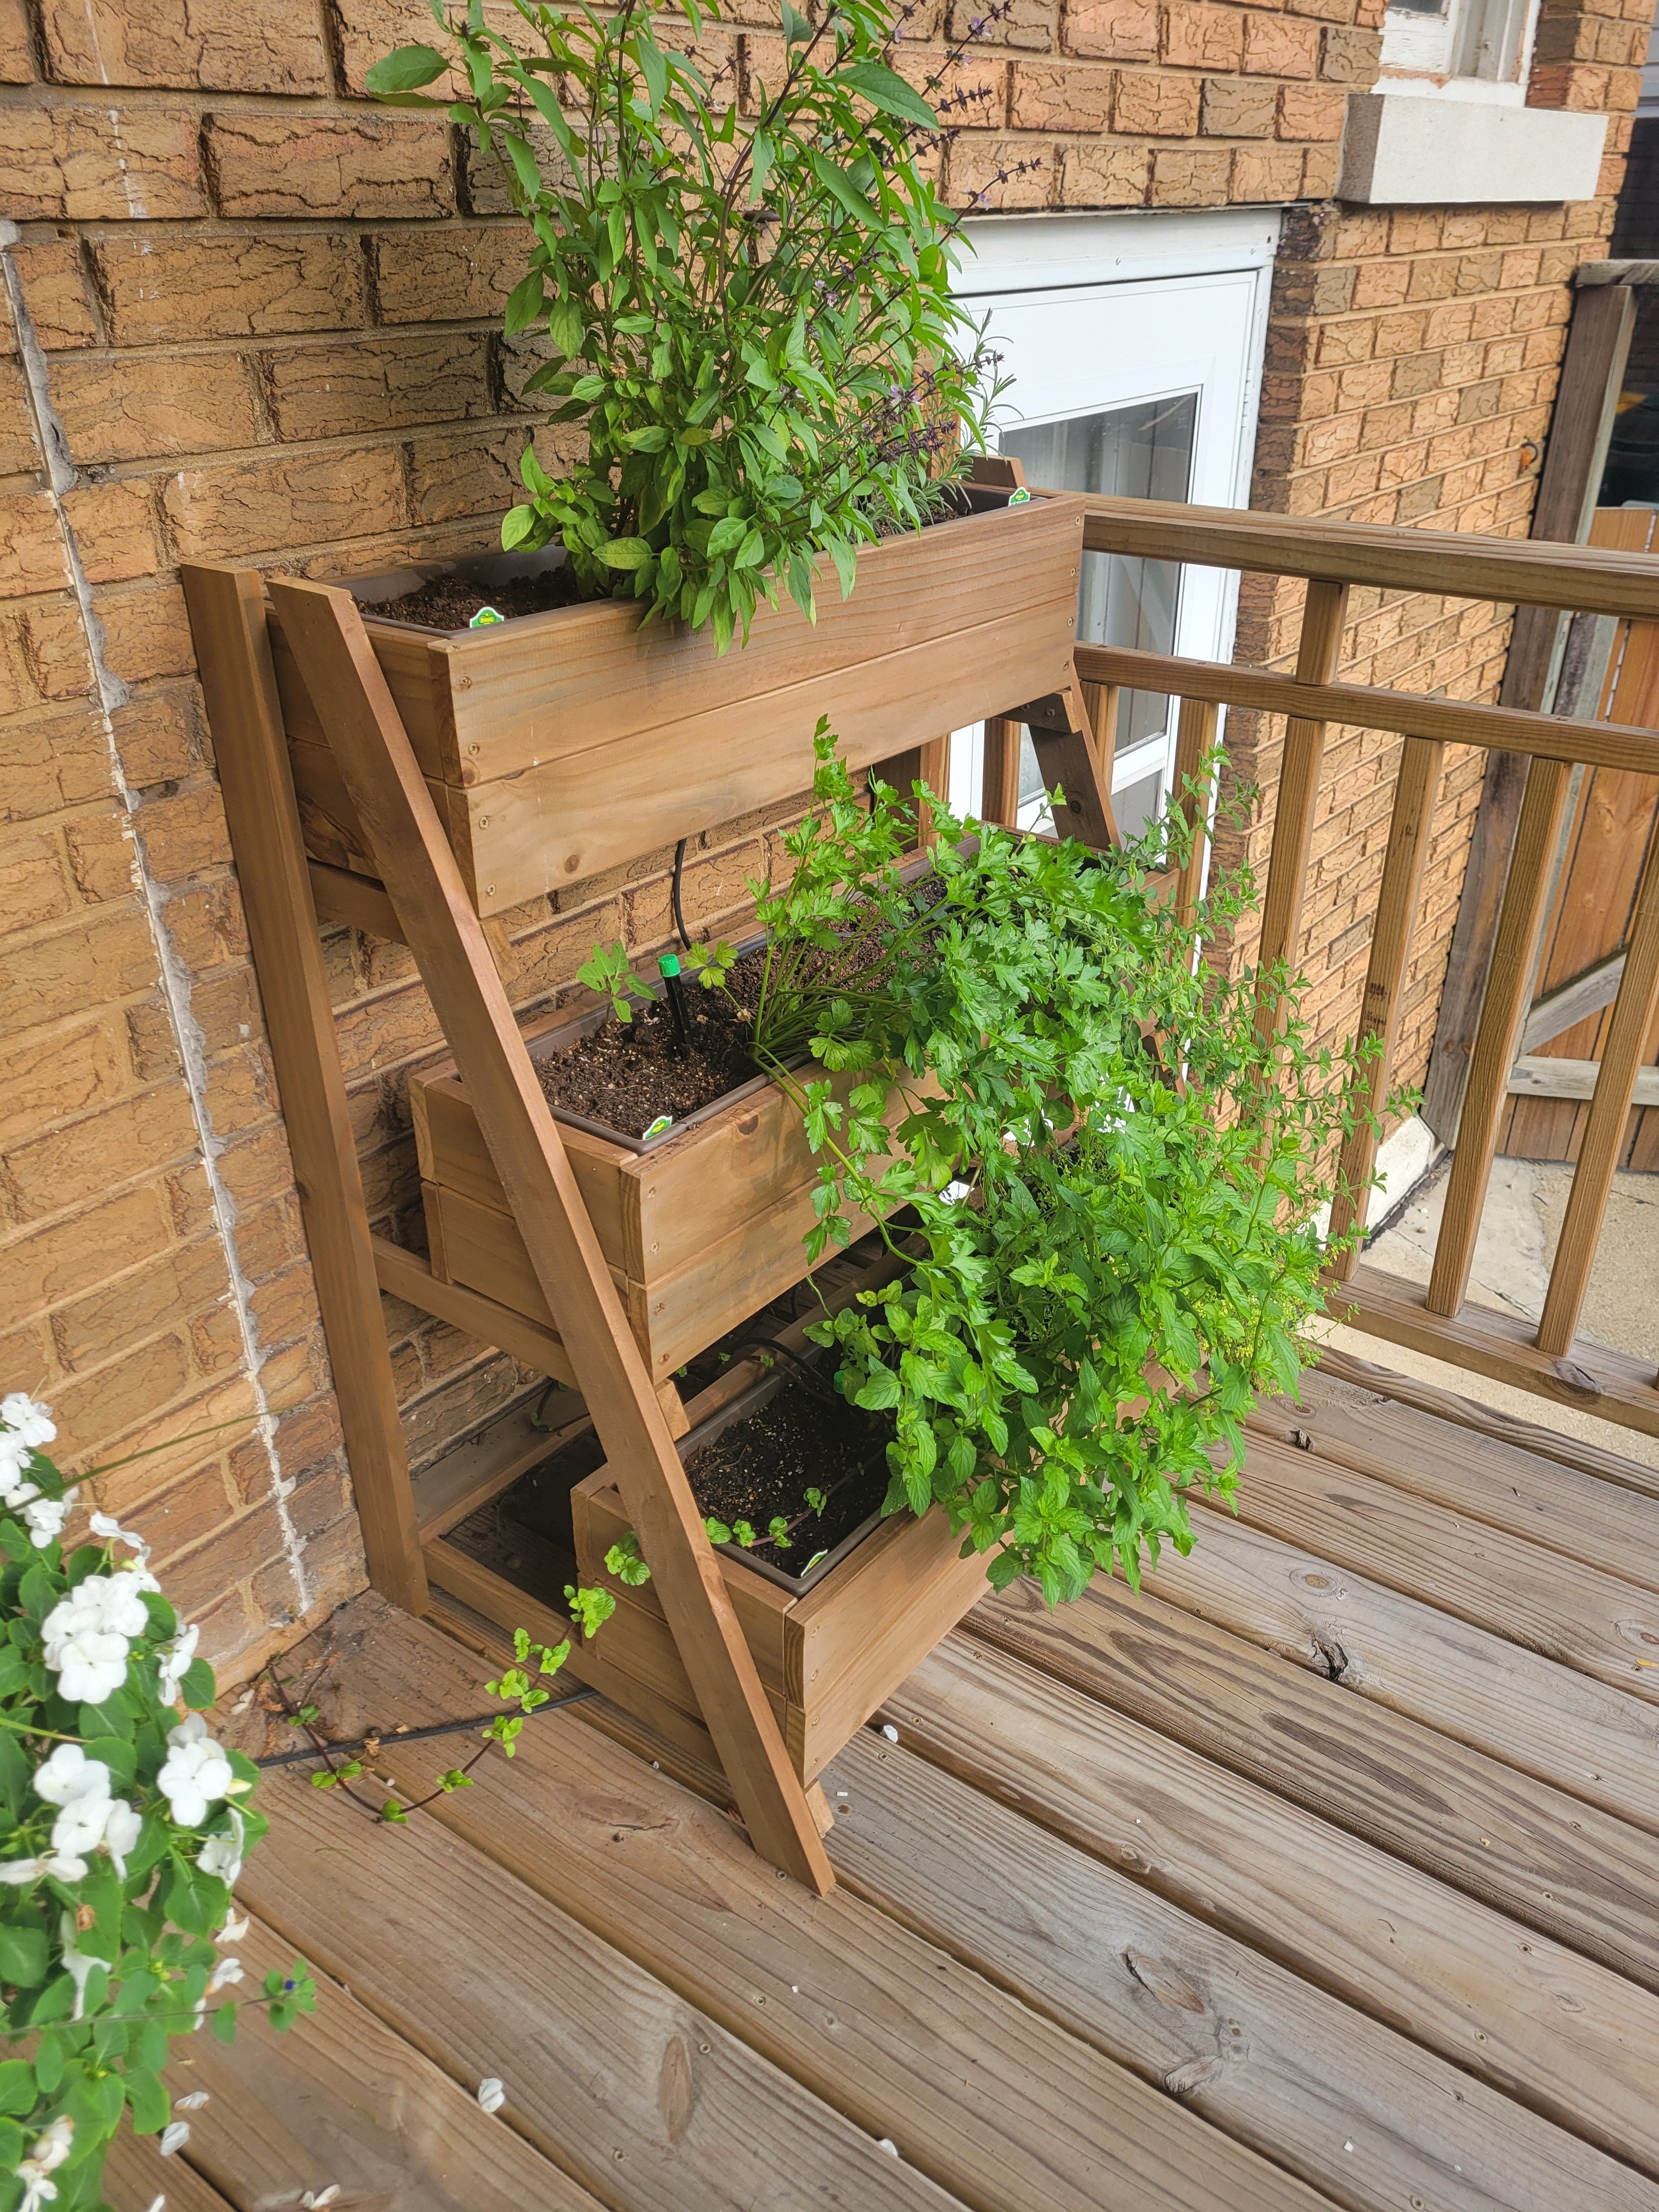
Here's the planter I built last year. It's a simple stair stepped frame w/ wooden boxes that wrap store bought plastic window boxes.
11
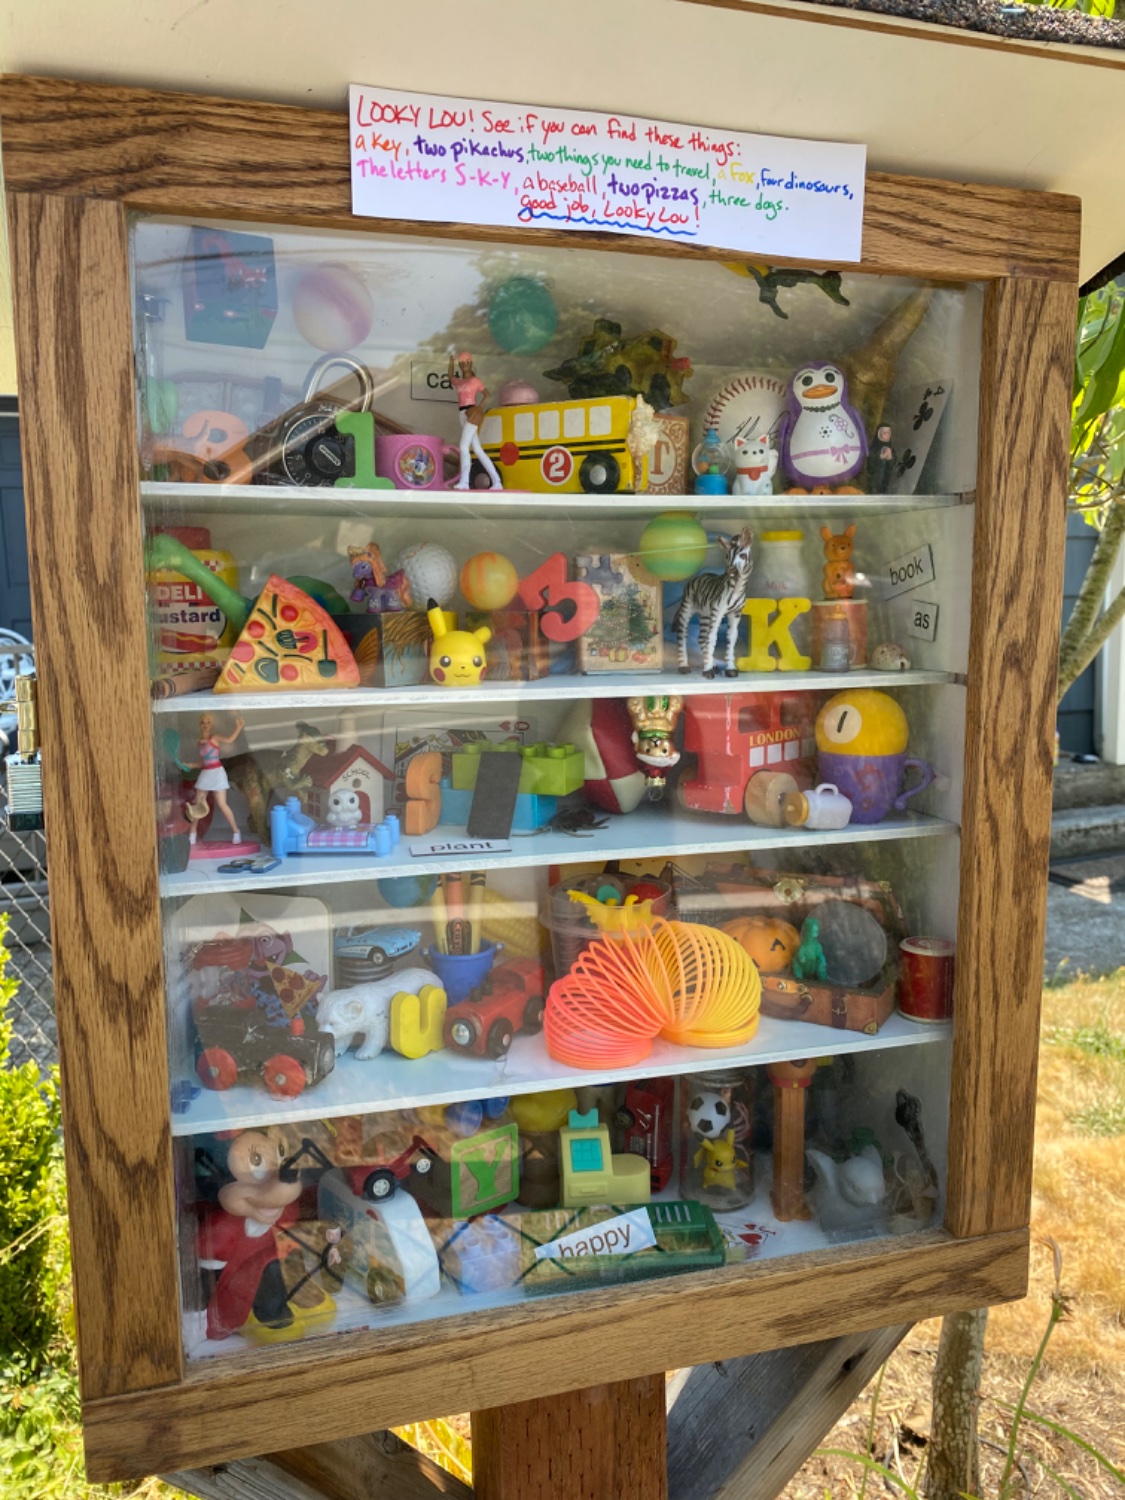
Sorry for the glare making it hard for you to play along. I’ll have to take better pics. I came up with the idea last year, but I live on a dead end street. Then my cousin said I could put it at his house. He was helping me glue in the pieces when the concept of it finally clicked for him and he got so excited about what clues you could give to search for and things to put inside. It’s so fun. I went to the Goodwill “bins” and just filled up a box with every little object I could find. The pieces are hot glued in place just in case the box rattles. Maybe in a few months we can change the sign so you have to find new things. I can also remove entire shelves or maybe just pop off the toys. Hot glue comes off easy enough.
I live in Portland and would love to make another and find someone around willing to host it in their yard. So if you’re interested let me know.
12
72
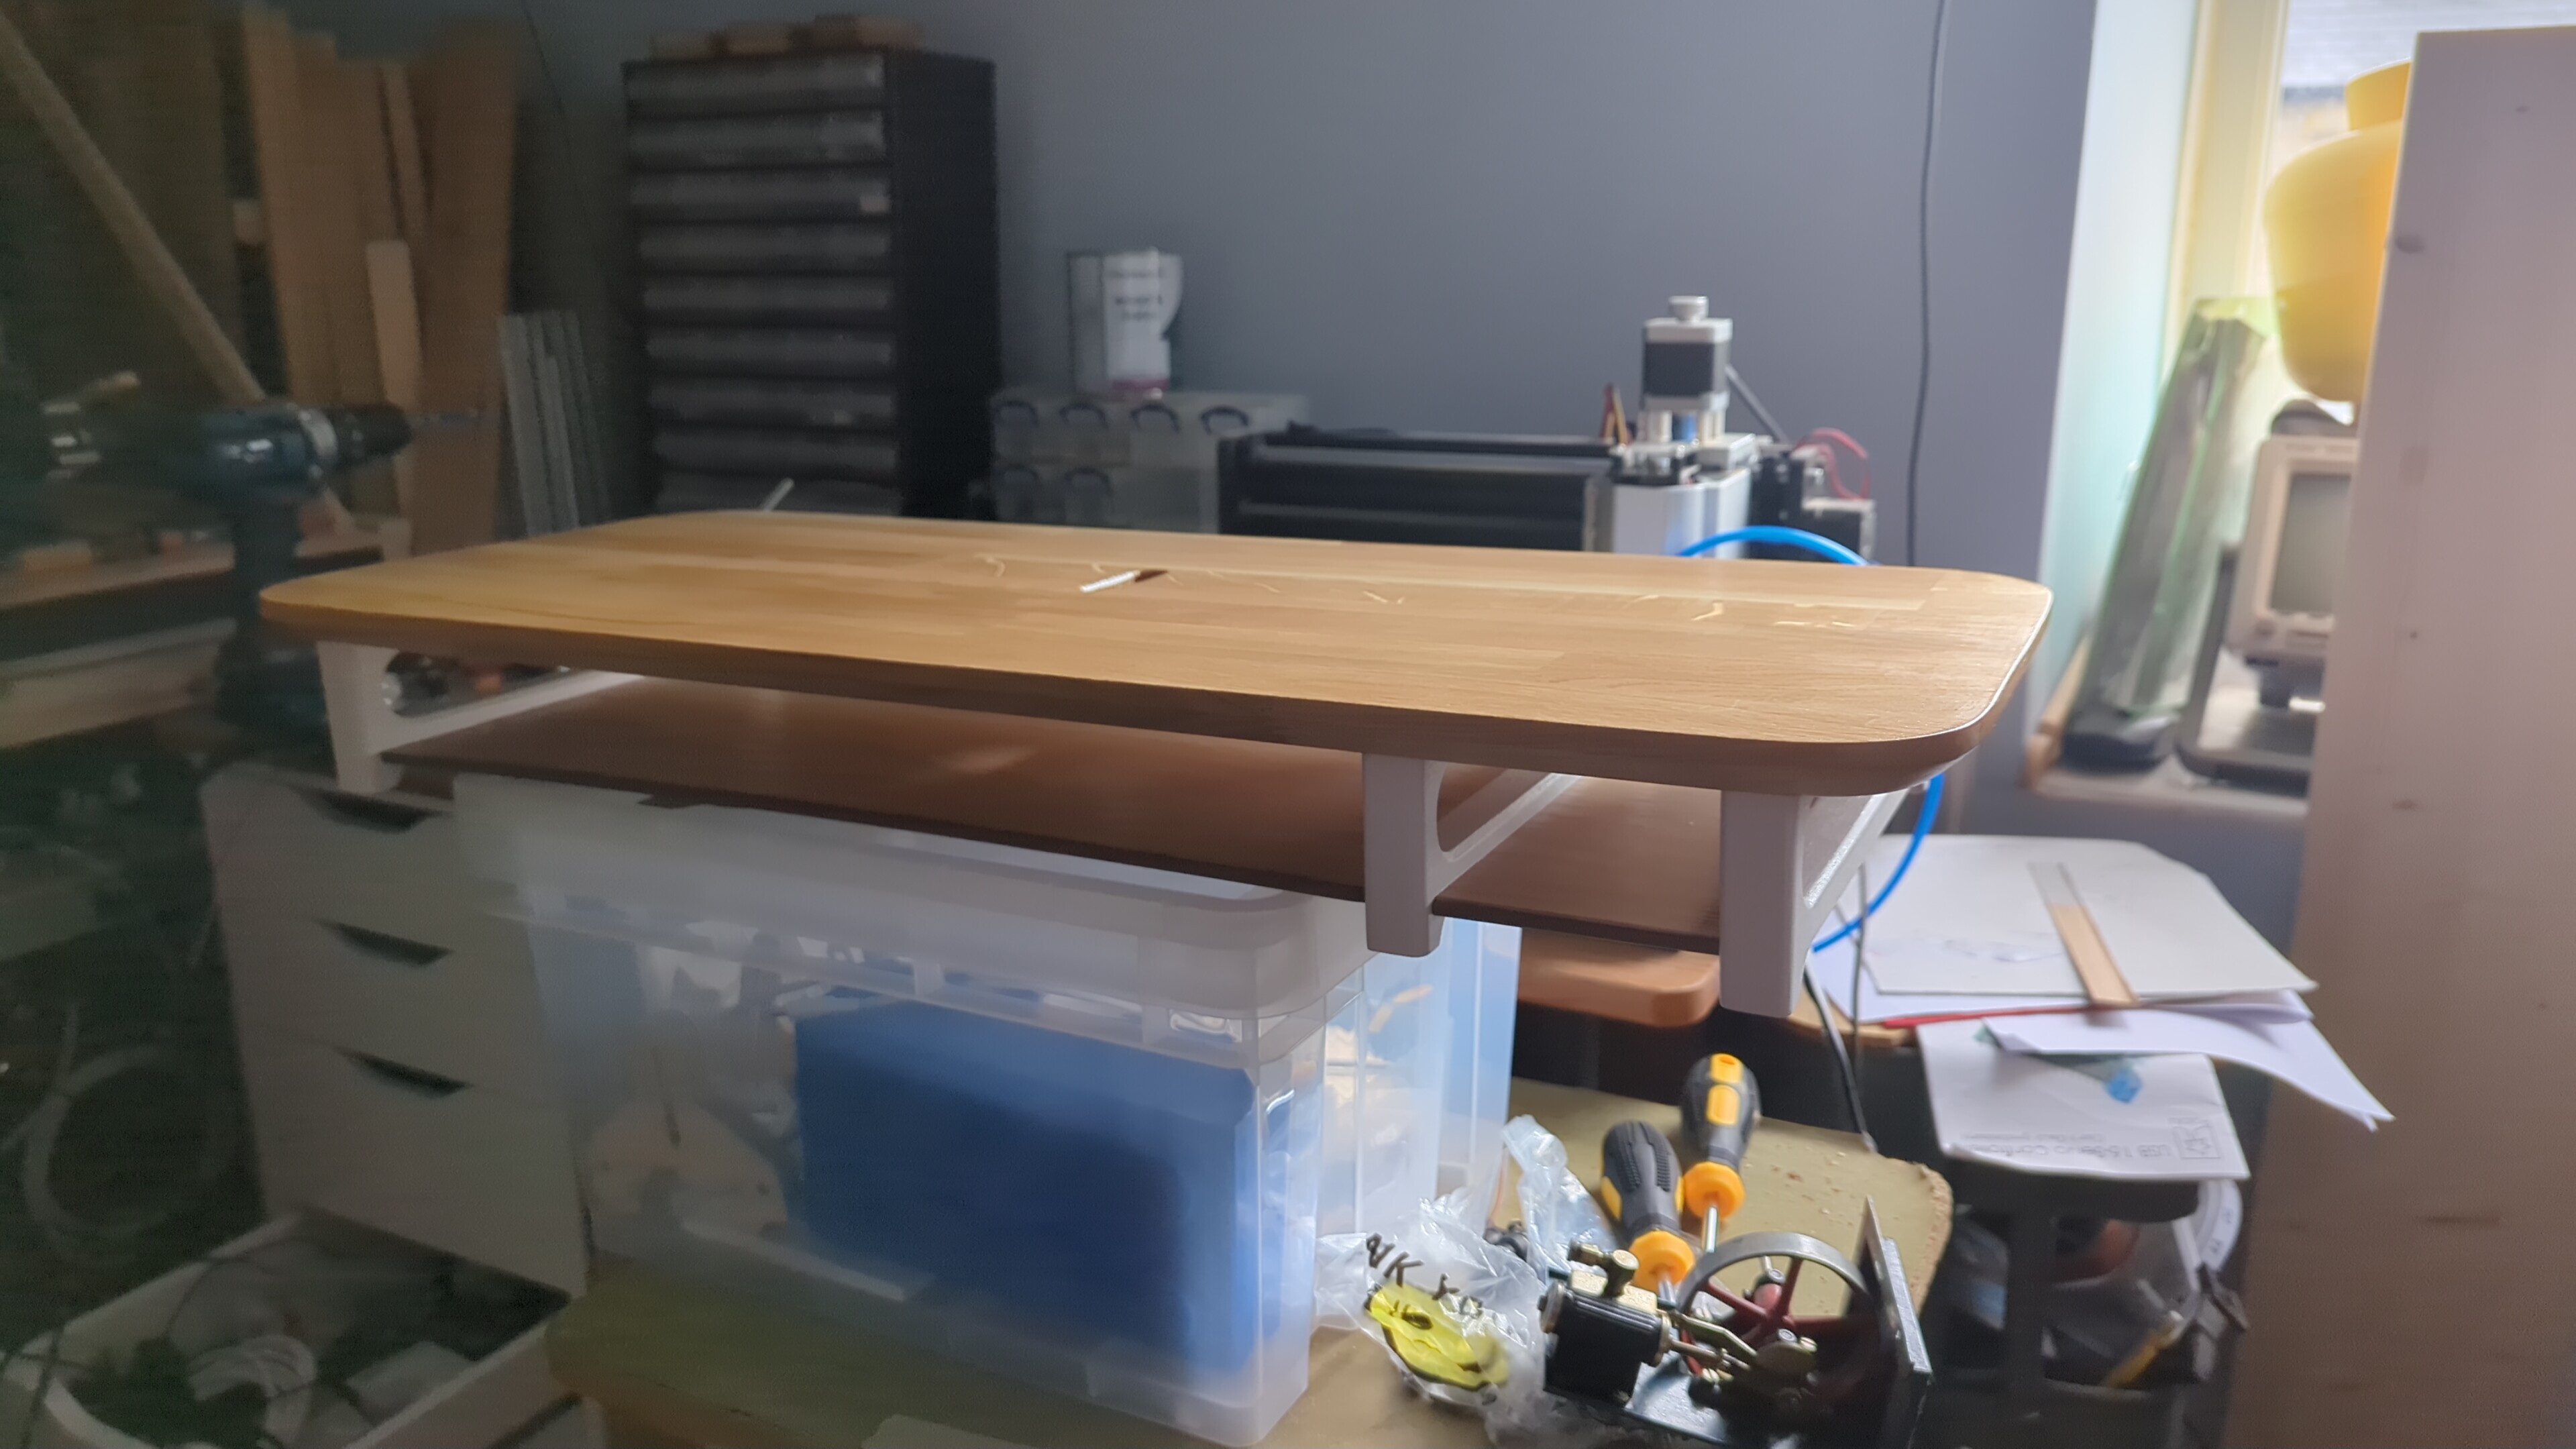
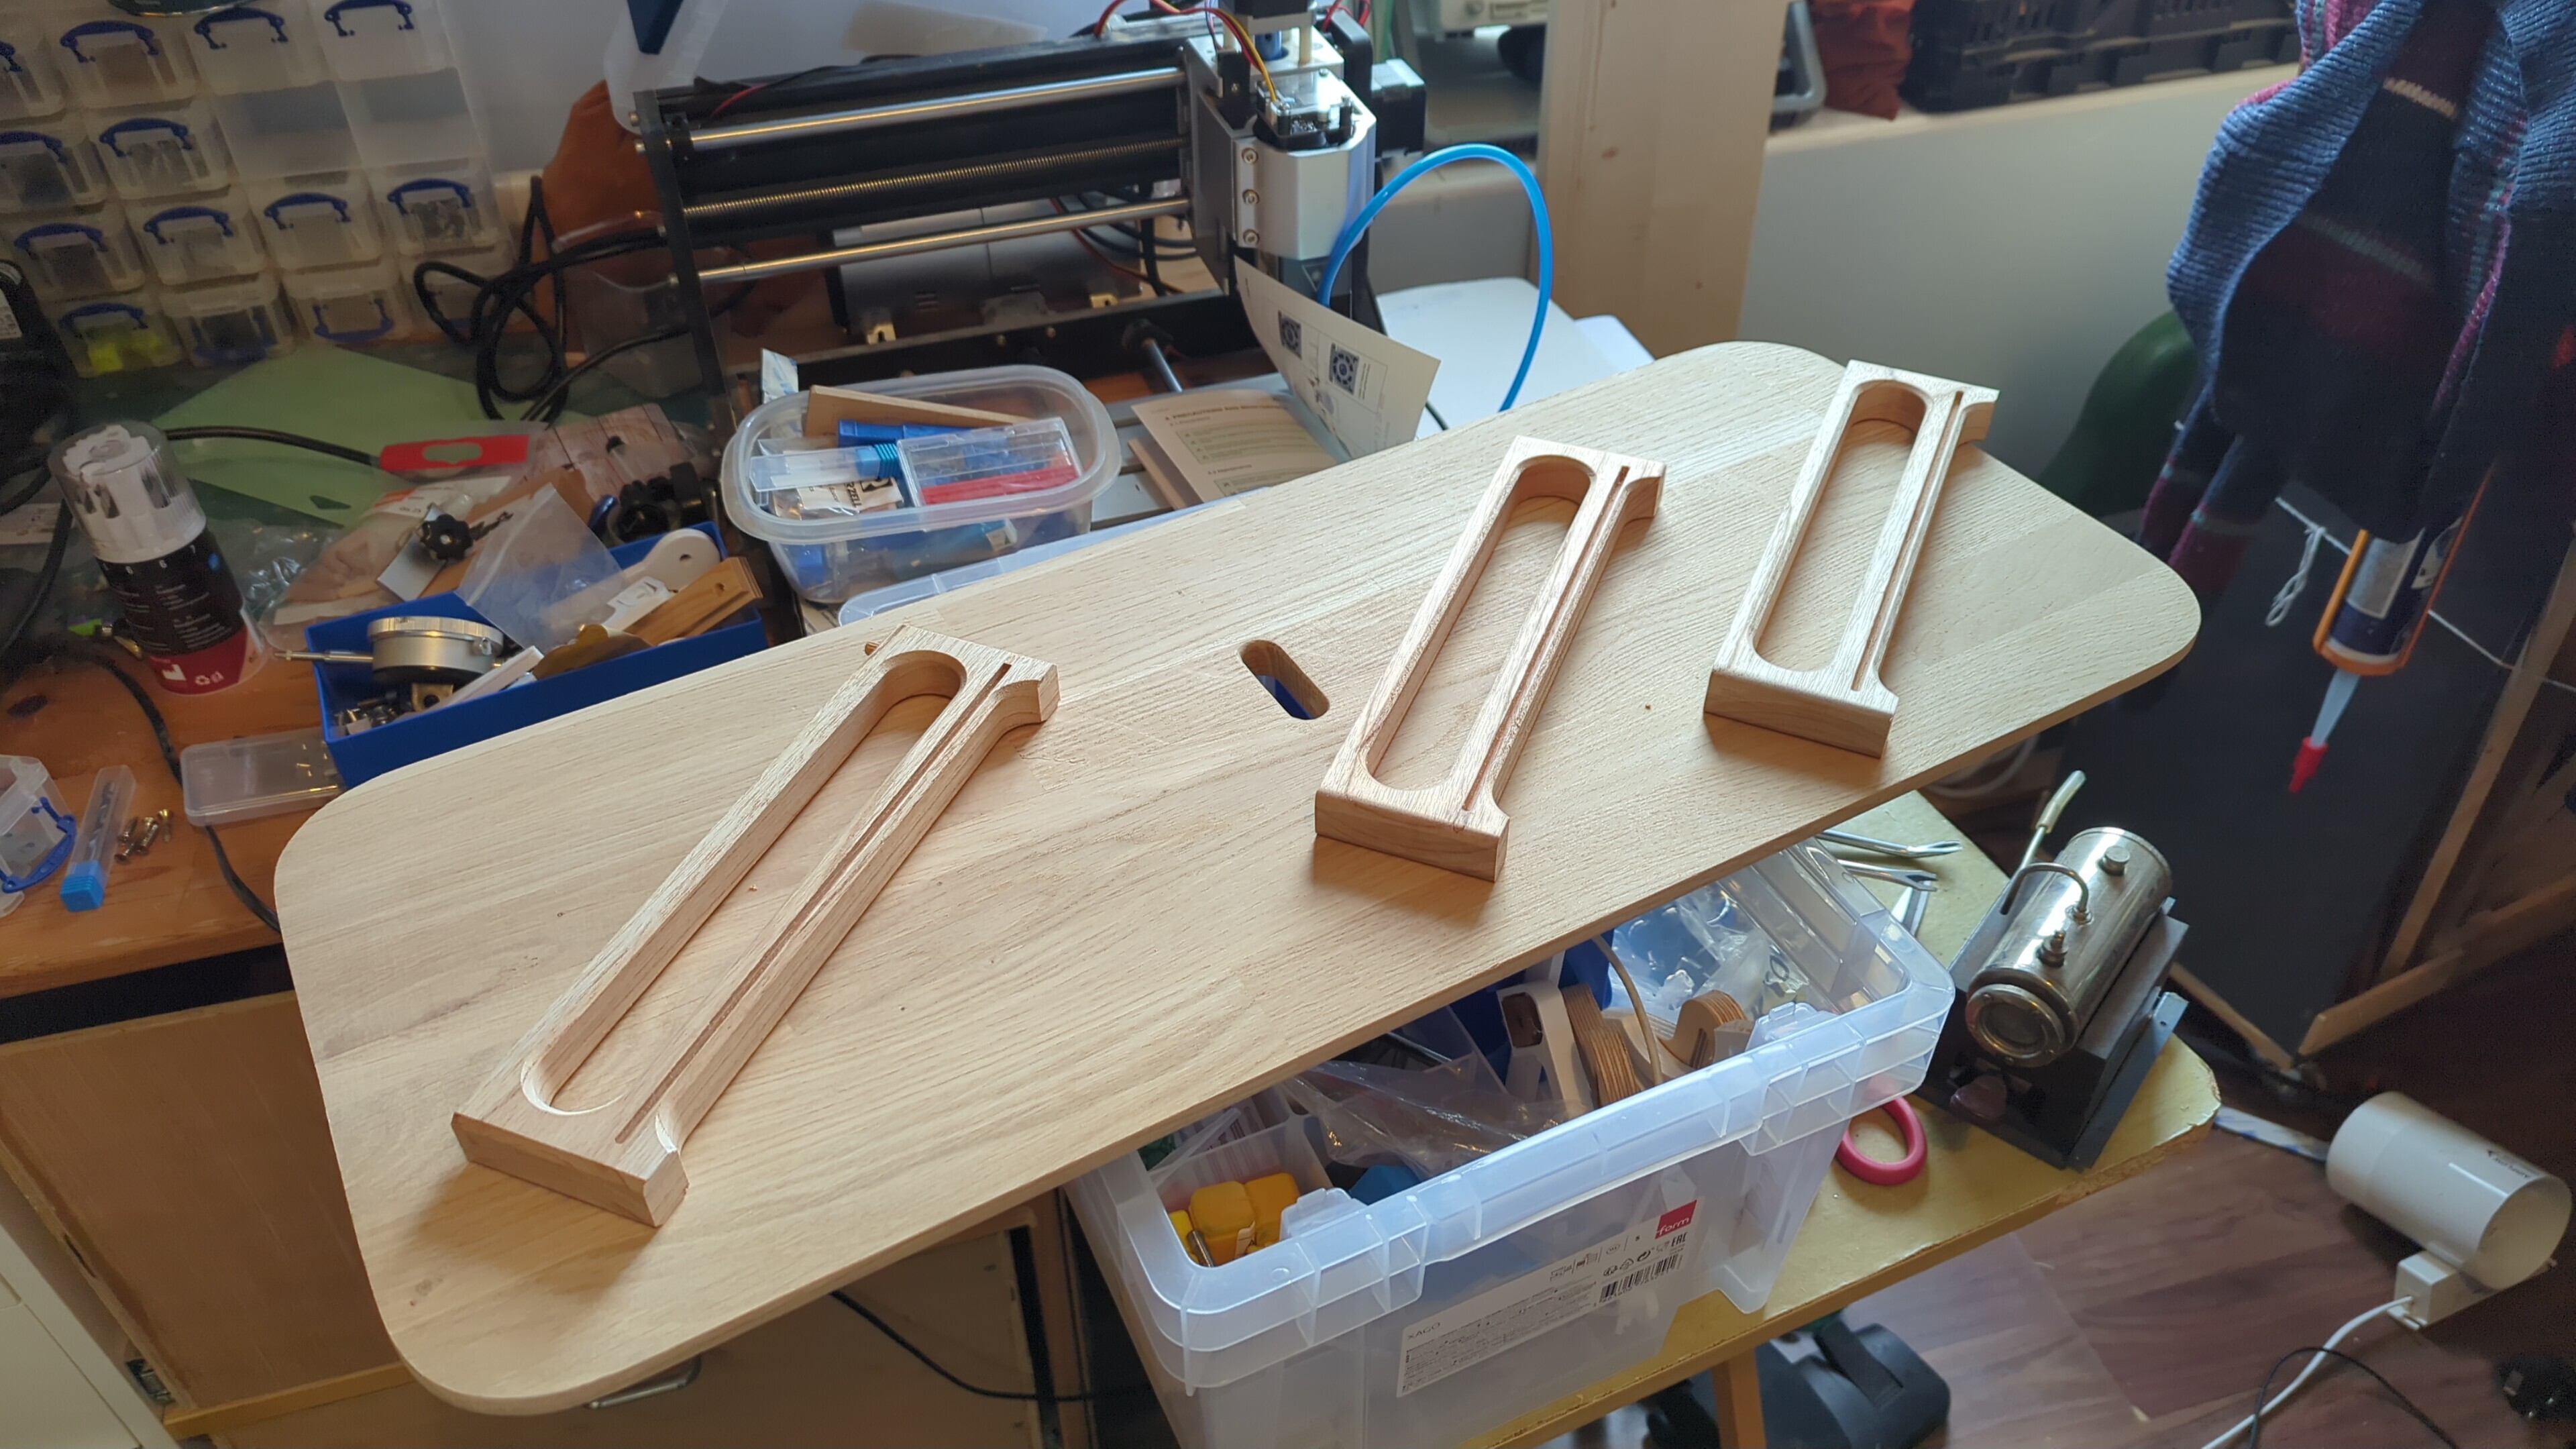
Desk riser thing I just finished for a comish, really happy with it and now I get to never see it again yay!
(startrek.website)
Oak top, oak faced ply shelf with walnut edge, and sides made of something from an old table

13
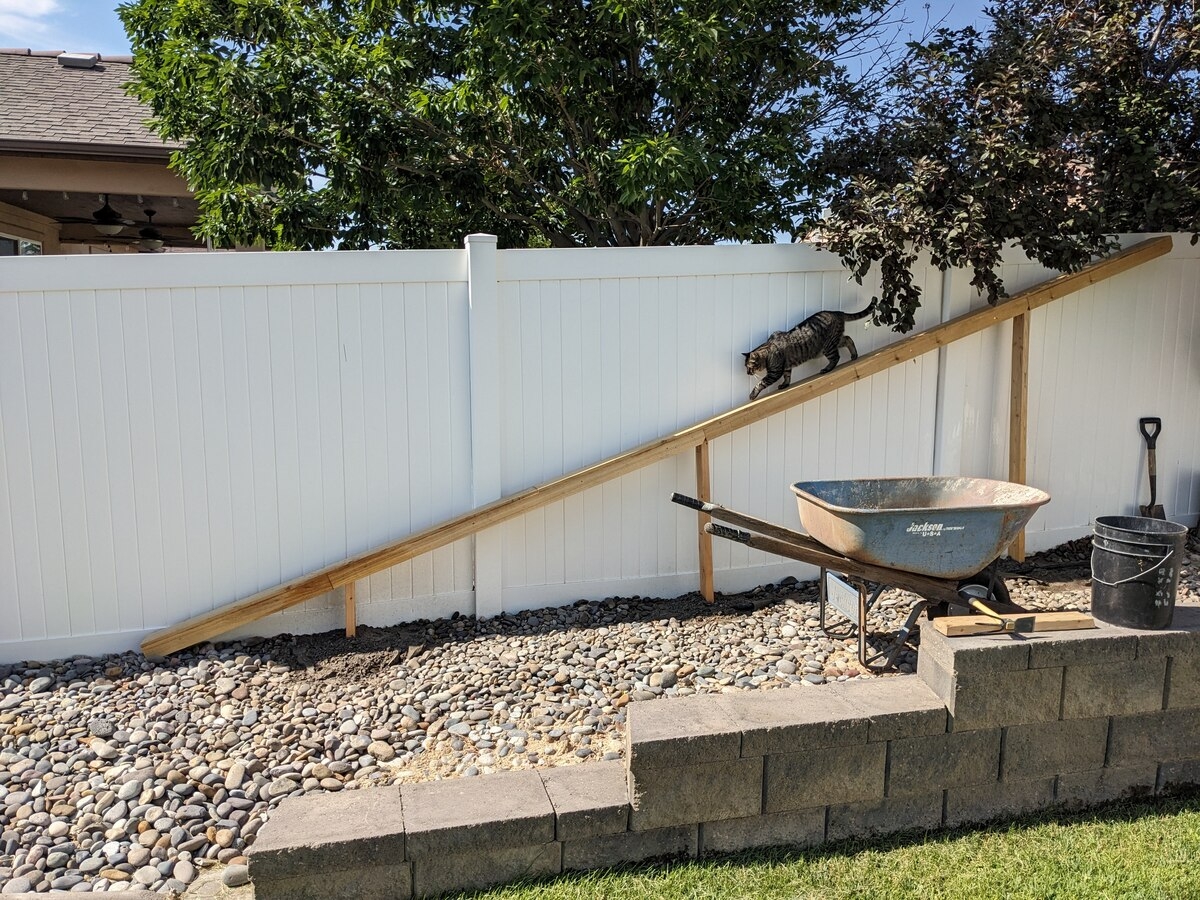
So our neighbor's cat has been visiting us for a while, so I decided to build this ramp so that she could more easily get into and out of our yard. I'm not much of a woodworker, but was happy with how this turned out.
It's made almost entirely from cedar fence posts. Nearly 18 feet long (3 fence posts end to end with the dog ear tip cut off). Ripped cedar planks into 3 for a frame/support to prevent flexing. Posts are pine 2x4, and go 18 inches into the ground, which was the majority of the effort, since our ground is like cement...
14
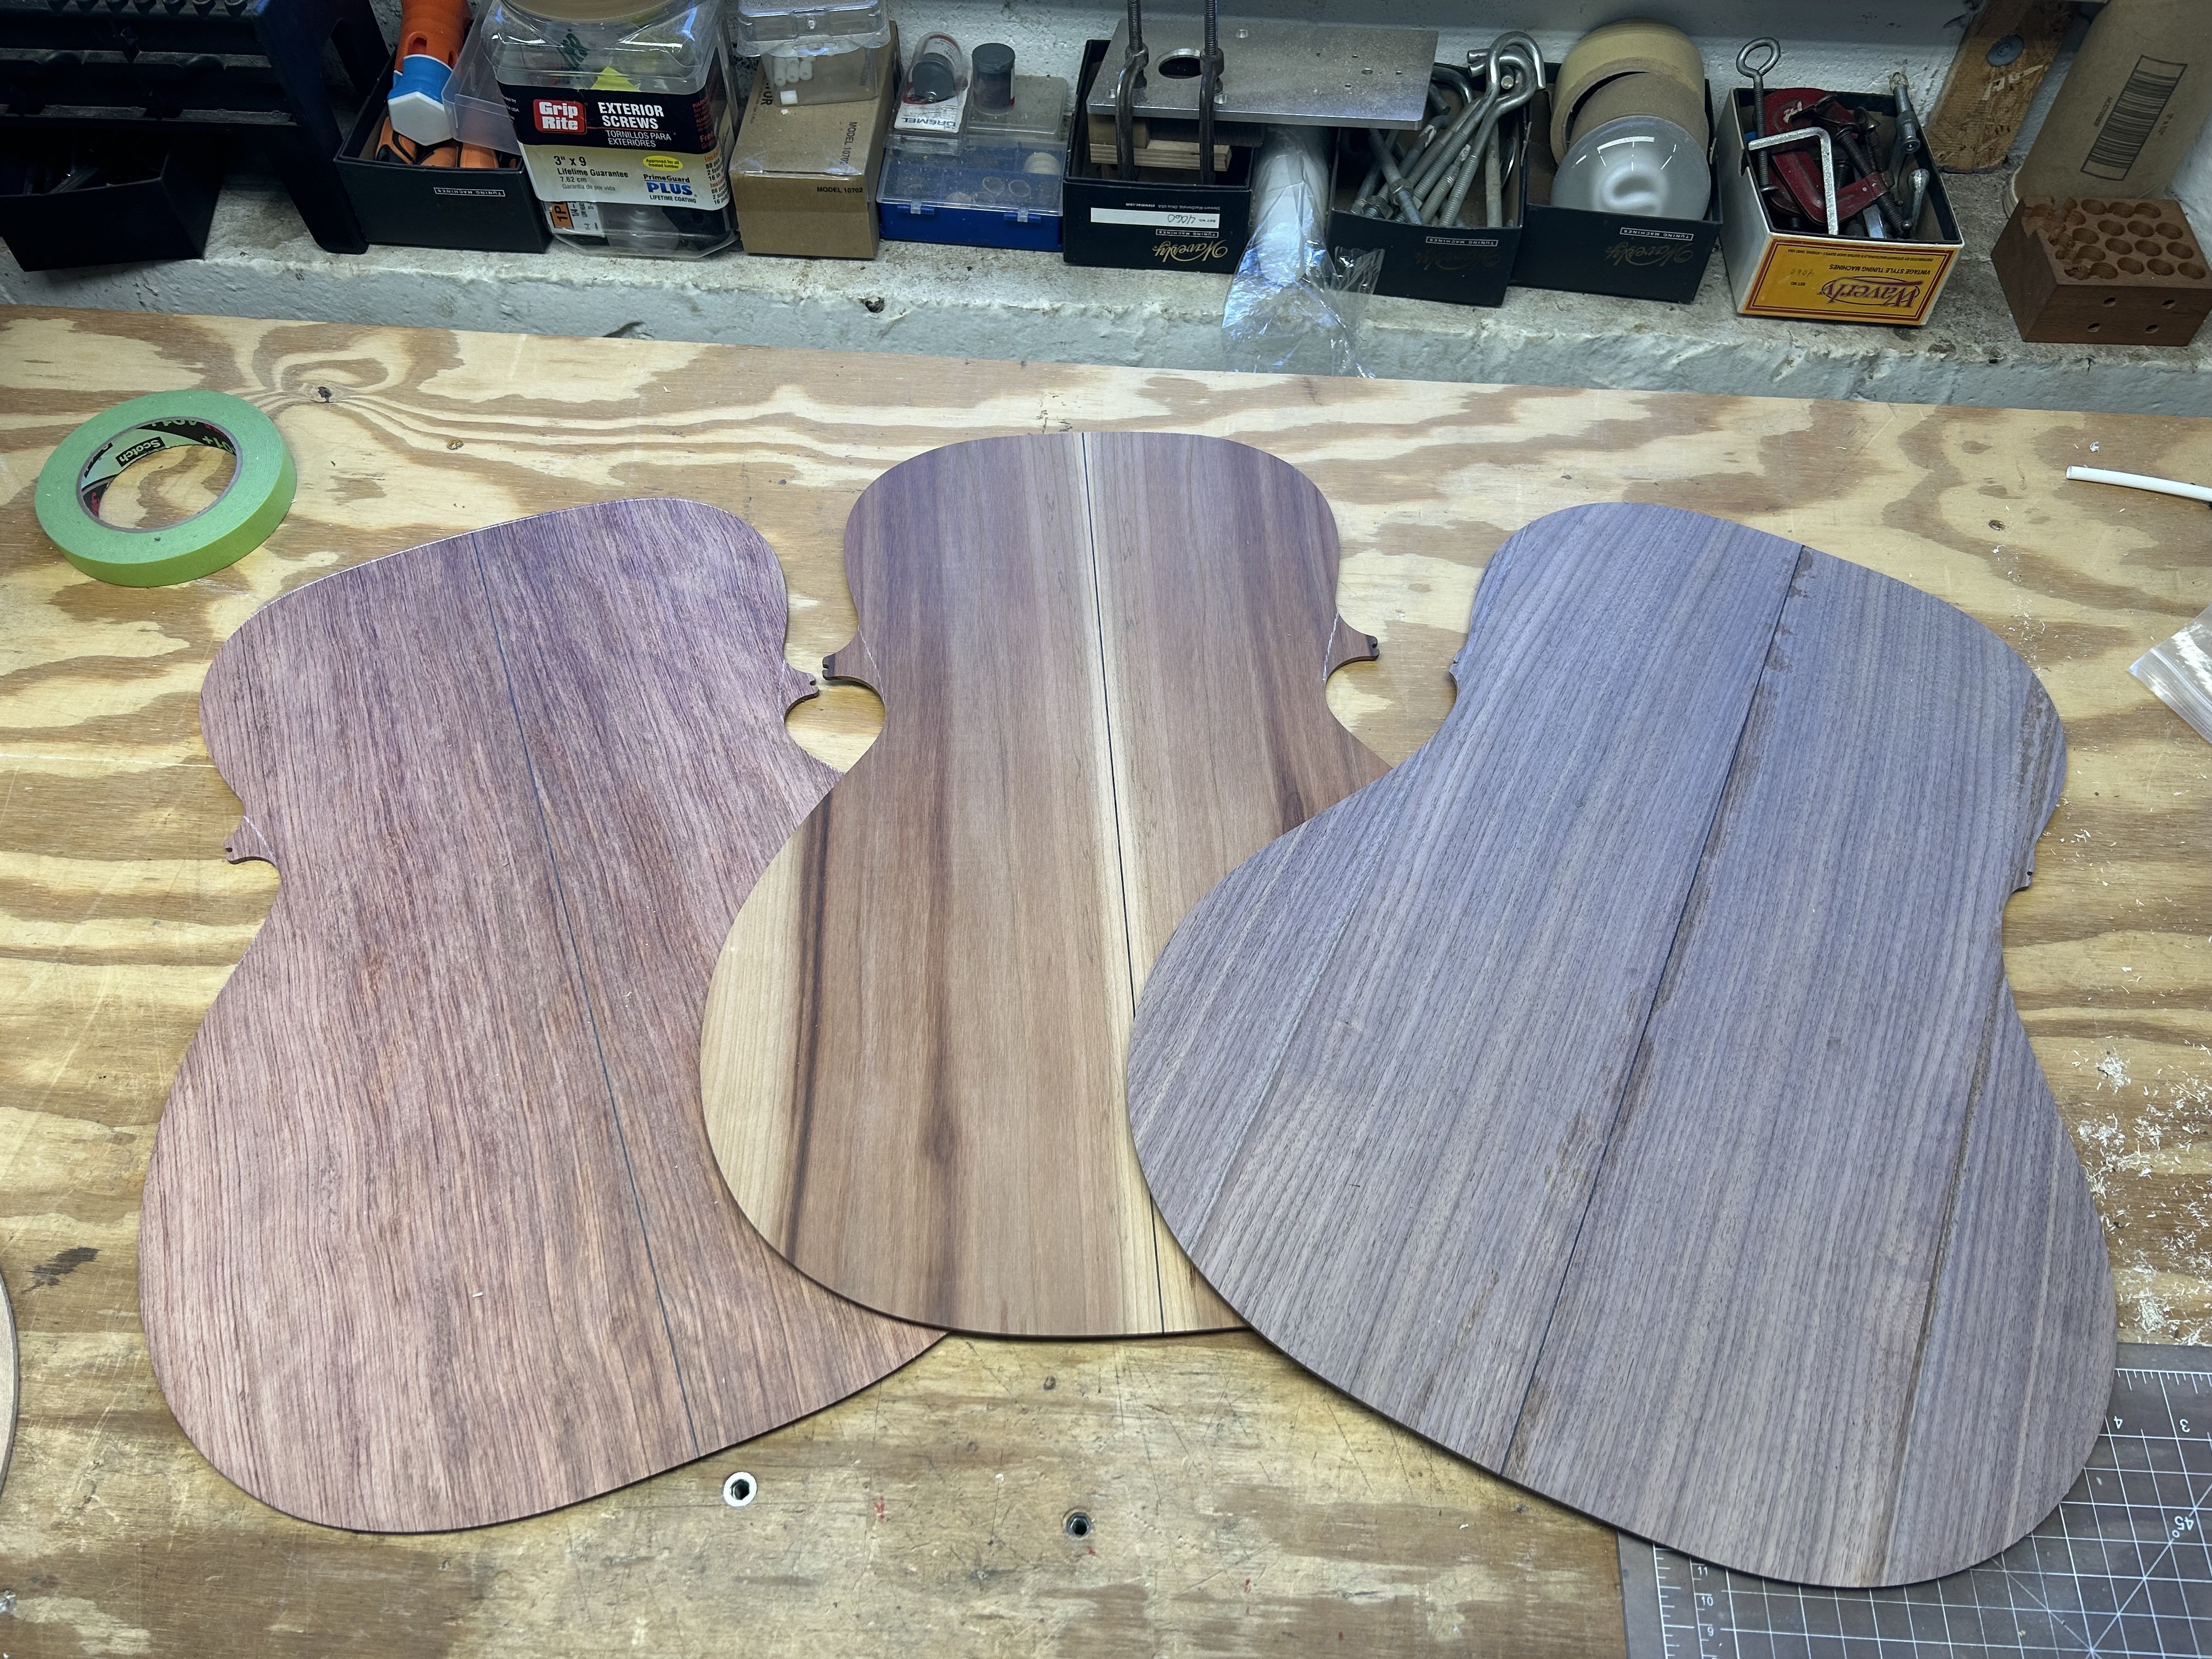
Bubinga, Plum, and Walnut (yes it’s 4 pieces; I had to get creative and it’s getting color so you’ll never notice 😄)
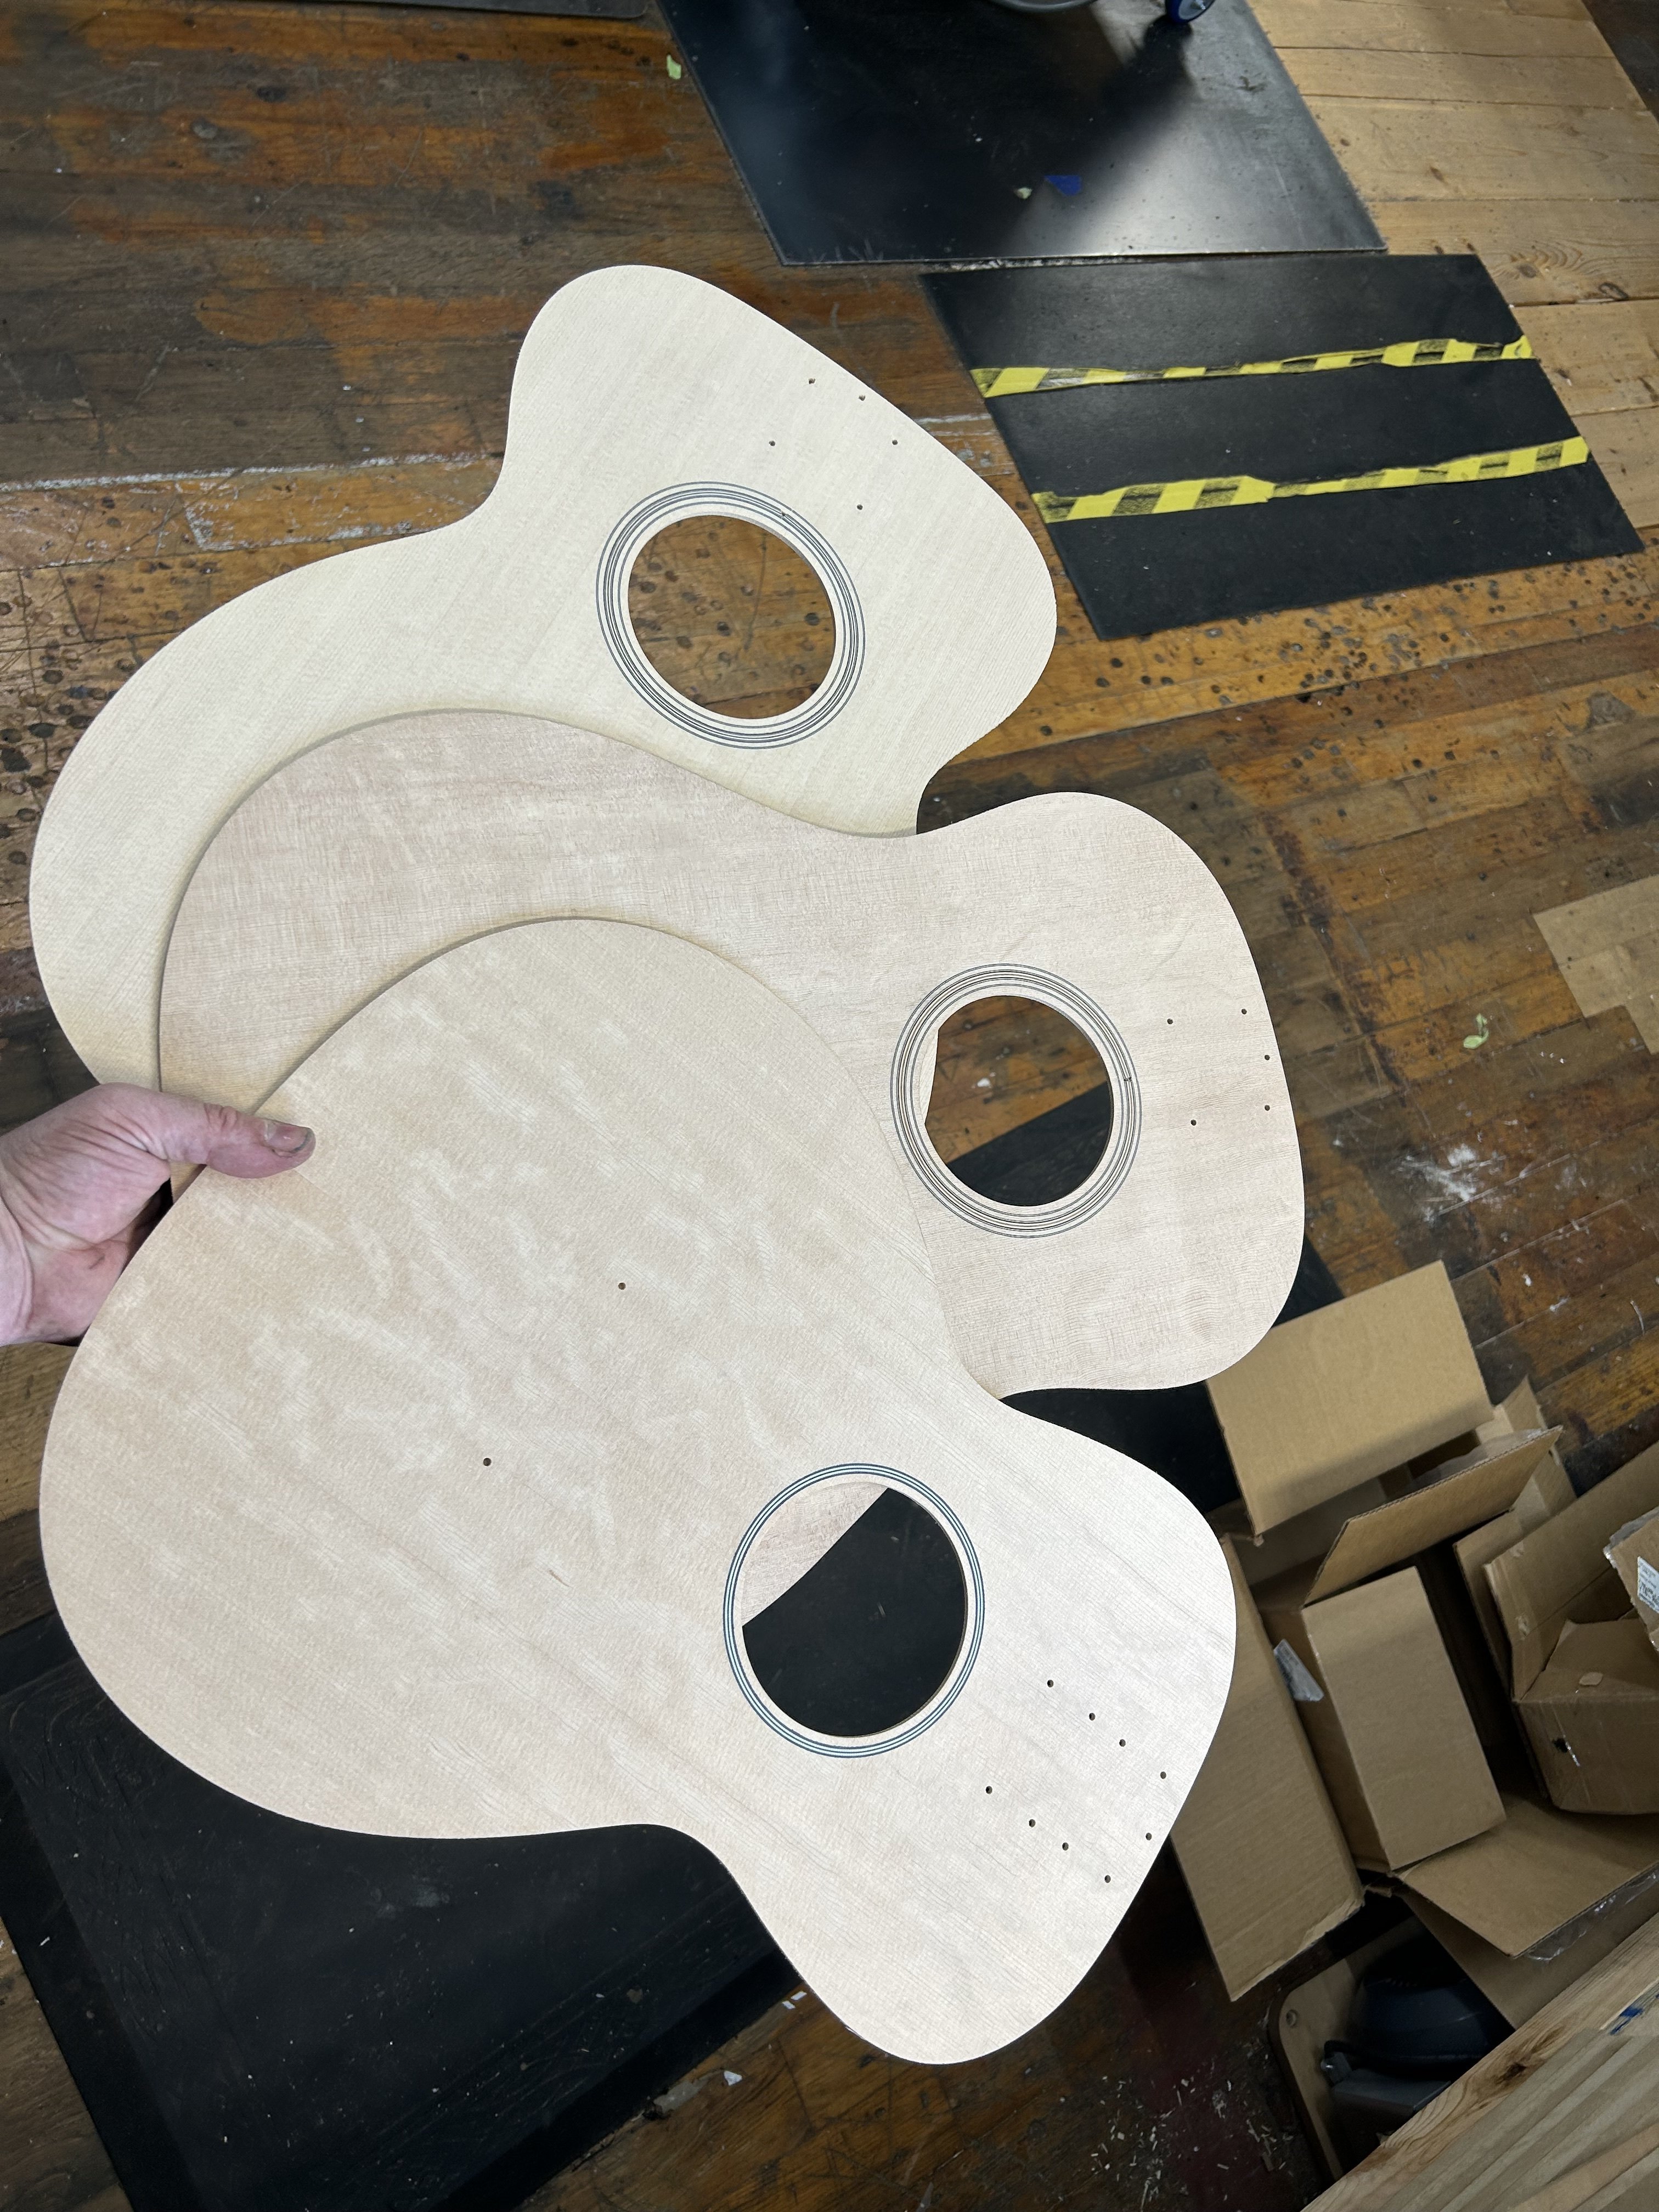
15
16
Everything is Sitka. Back and sides will follow shortly. I’m what you might call a professional.
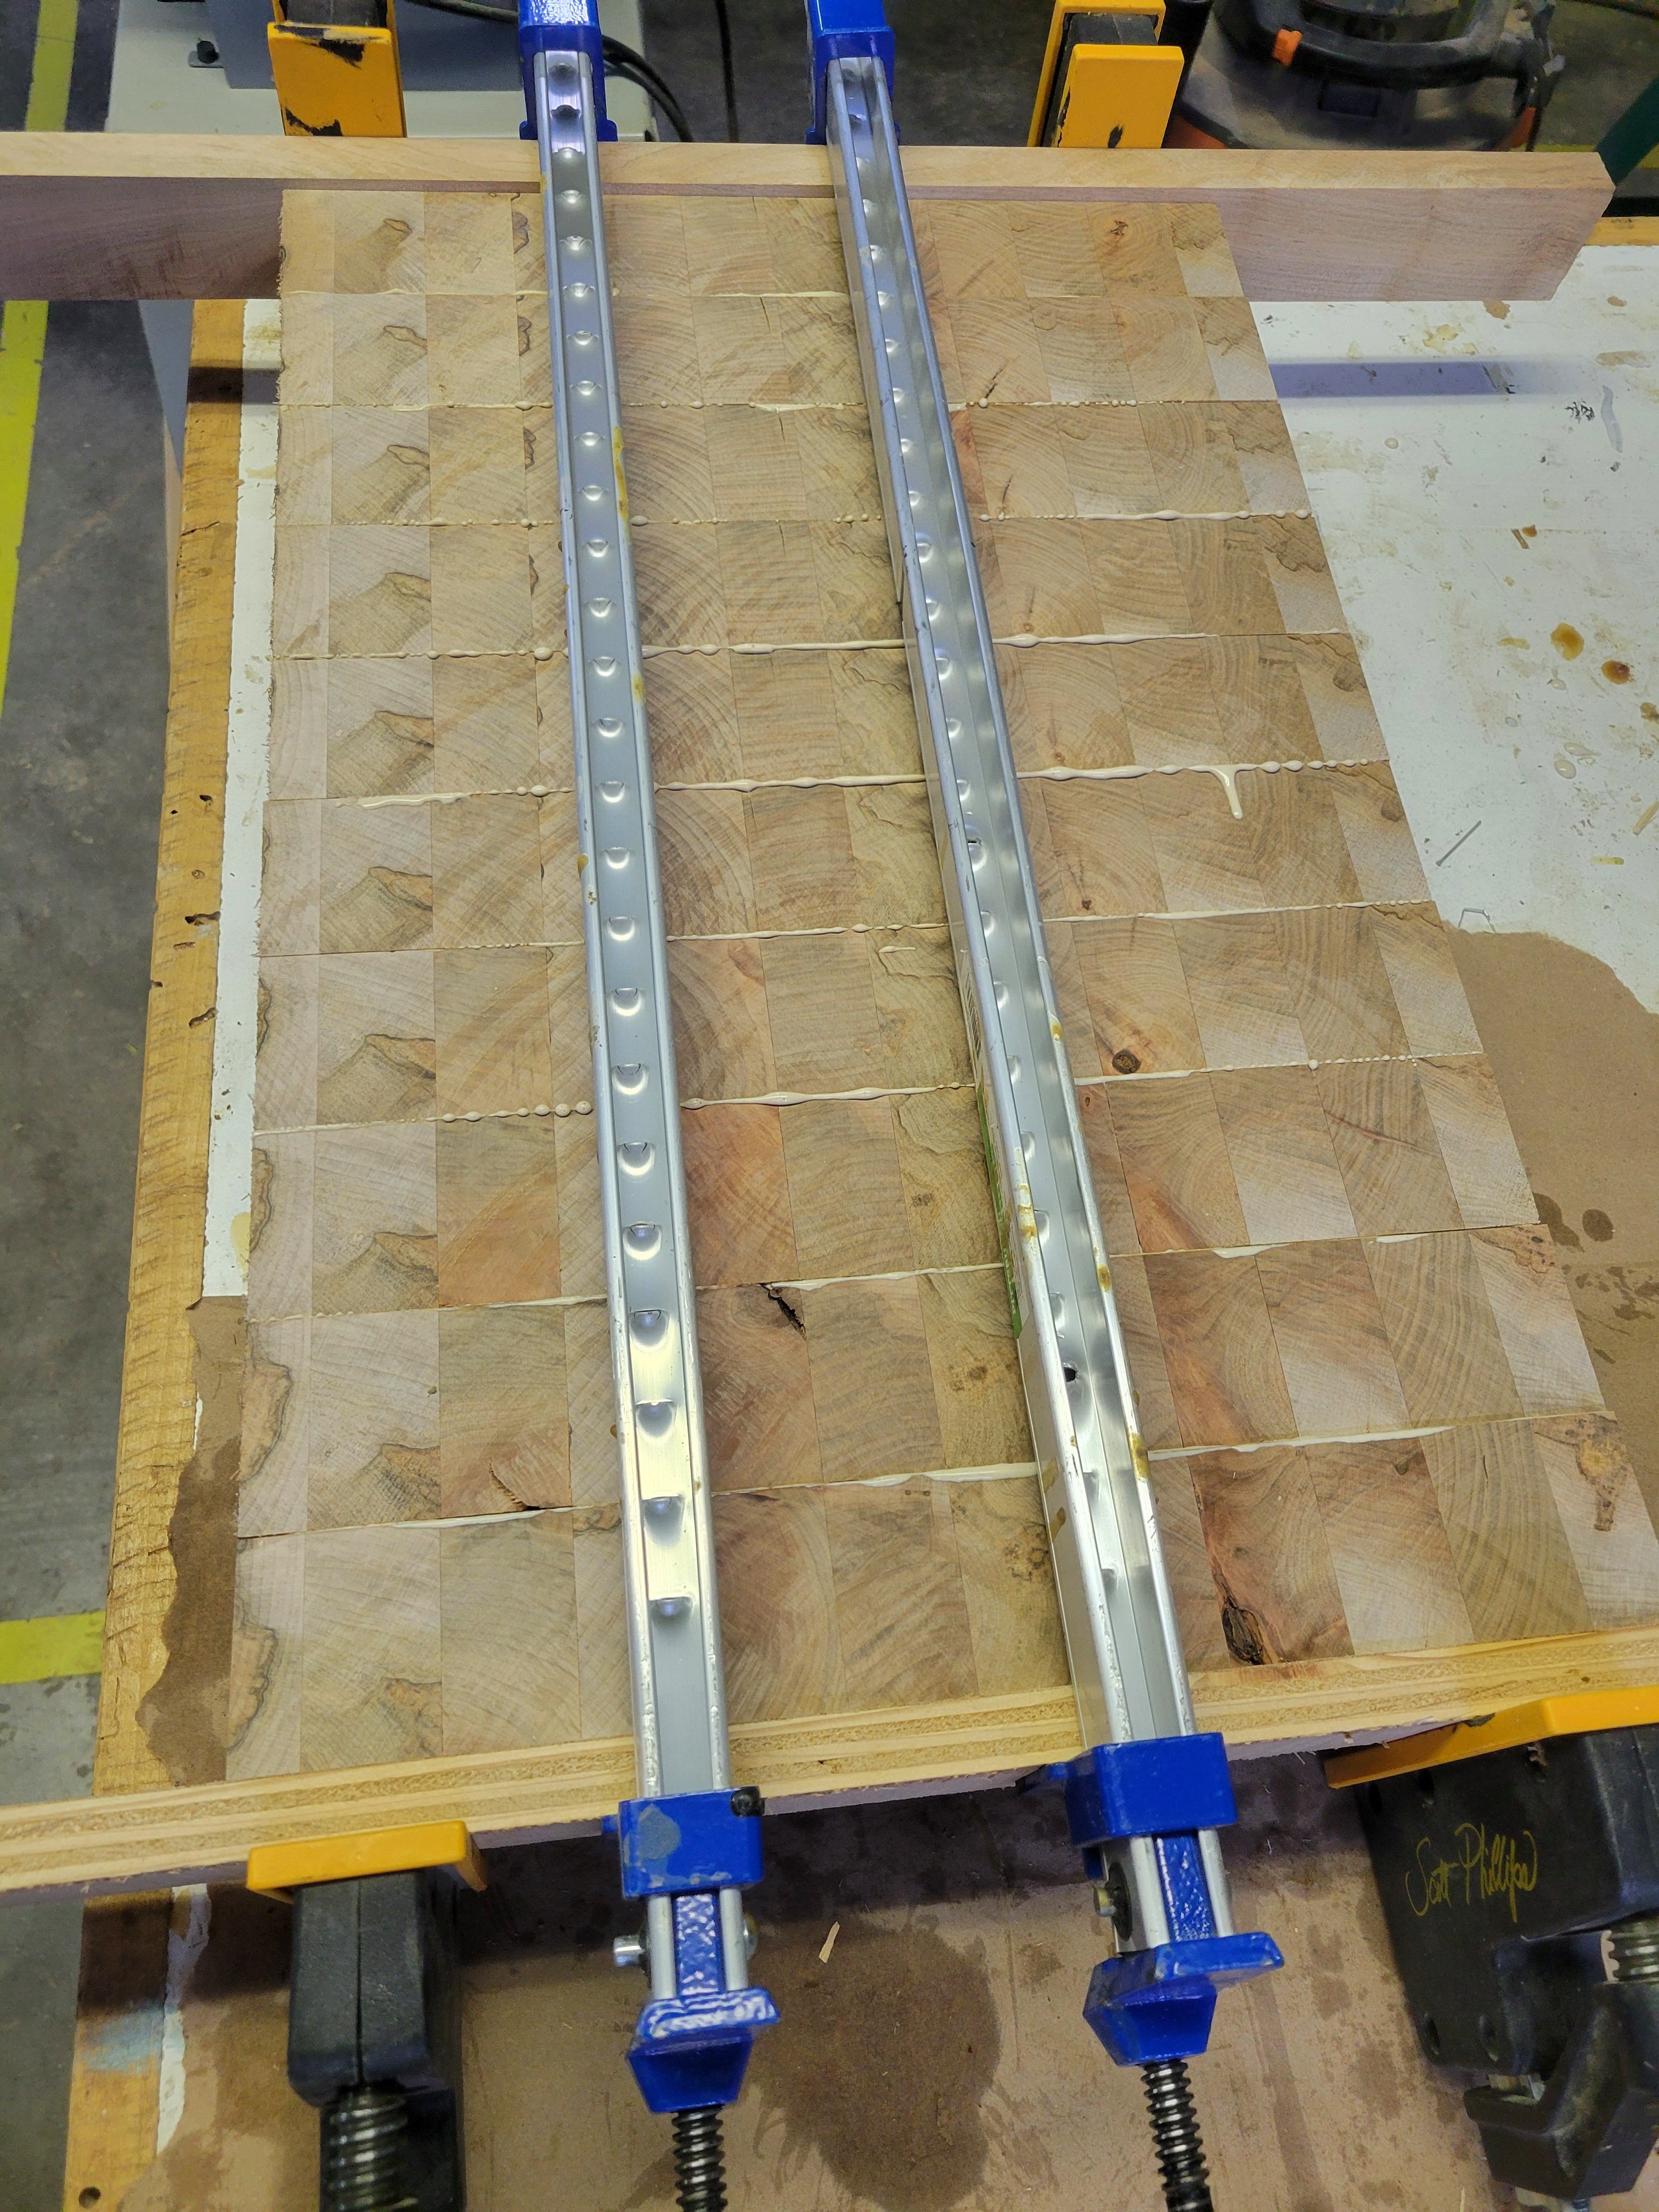
17
I've got my work cut out for me, there's a decent amount of flattening needed on a few strips, and the planer I have access to is abut rough around the edges, so not all the joints are perfect, but it's alright overall.
Once it's flattened and cleaned up, the remaining aesthetic flourishes are to use walnut/sapele to put an edge around it or just cap the ends, then ease the edges and router handles into the ends. I was looking at the boos block website, and they offer the option to put the finger grooves in the middle or in the bottom edge and I really like the functionality of having them on the bottom
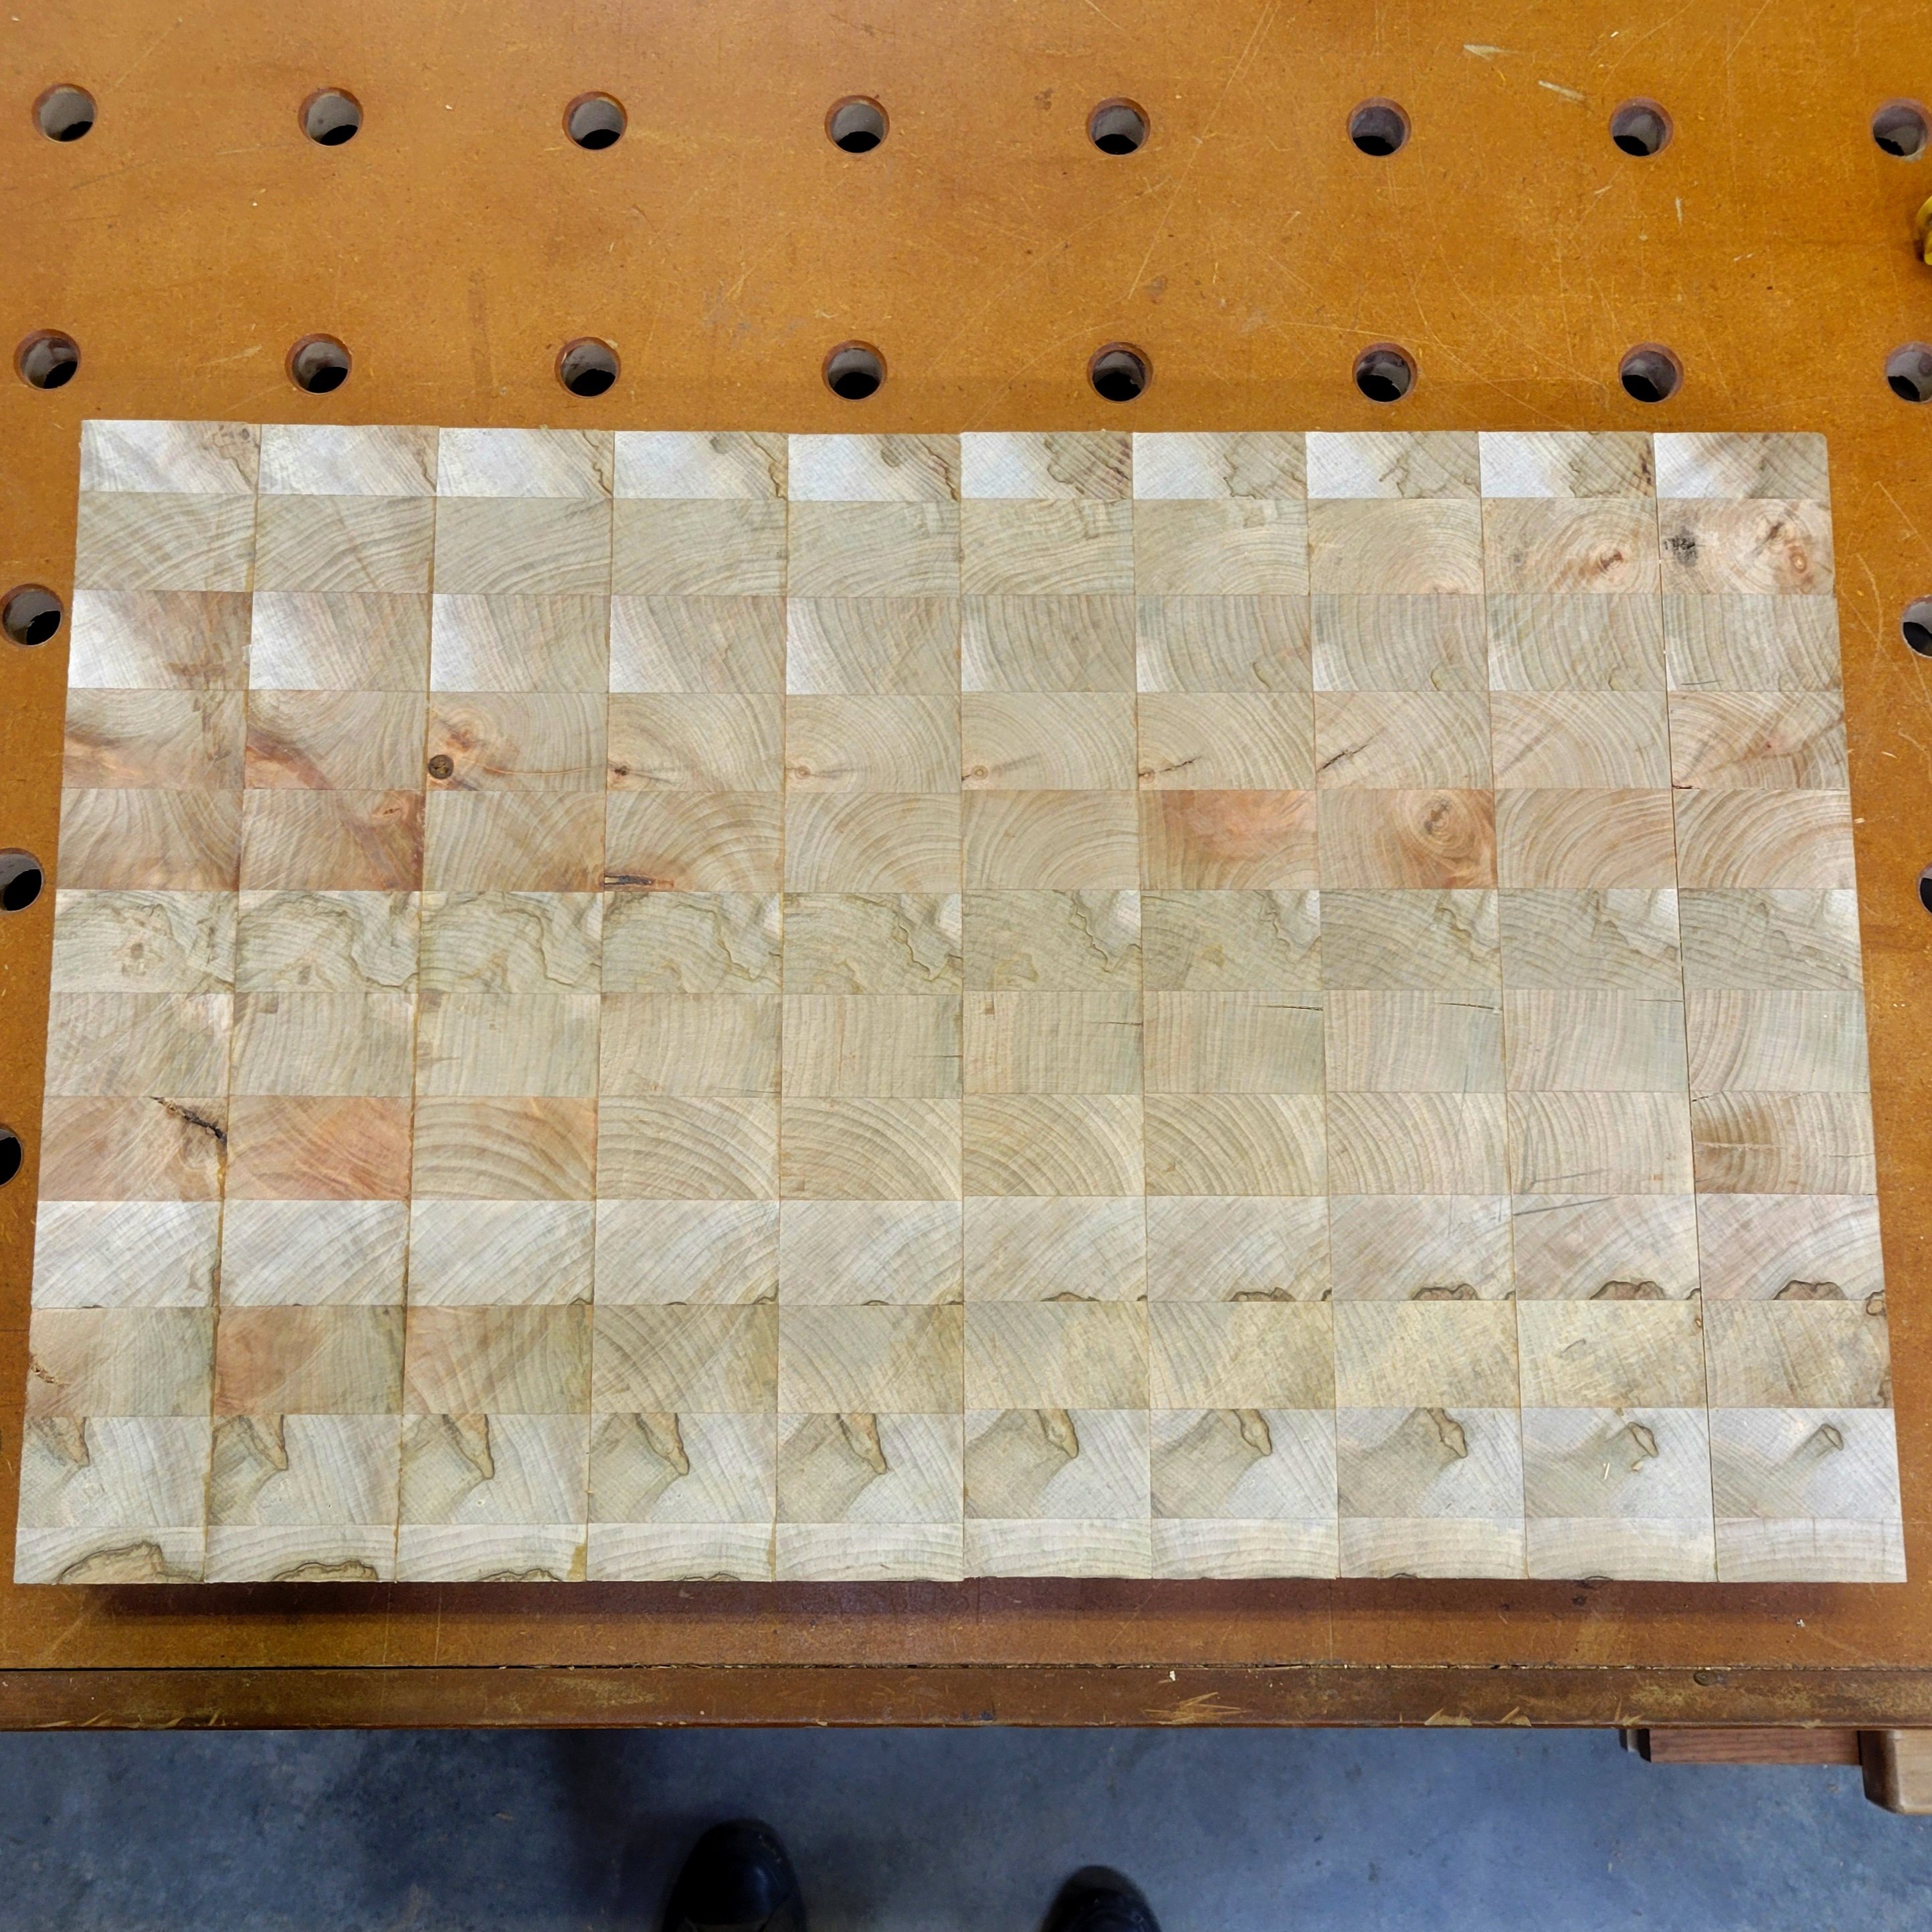
18
First off, boy did I underestimate how much wood a butcher block cutting board this size (approx. 15×20×2) would end up using.
The joints also aren't perfect, but I don't have the time or energy for perfection at the moment, this one is kind of a functional proof of concept. I'm going to give it to a friend of mine, but I've been upfront that it will not be perfect.
The next one, that will be made from the same beam, but MUCH cleaner, straighter-grained wood, will be more precise, more consistent color, probably marginally stronger because of the grain, just better in every way
But this only took two days and like three hours of work to go from a massive, rough-cut hunk of maple to this, so I'm pleased with it

19
20
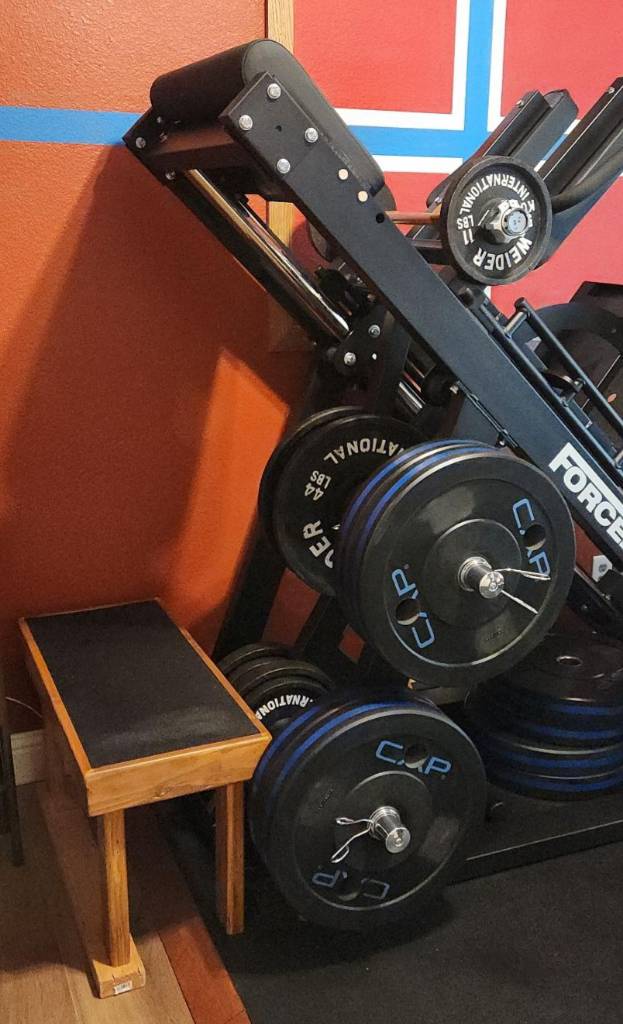
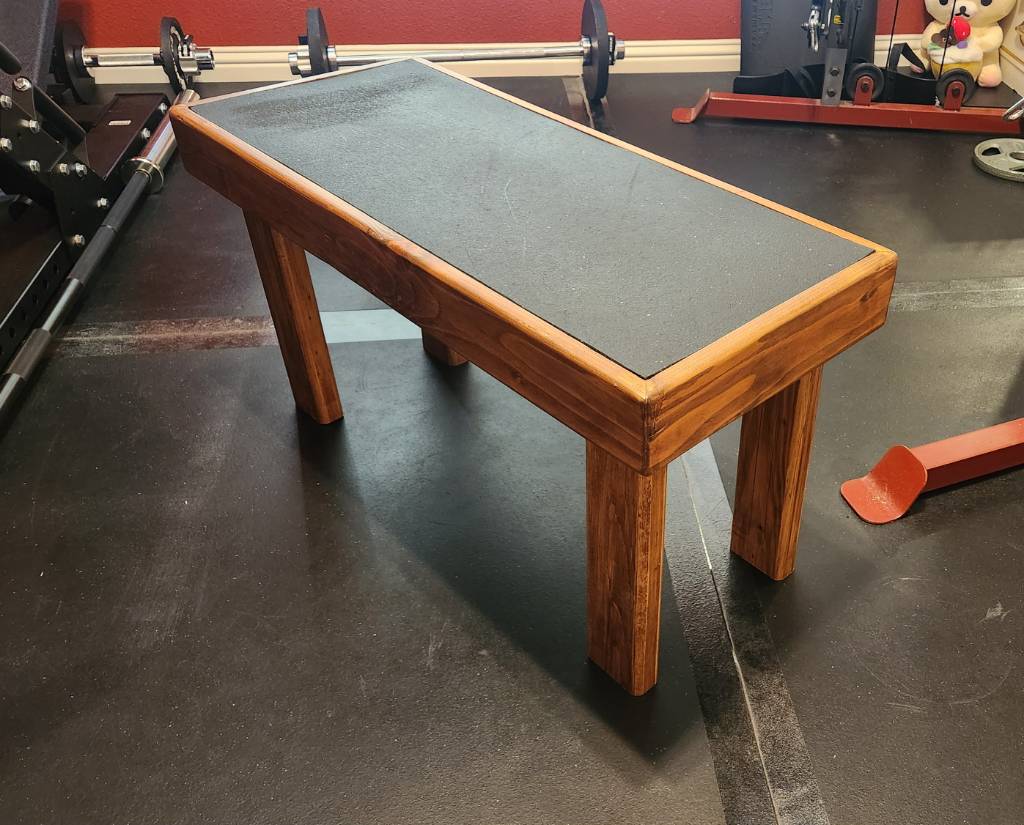
This entry of mine will not match the customary craftsmanship found in this community, but seeing as this was formerly a pile of miscellaneous, warped scrap 2x4 segments recovered from old pallets, I think I've made a reasonable show of things.
This bench is for my homegym, designed to be stood upon, which is why there's a rubber mat inlaid on the surface, a leftover of the gym floor. My design criteria called for even the edge of the top surface to support weight, so the main "box" of the bench uses 2x4 segments mitered (badly) together at 45 degrees, held together with wood glue.
I then routed the inner edge to support a 1/2" plywood sheet, which is screwed into the box. And then the rubber mat is glued down to the sheet, so there are no visible screws.
Finally, the legs are also 2x4 segments, cut so the bench sits 43 cm (~17 inch) from the floor; this is only coincidentally similar to the IPF weightlifting bench standards. I used screws instead of glue, just in case the legs needed to be shortened later.
All edges were rounded over with a 1/2" bit, as the bench is expected to be picked up and moved frequently. And everything stained in cherry and clear-coated.
Some of the annoyances from using scrap included:
- Stripping old paint off. Awful chemicals, awful scrubbing, awful disposal.
- Sanding away twists along the 2x4 segments
- Filling nail holes or arranging them so they don't draw attention
- My lack of experience with clamping and gluing wood that's not dimensionally consistent
If I were to do this again, I'd figure out a way to reduce the amount of routing needed for the inner edge, since I essentially removed 0.75 inch by 1.5 inch of material all around the edge. This took forever, and perhaps a CNC machine would have simplified things, in addition to squaring and planing the surfaces before mitering.
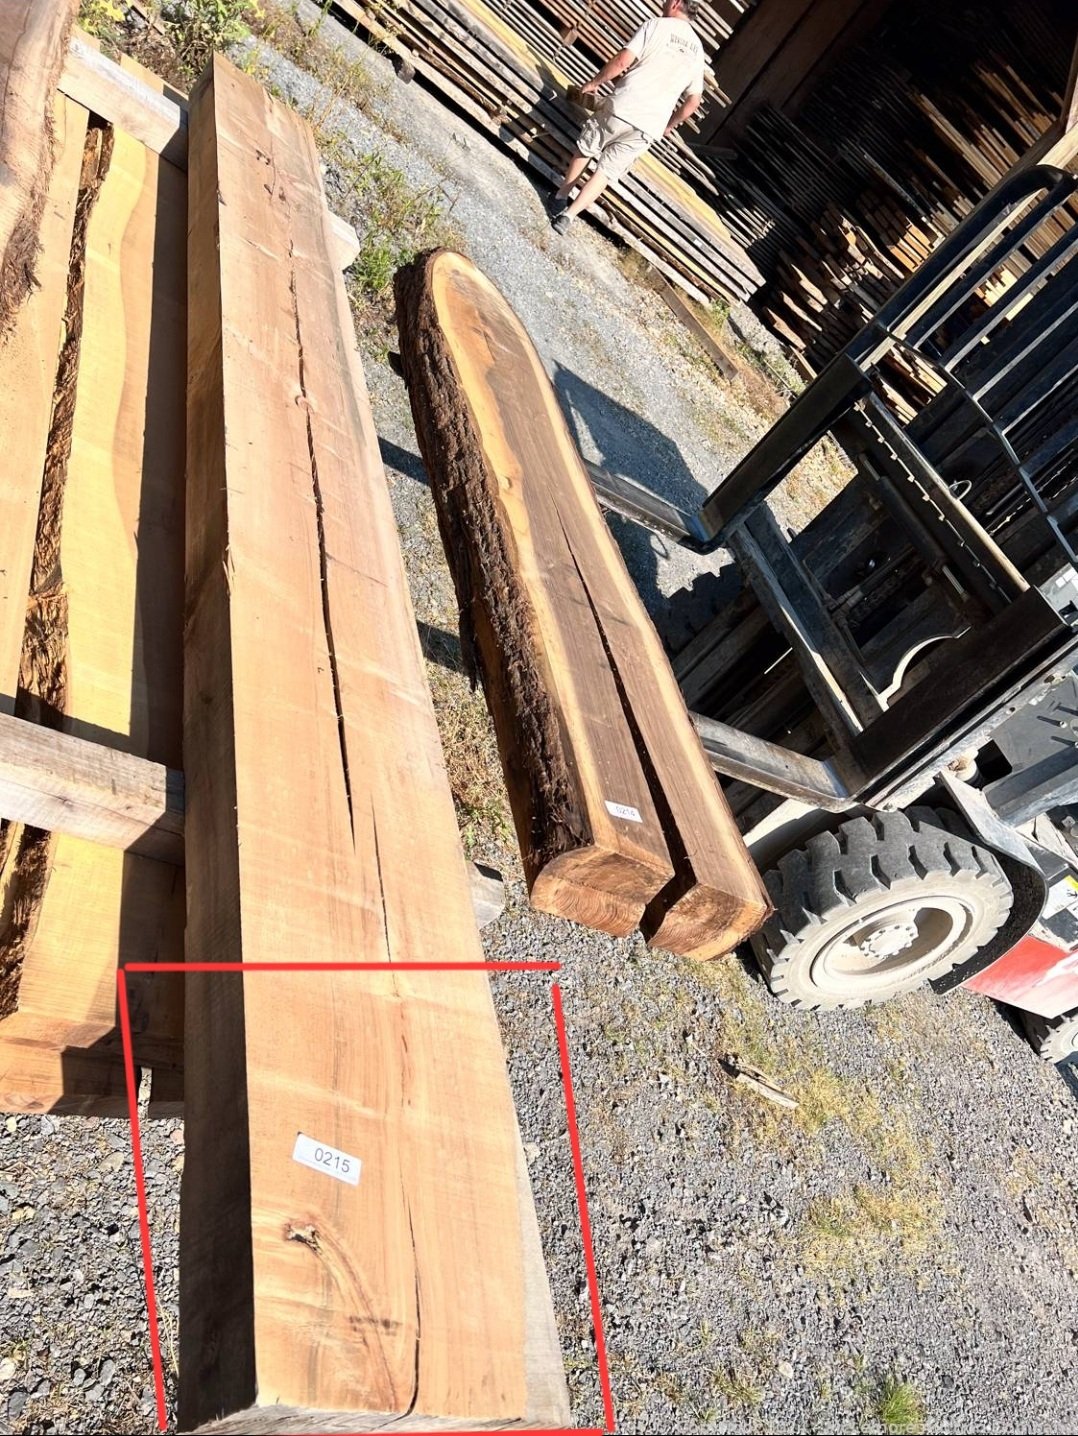
21
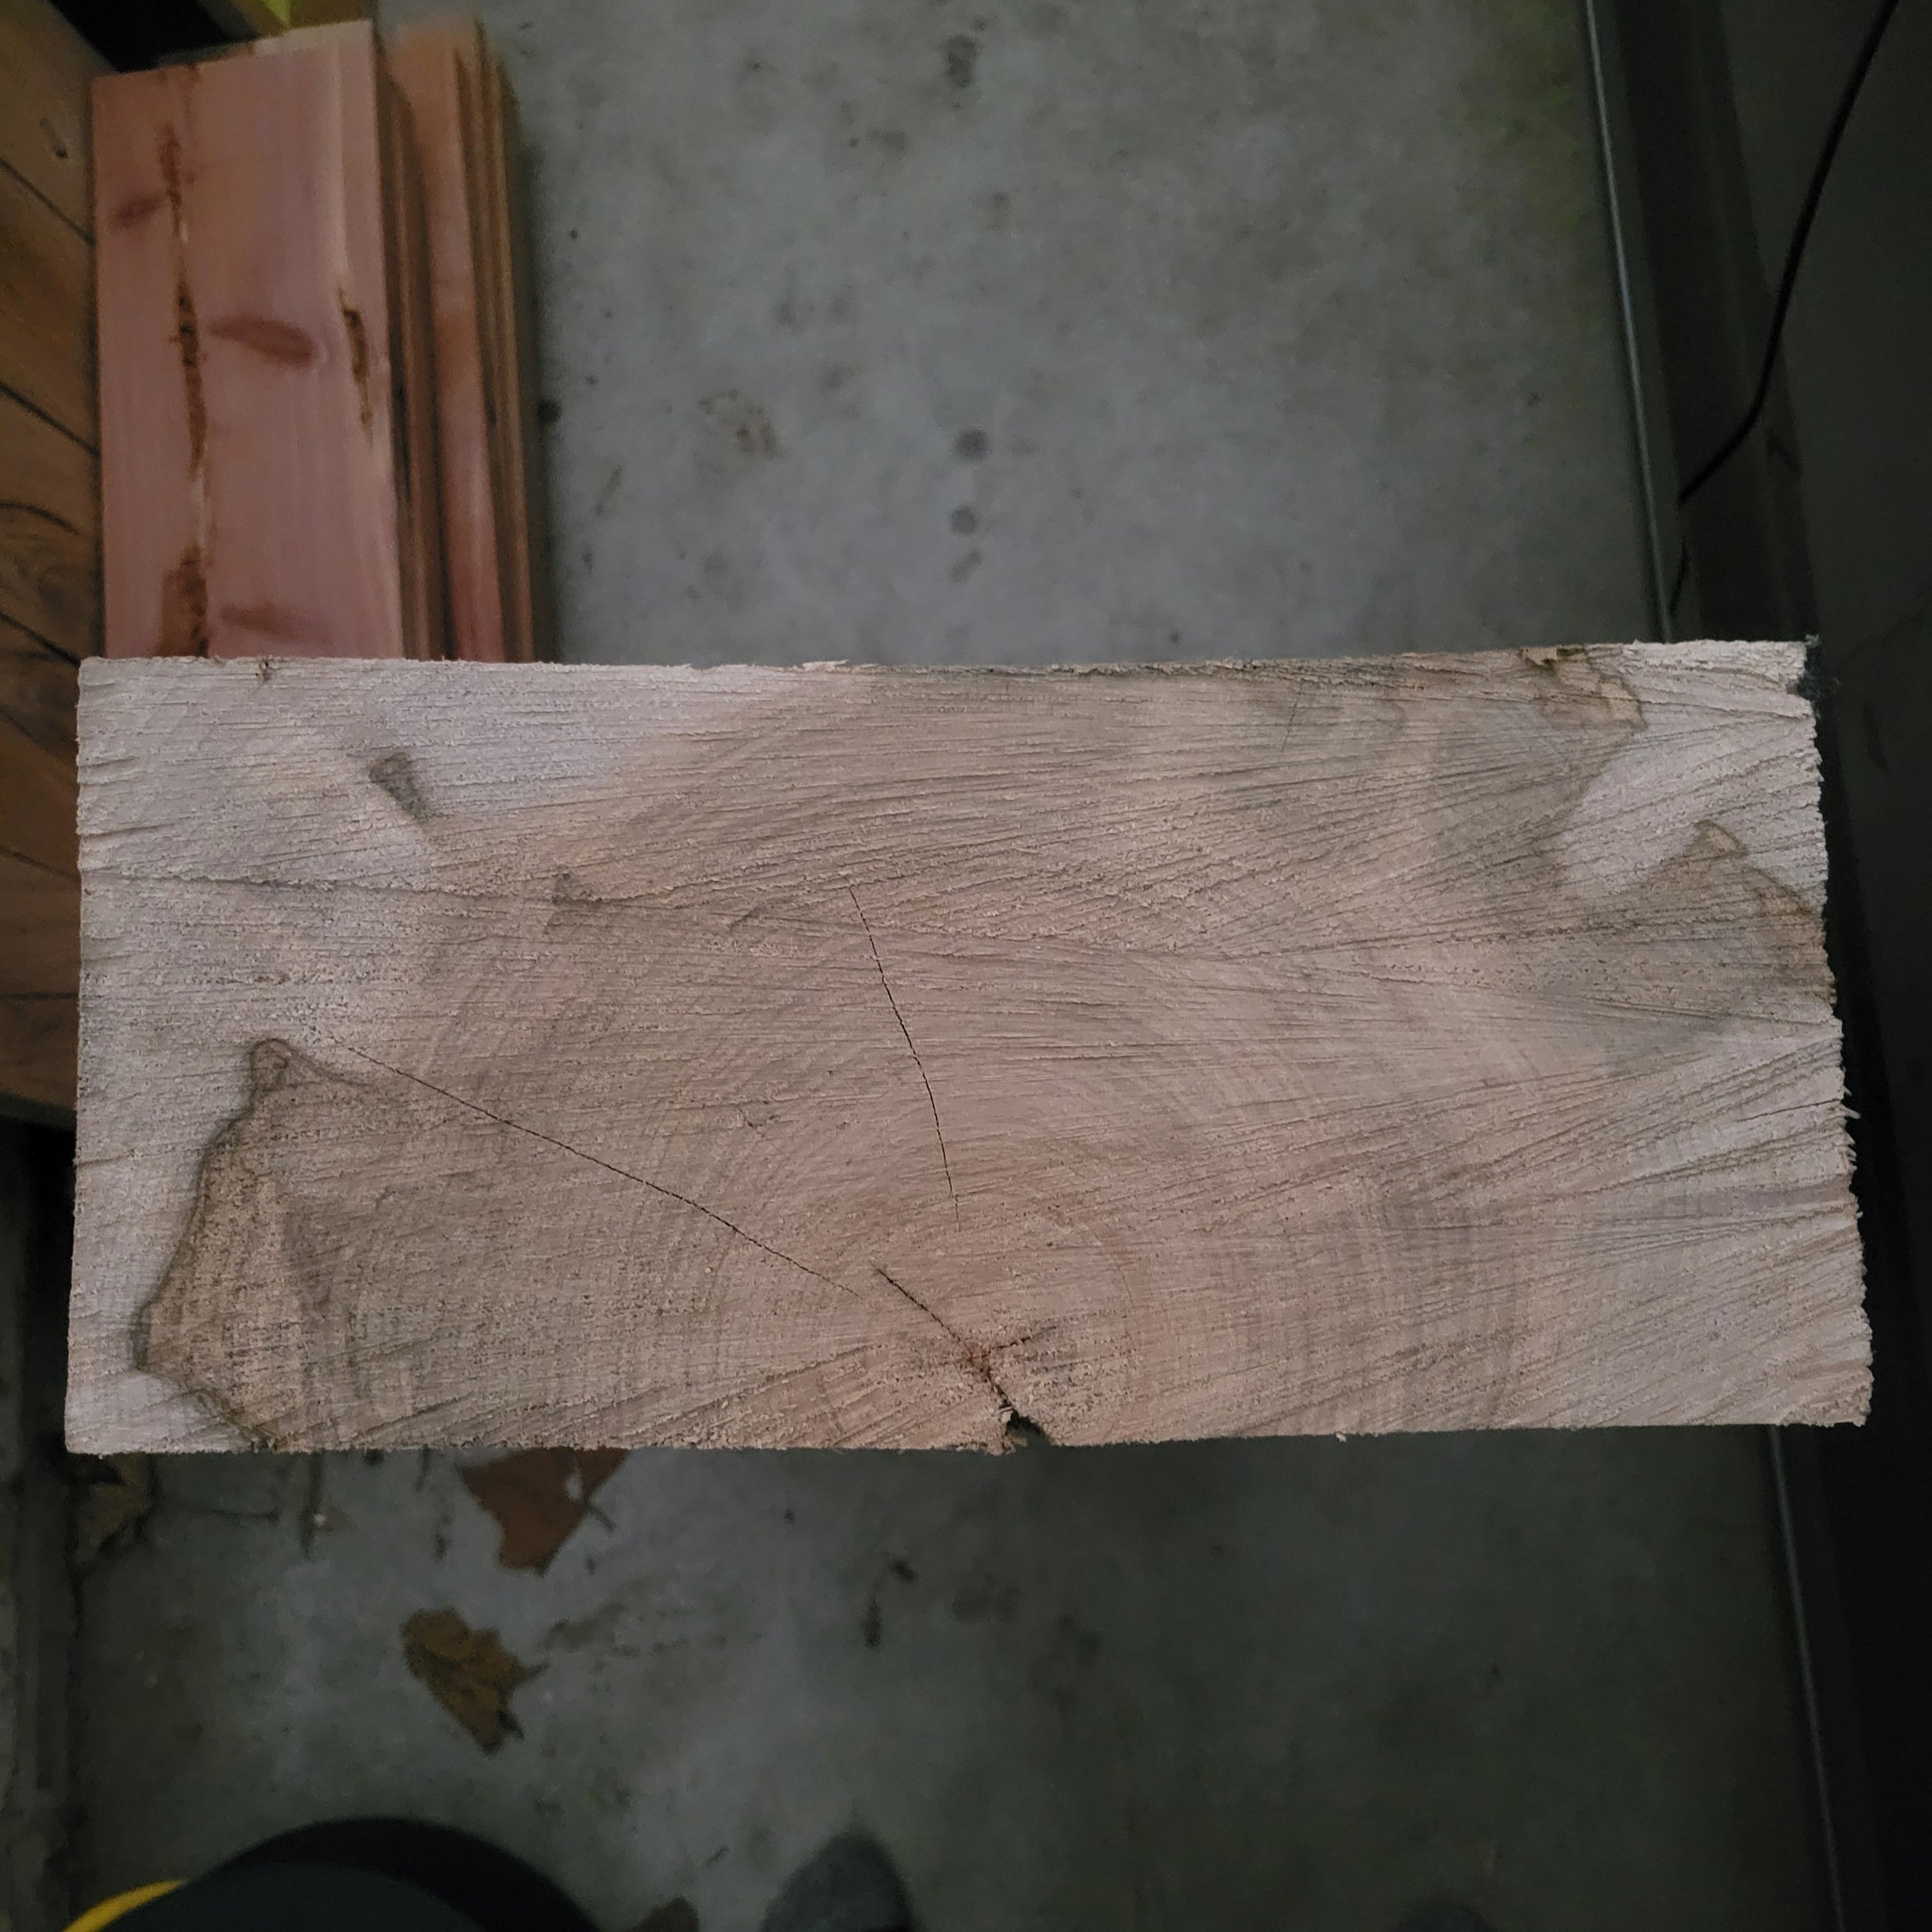
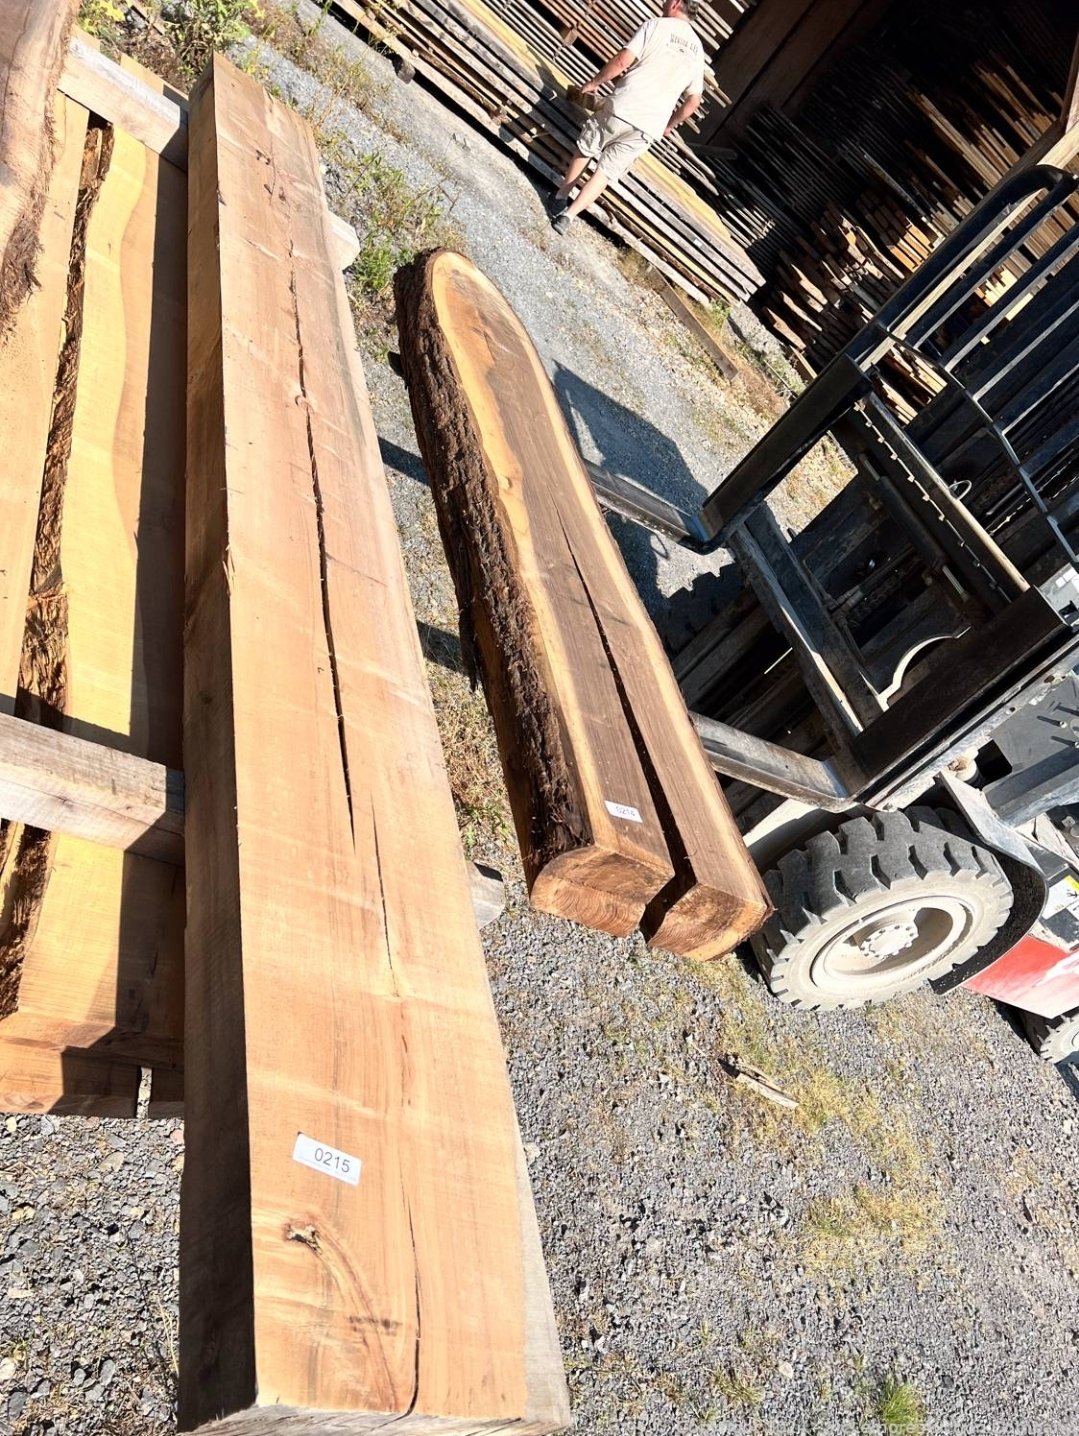
So I just picked up this 12"×6"×10' maple beam at an auction today and had to chop off two feet of it to fit it in my car. I'm thinking of making a couple end-grain carving boards for friends with what was cut off.
I'm tentatively thinking of just slicing it into 2" cookies and gluing them together, but I've never seen a cutting board like this that wasn't a collection of like 1" pieces glued together. Is there any reason not to use larger pieces when gluing up a cutting board? Thanks in advance
22
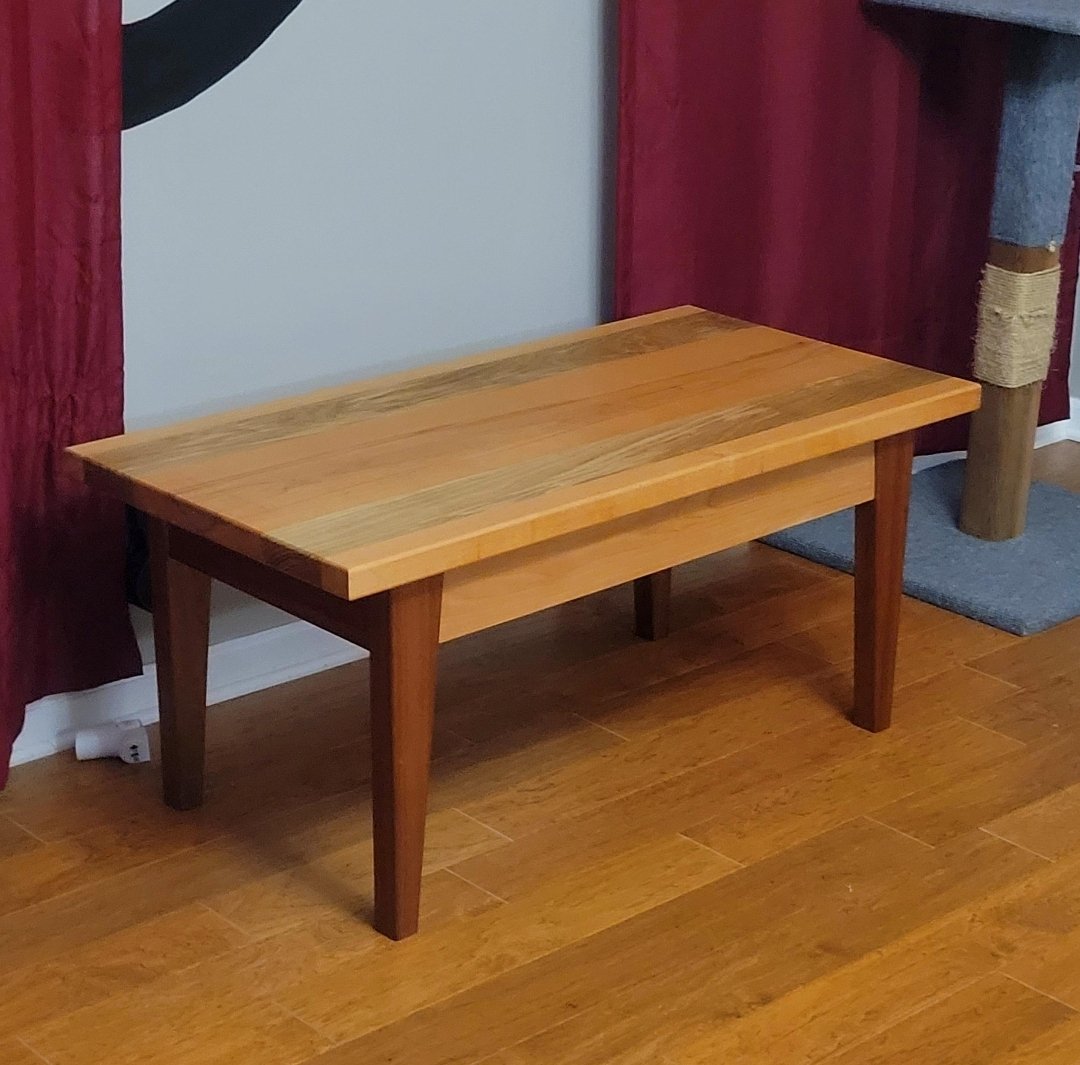
23
This is my first piece of furniture with hand-cut mortise-and-tenon joinery. It's far from perfect, but I managed to hide most of the imperfections inside the frame.
I finished it with 50/50 beeswax and mineral oil.
I think the table top and long aprons are cherry, with two strips of what may be oak in the table top? It was in the miscellaneous pile at my community workshop, so your guys is as good as mine. The legs and short apron are sapele, which is probably my favorite wood when it's finished, it's unbelievably lustrous in person.
Happy to answer an questions, otherwise, I just wanted to share the first thing I've ever made that I didn't finish and immediately tear apart all the mistakes I made, I'm genuinely pleased with this one!
24
25
90
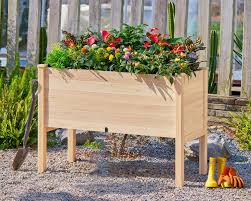
Thank you technomad and dubyakay for inspiring our third woodworking contest here. This contest will be to build a planter box or I guess a plant pot would work too.
Submit your work as a post in this community by August 1 at the latest, and the post with the most votes will win. The image will be our new thumbnail picture and the user will be credited on our sidebar.
I’ve noticed that posts often collect votes for up to like 3 days so I will wait until August 4 or something to announce the winner just to make sure everyone has had a chance to vote.
Good luck everyone!
view more: next ›